Skip to content
Home » Oracle » How to Configure Oracle VM 3.4.2 by OVMM

How to Configure Oracle VM 3.4.2 by OVMM

Assuming that you have one OVMM and two OVS. There're 5 major steps in this procedure:

  1. Discover servers
  2. Add network for storage
  3. Discover iSCSI storage
  4. Create server pool
  5. Create repository

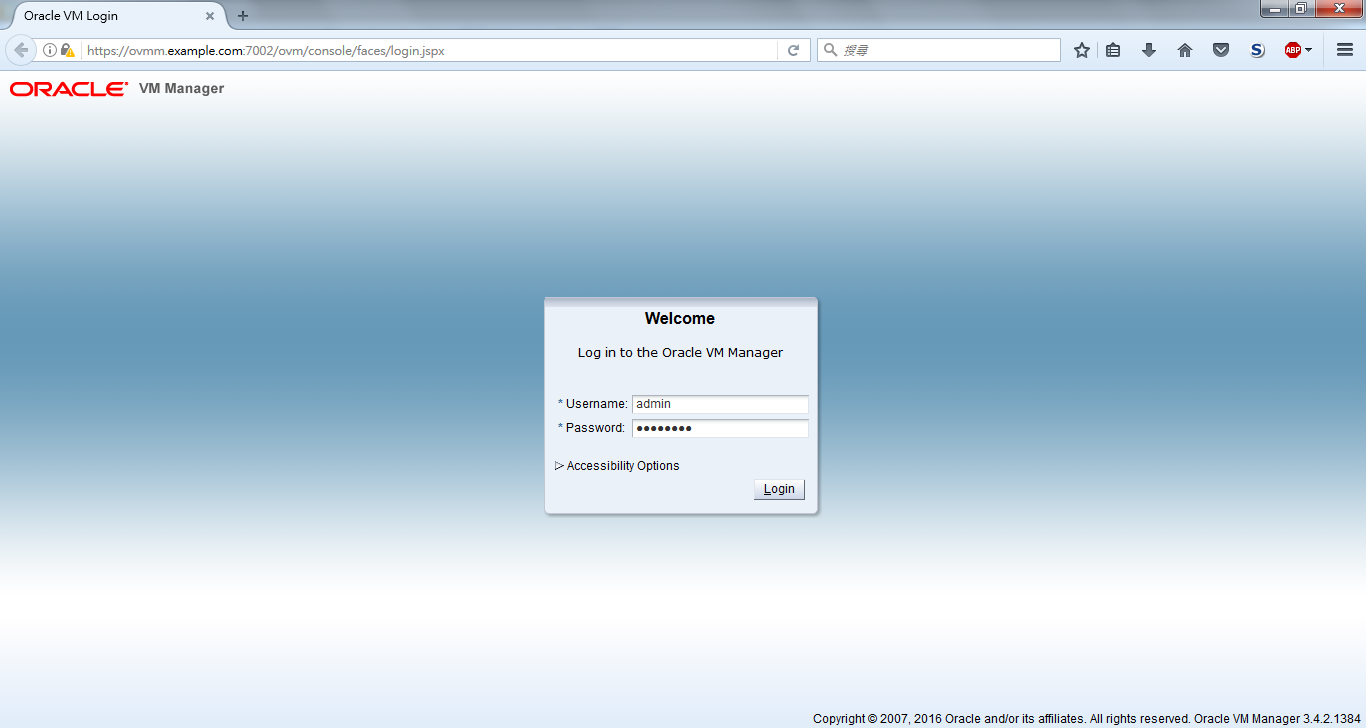
First of all, you have to login to OVMM as admin. The password is the one which you entered during installing OVMM.
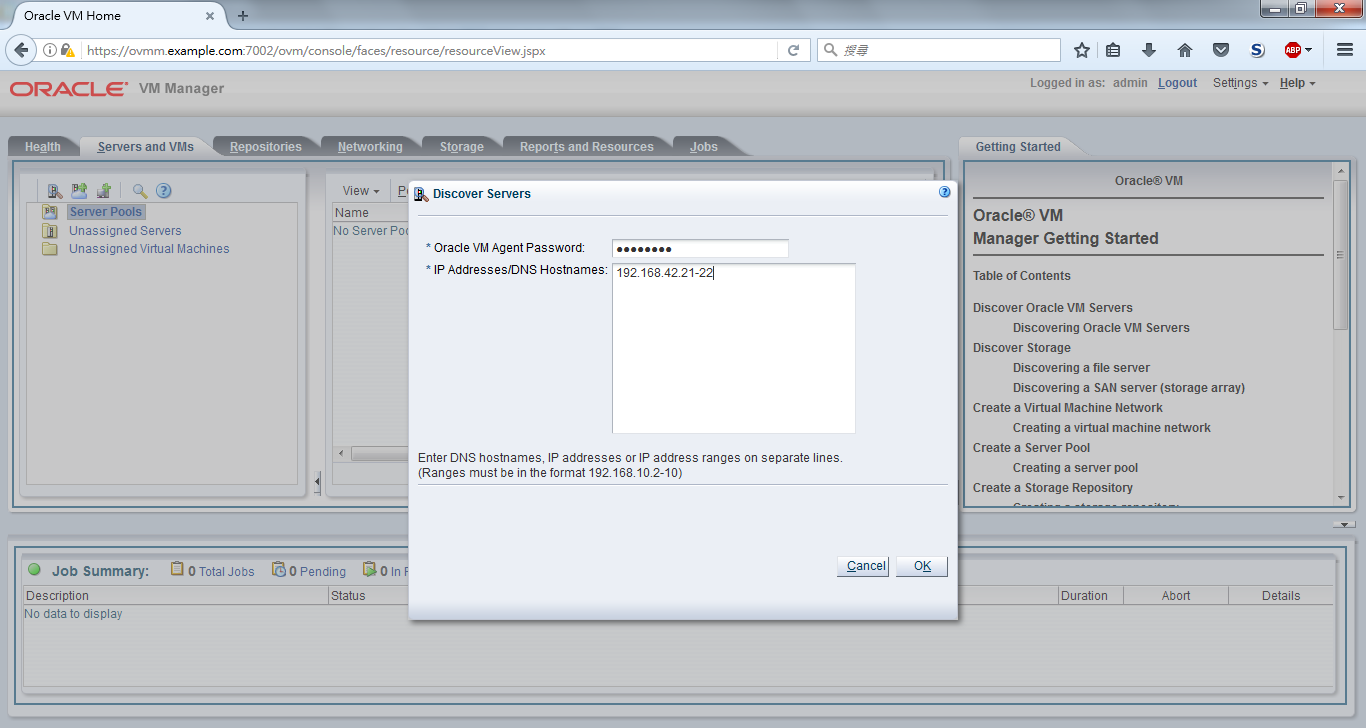
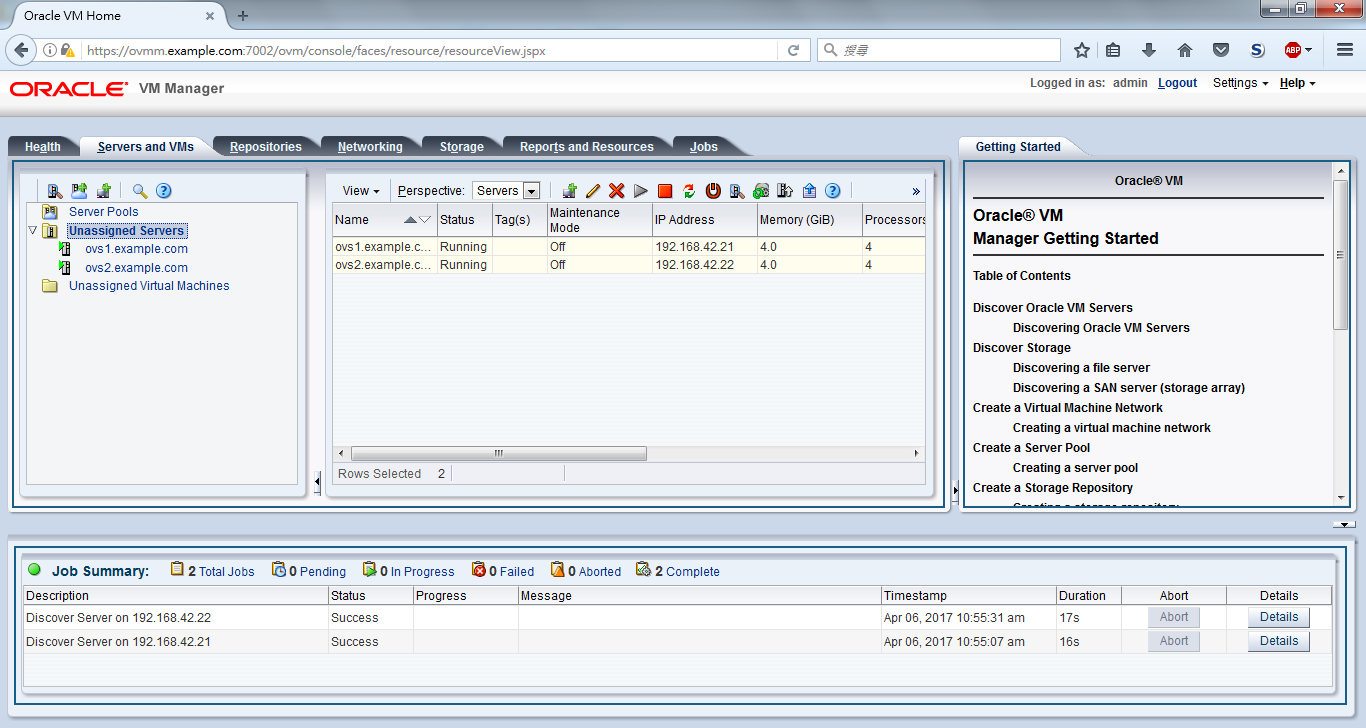
OVMM Configuration 01

A. Discover servers

Click on Discover Server icon to show the window below.

OVMM Configuration 02
OVMM Configuration 03

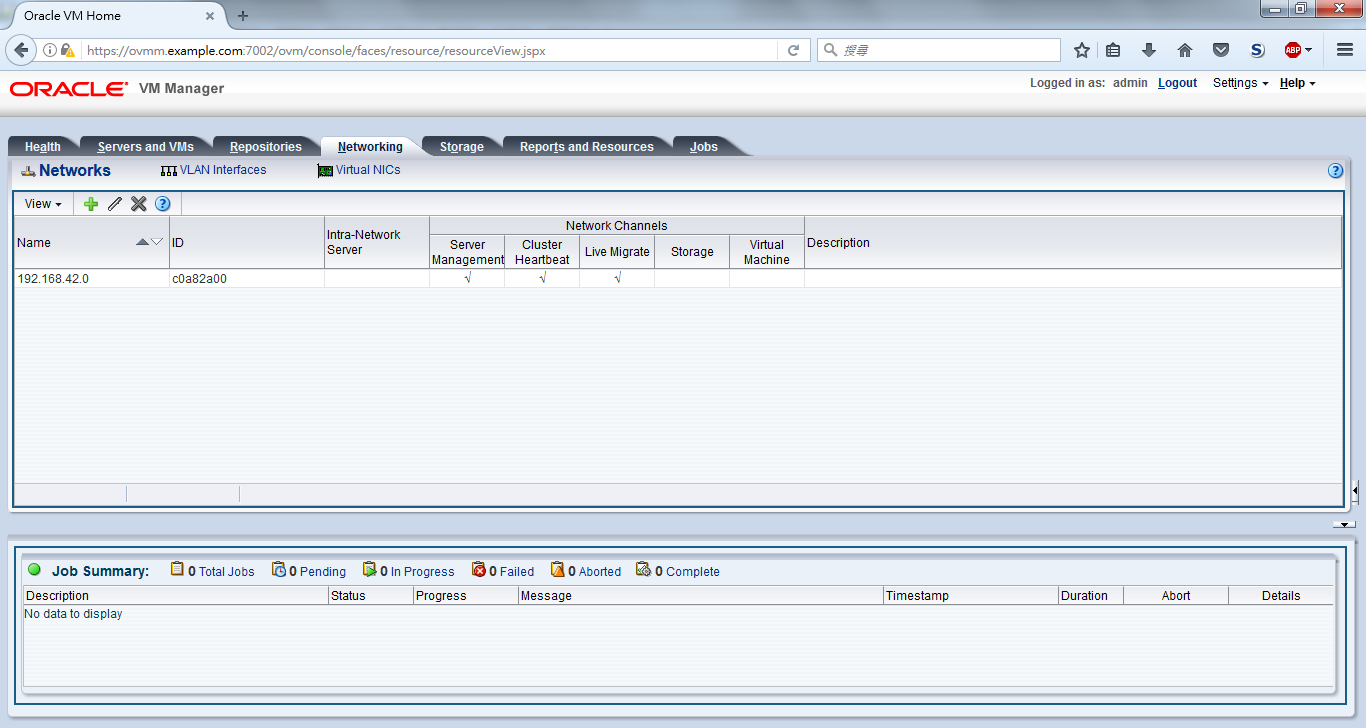
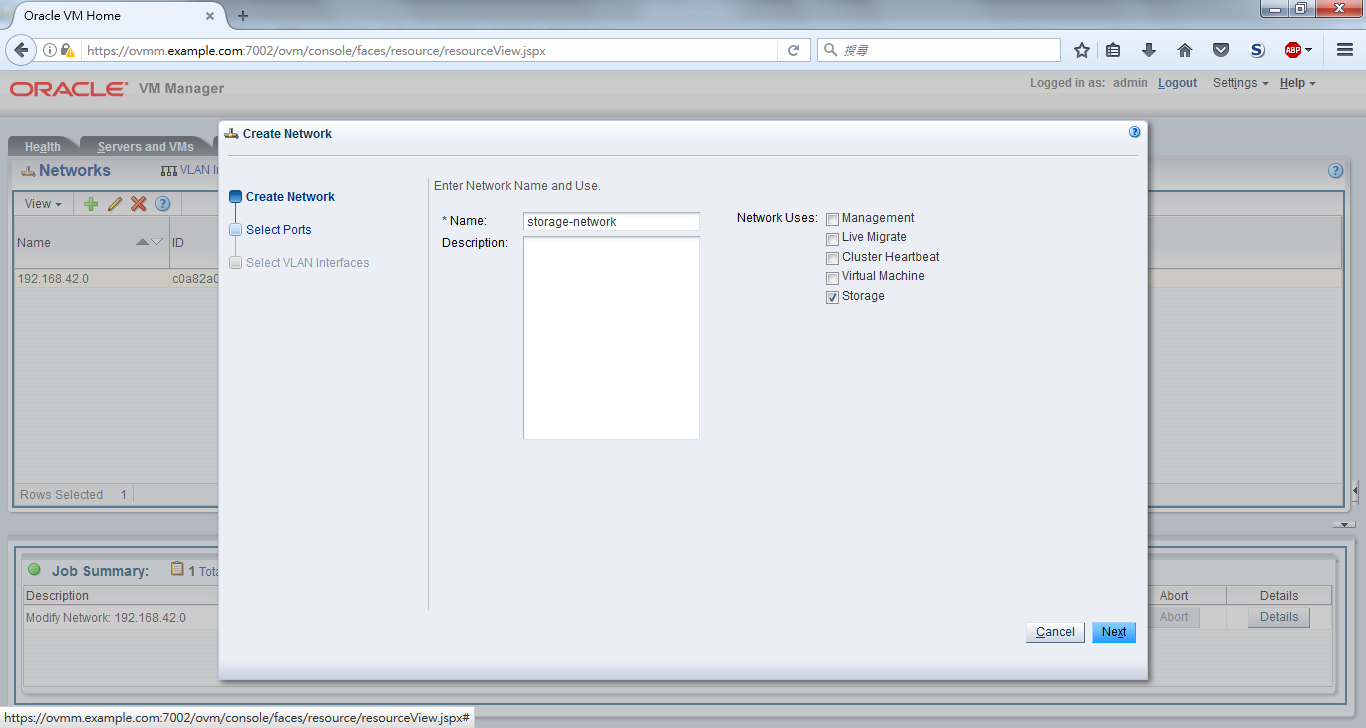
B. Add network for storage

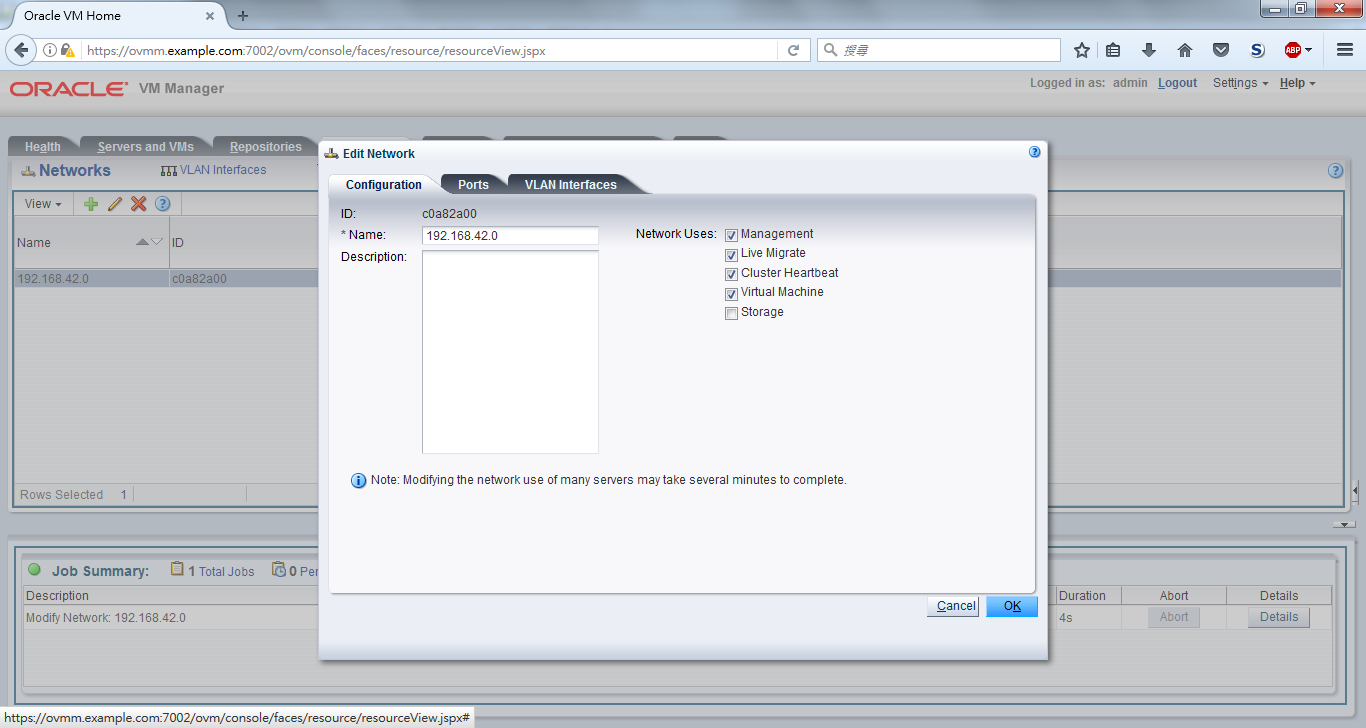
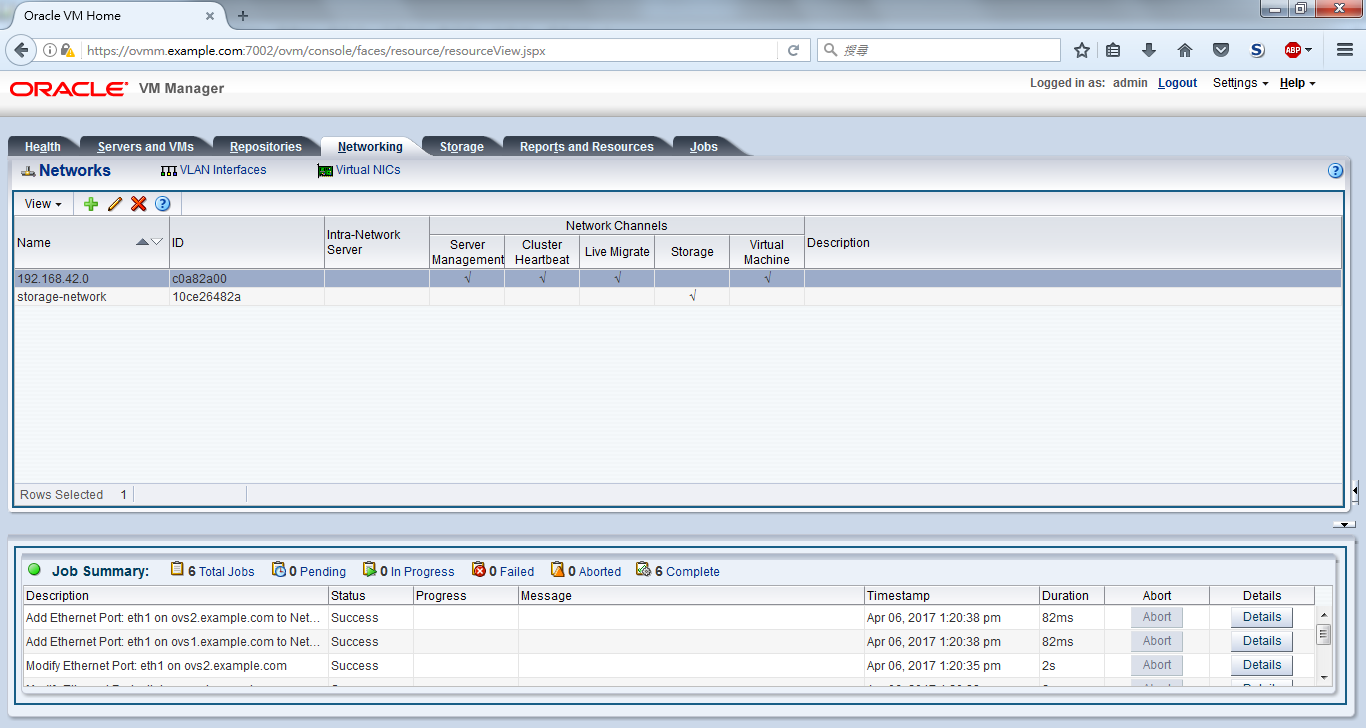
One public network is already found by OVMM, but we have to edit the network.

OVMM Configuration 05

Check "Virtual Machine" to enable the network for VMs.

OVMM Configuration 06

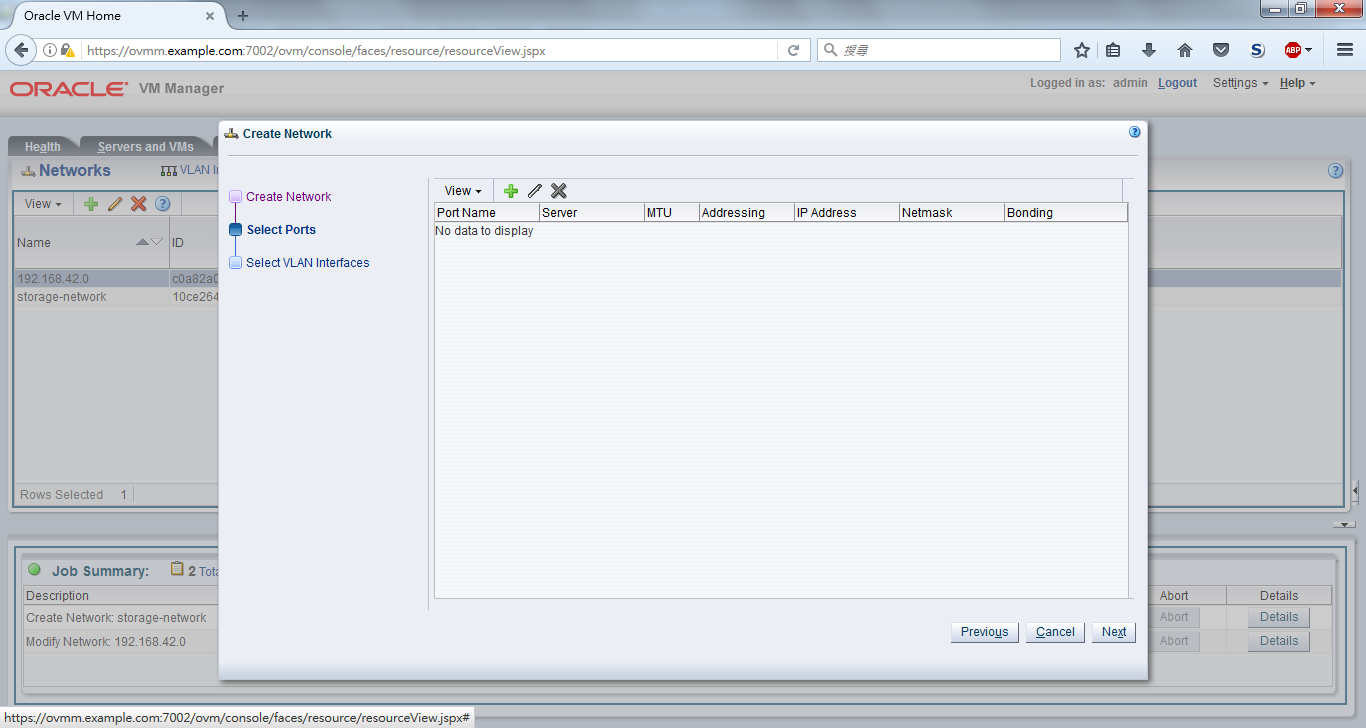
Click on "+" icon to add another network.

OVMM Configuration 07

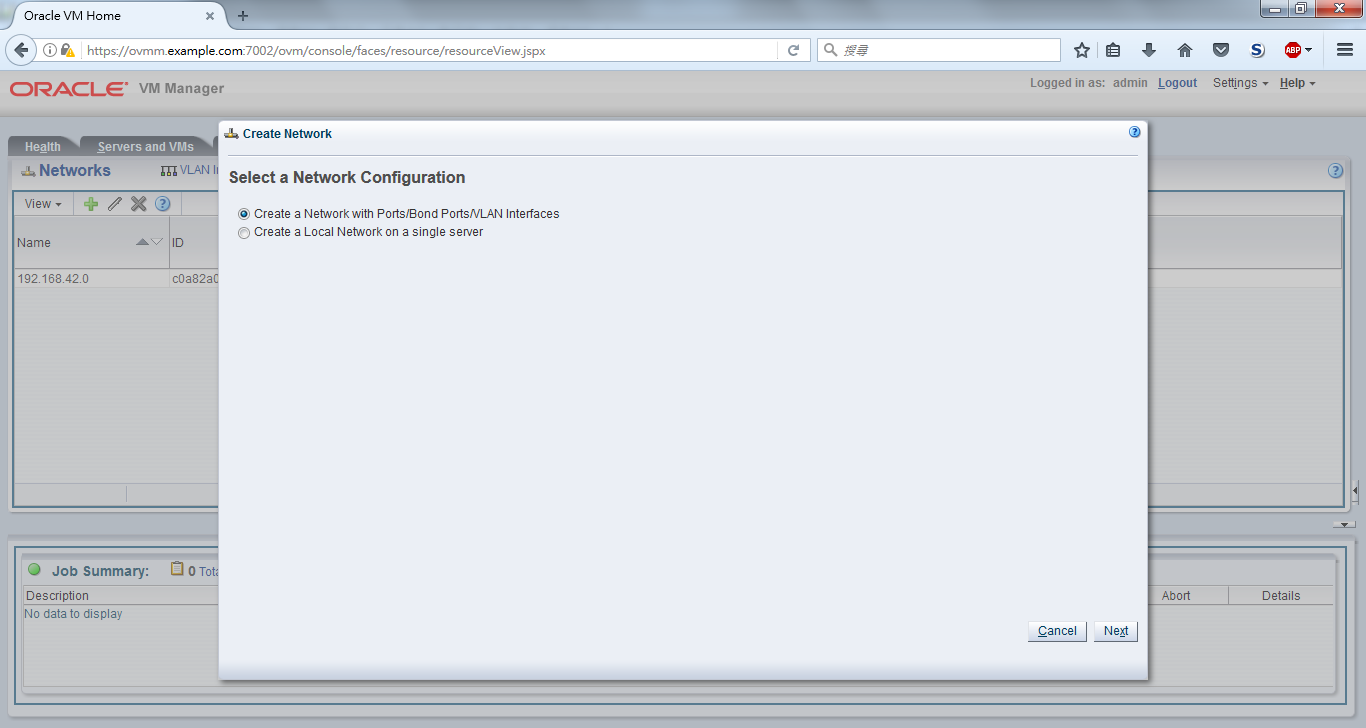
This network is solely for storage connection.

OVMM Configuration 08

Click on "+" icon to add ports.

OVMM Configuration 09

Check the available NIC for every OVS.

OVMM Configuration 10

Edit every port for every OVS.

OVMM Configuration 11
OVMM Configuration 12

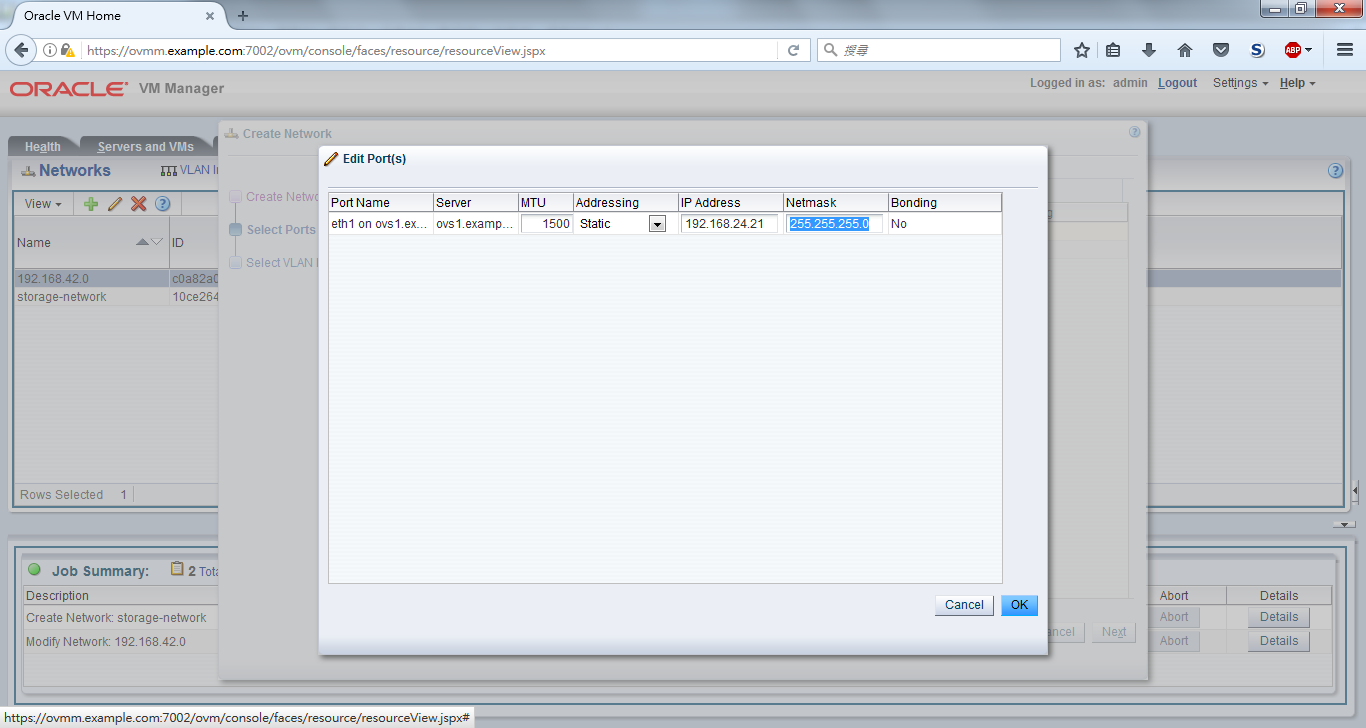
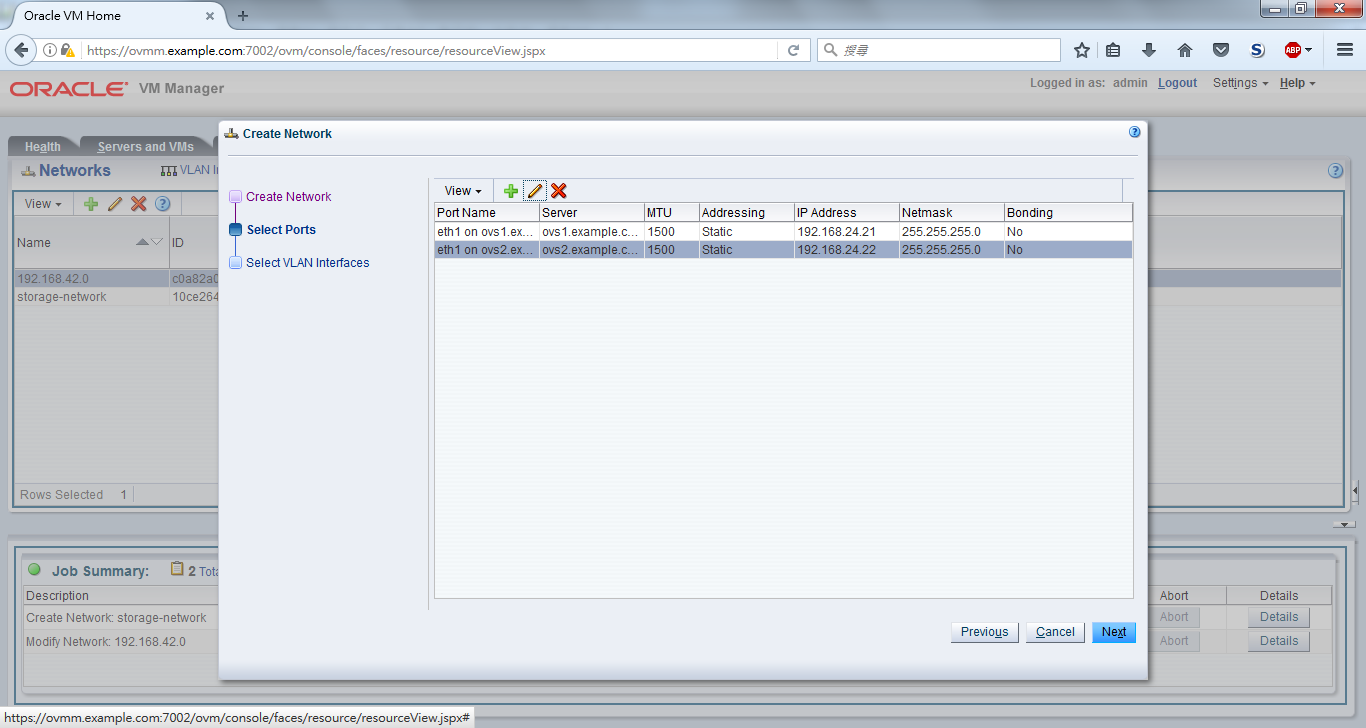
No VLAN in this case.

OVMM Configuration 13

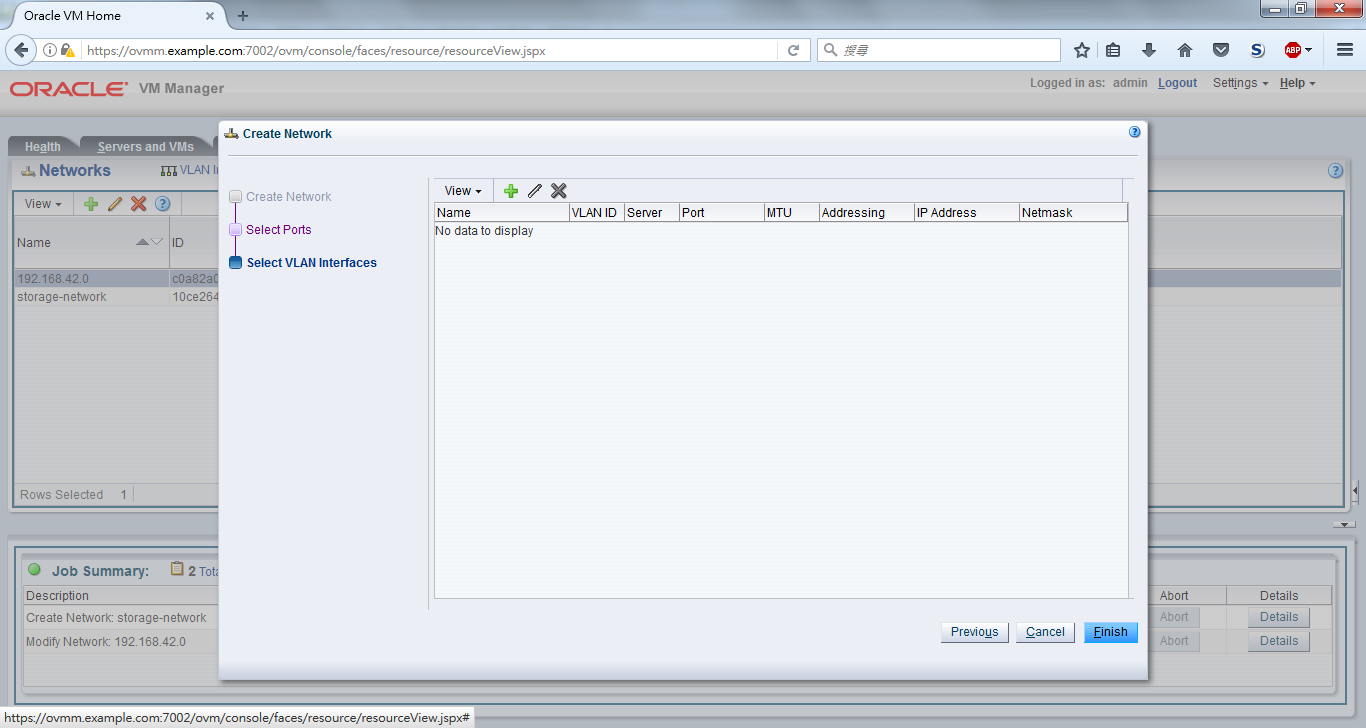
You can see that the new network is created.

OVMM Configuration 14

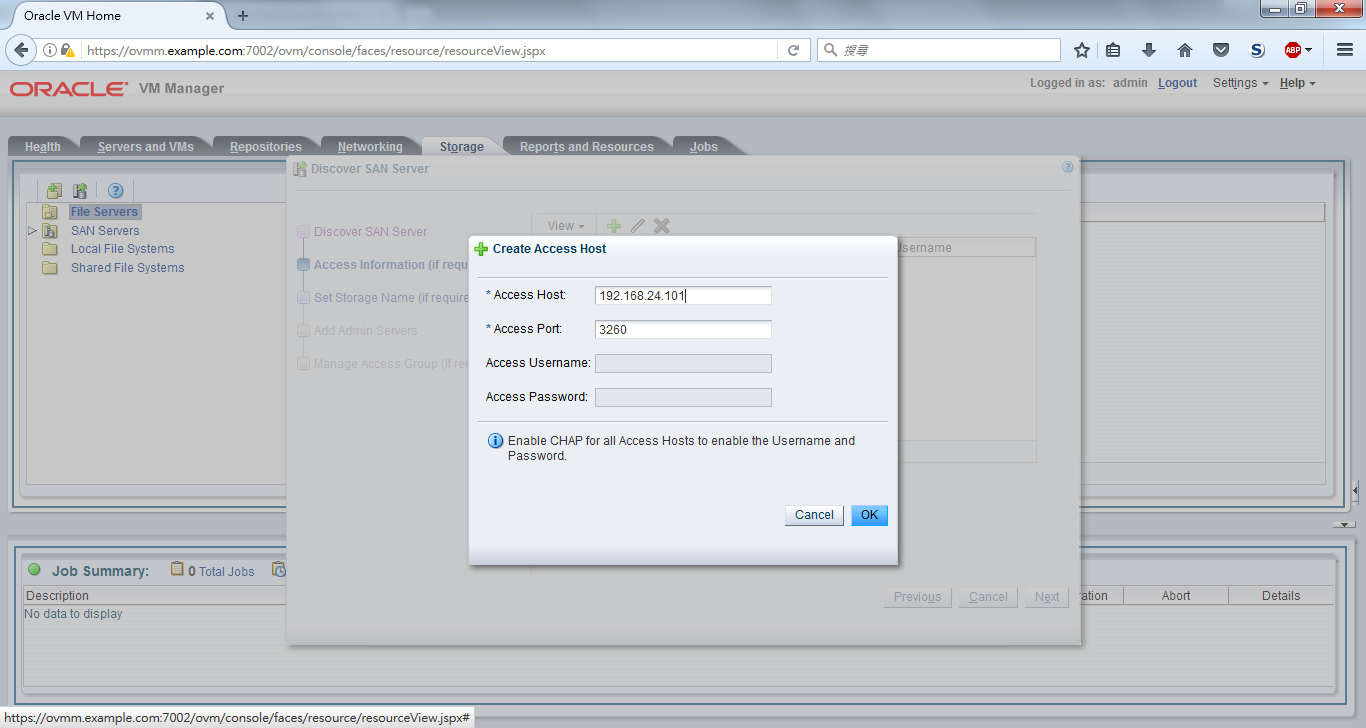
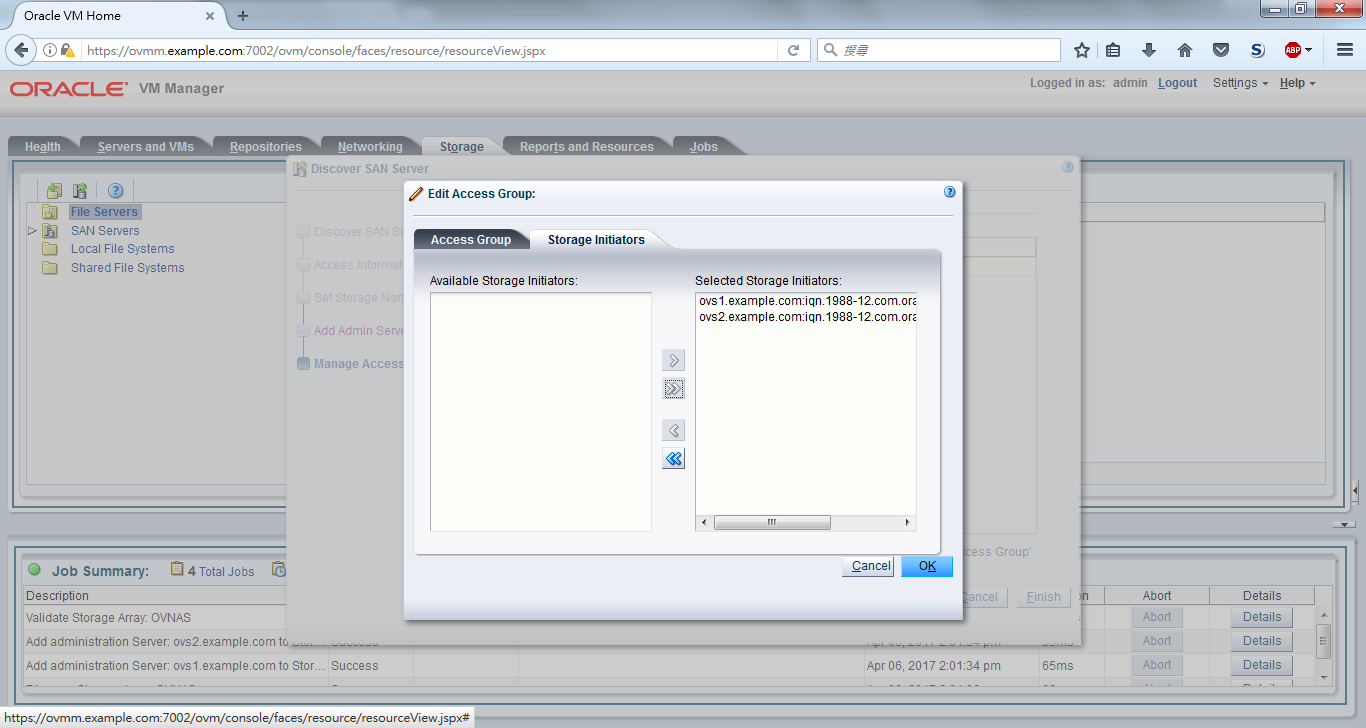
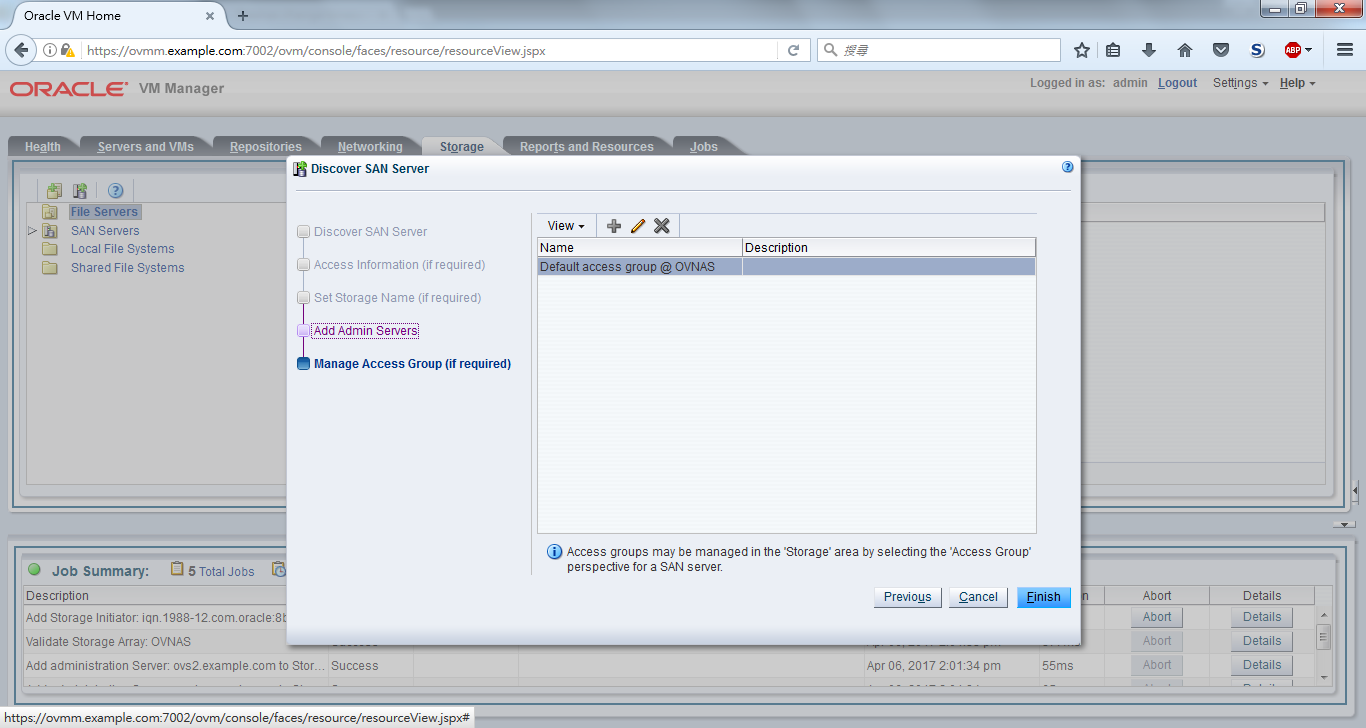
C. Discover iSCSI storage
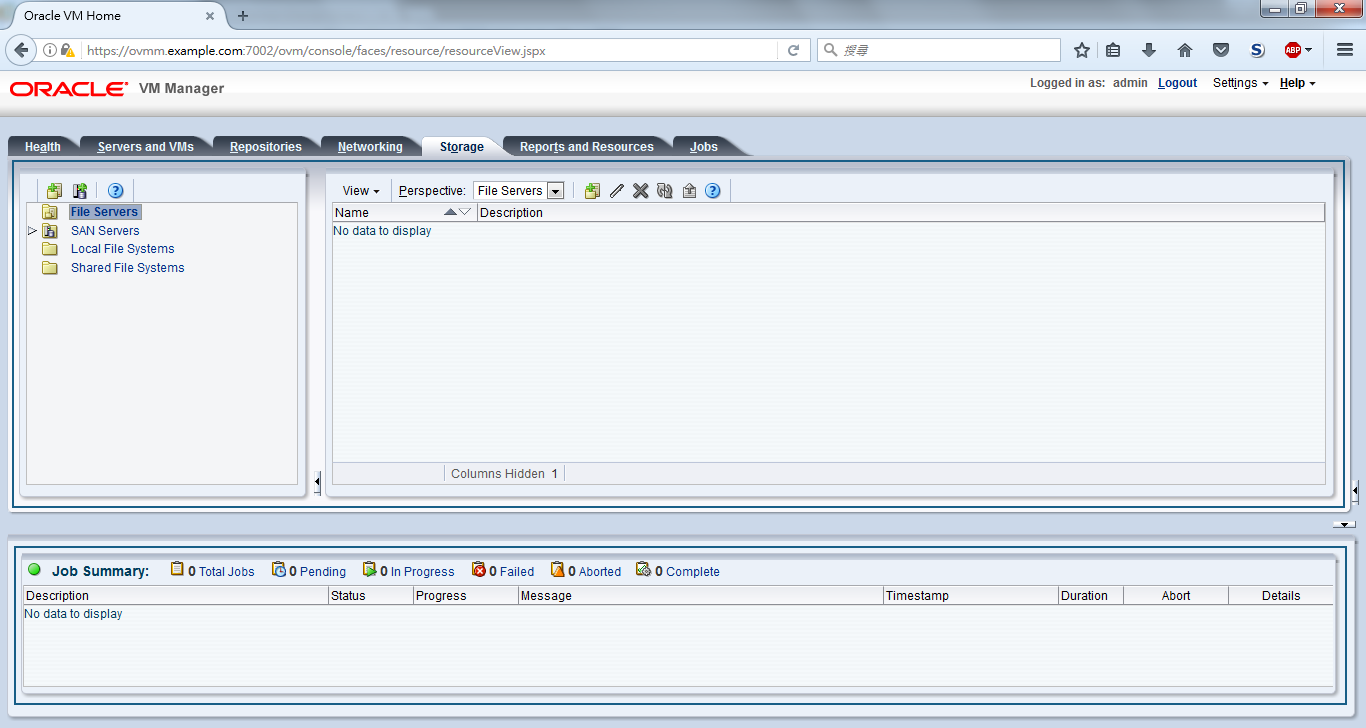
OVMM Configuration 15

Discover SAN Server

OVMM Configuration 16

Our storage is an iSCSI NAS.

OVMM Configuration 17

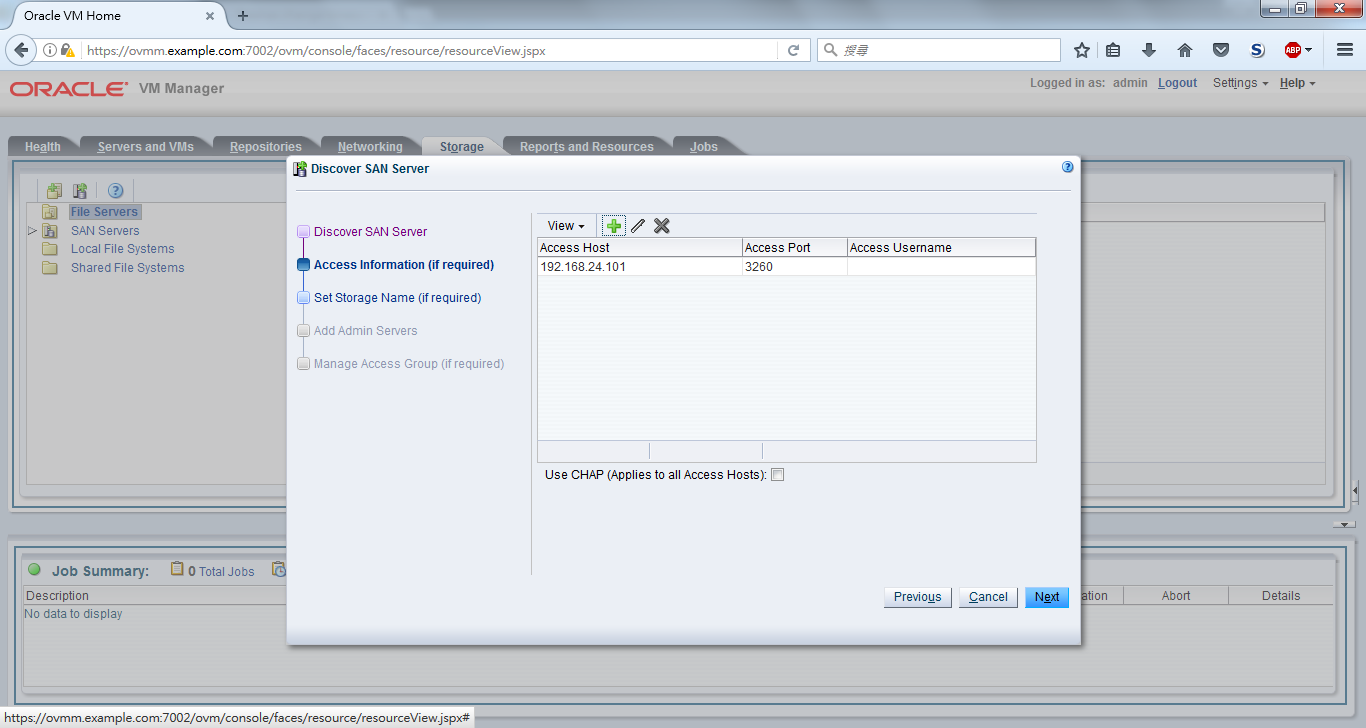
Click "+" icon to add a storage

OVMM Configuration 18

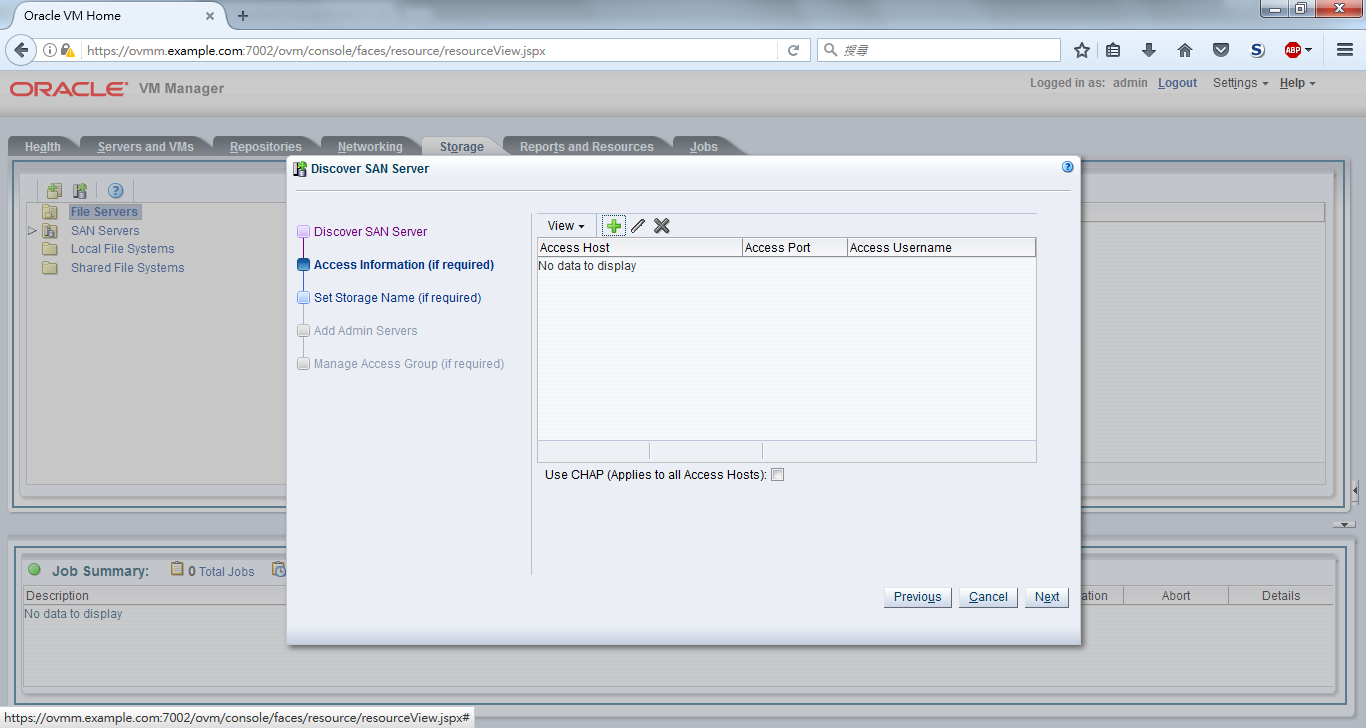
Enter the IP address and port number of NAS

OVMM Configuration 19
OVMM Configuration 20

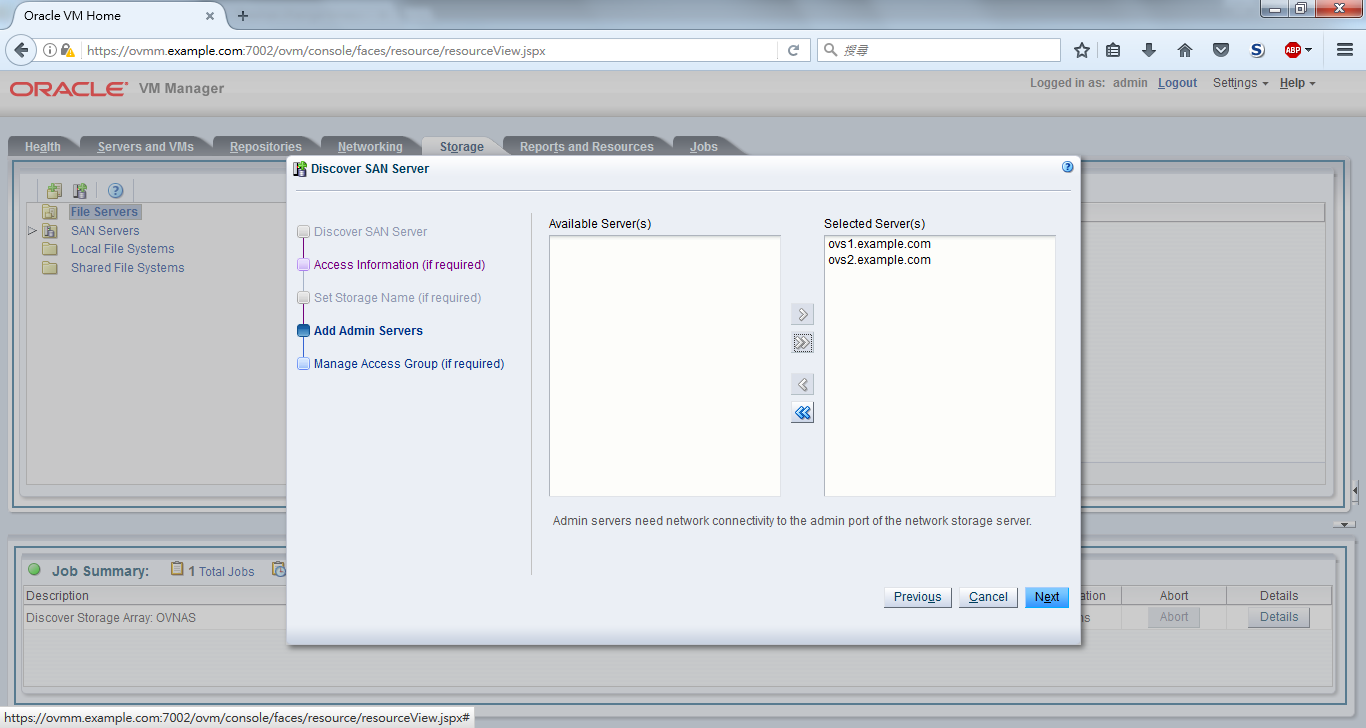
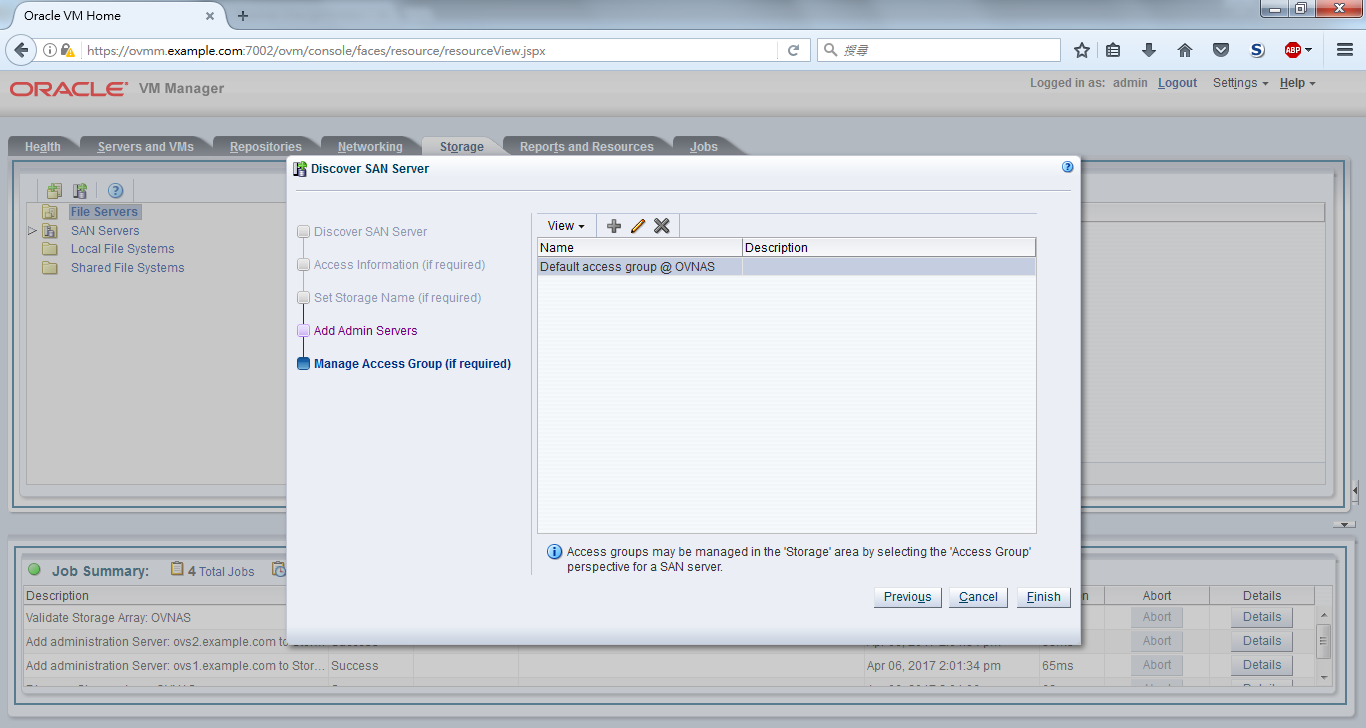
Allow all server that can access the storage

OVMM Configuration 21
OVMM Configuration 22
OVMM Configuration 23
OVMM Configuration 24
OVMM Configuration 25

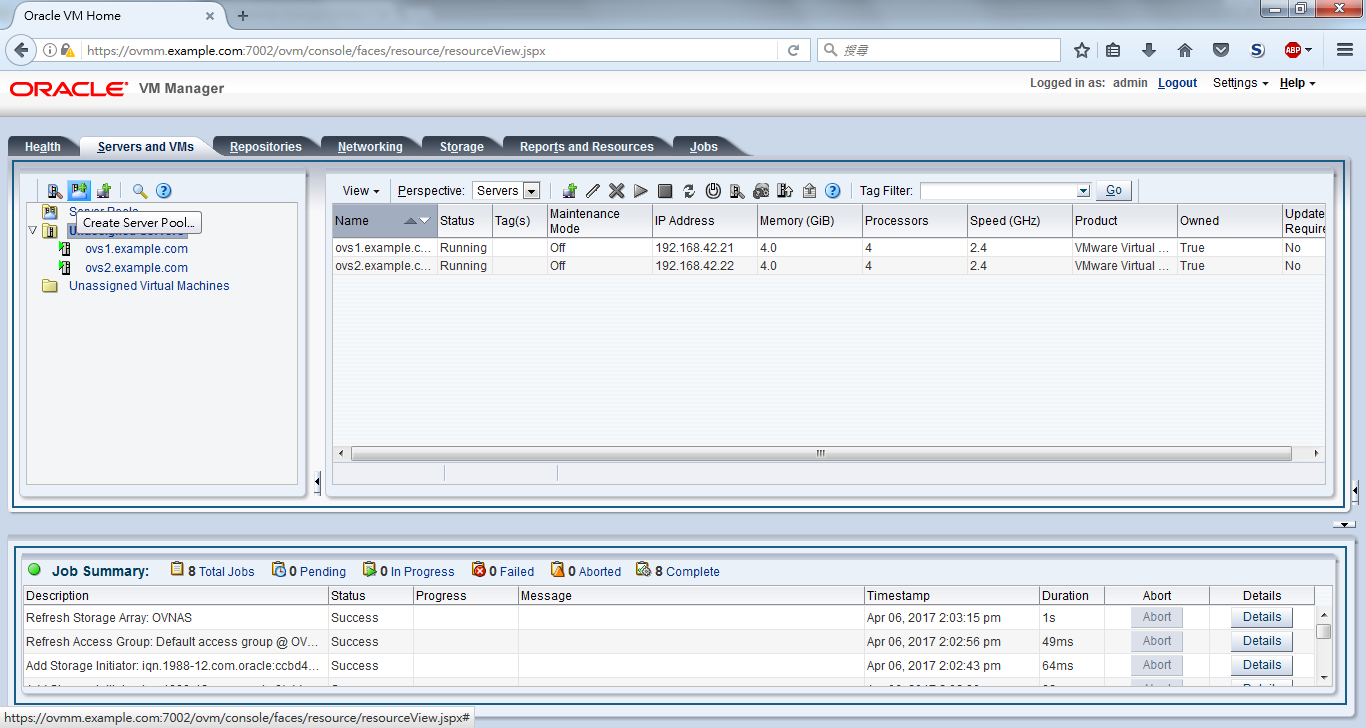
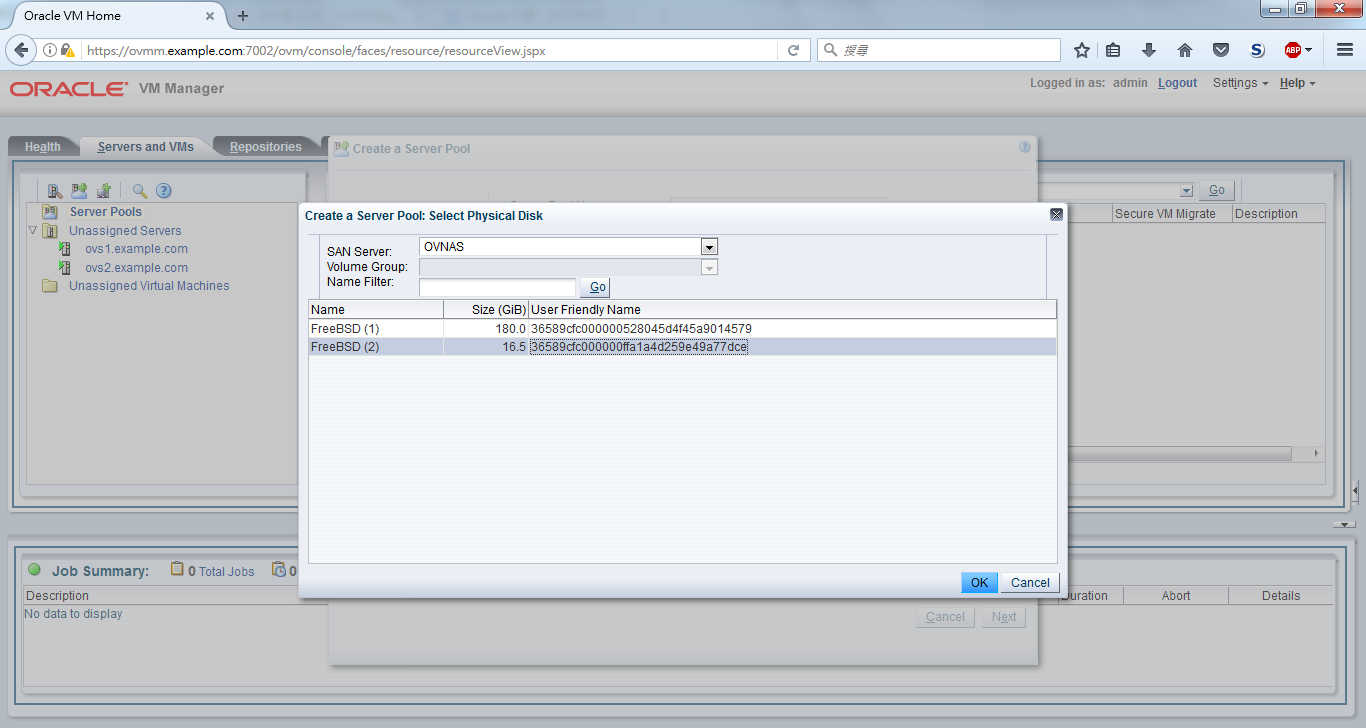
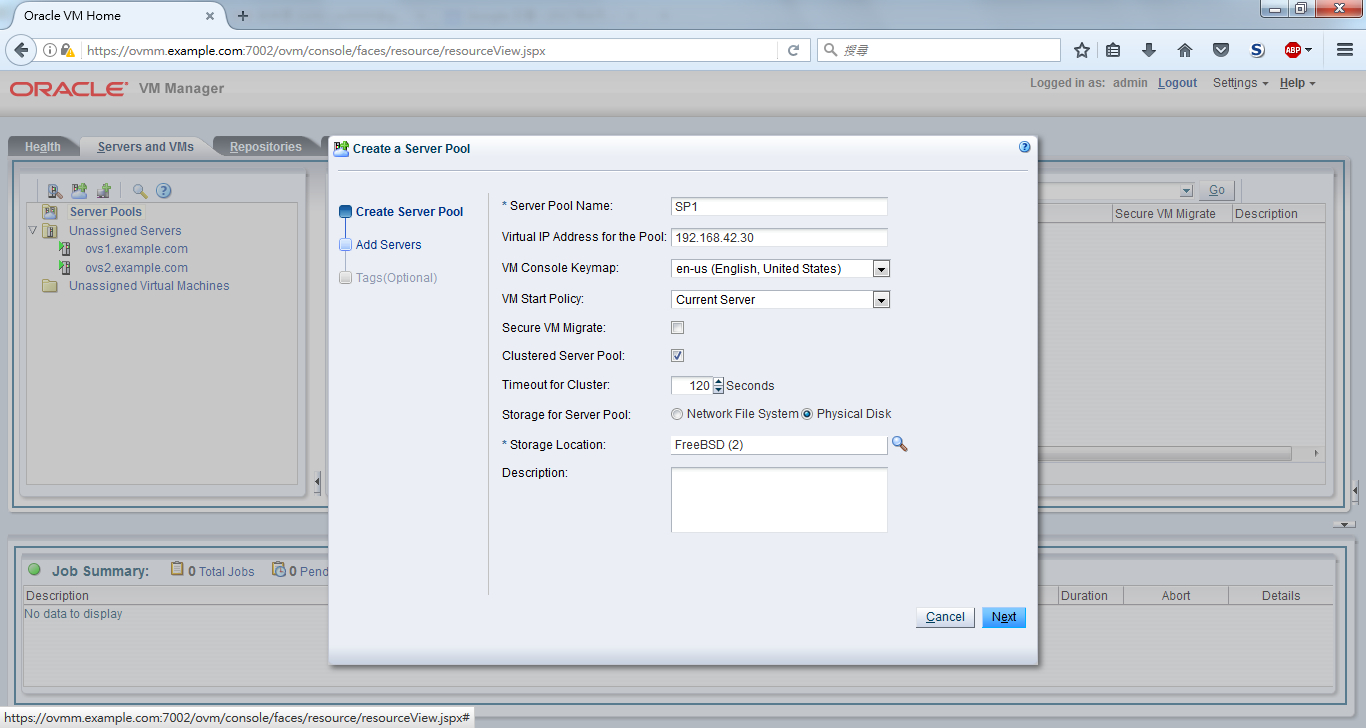
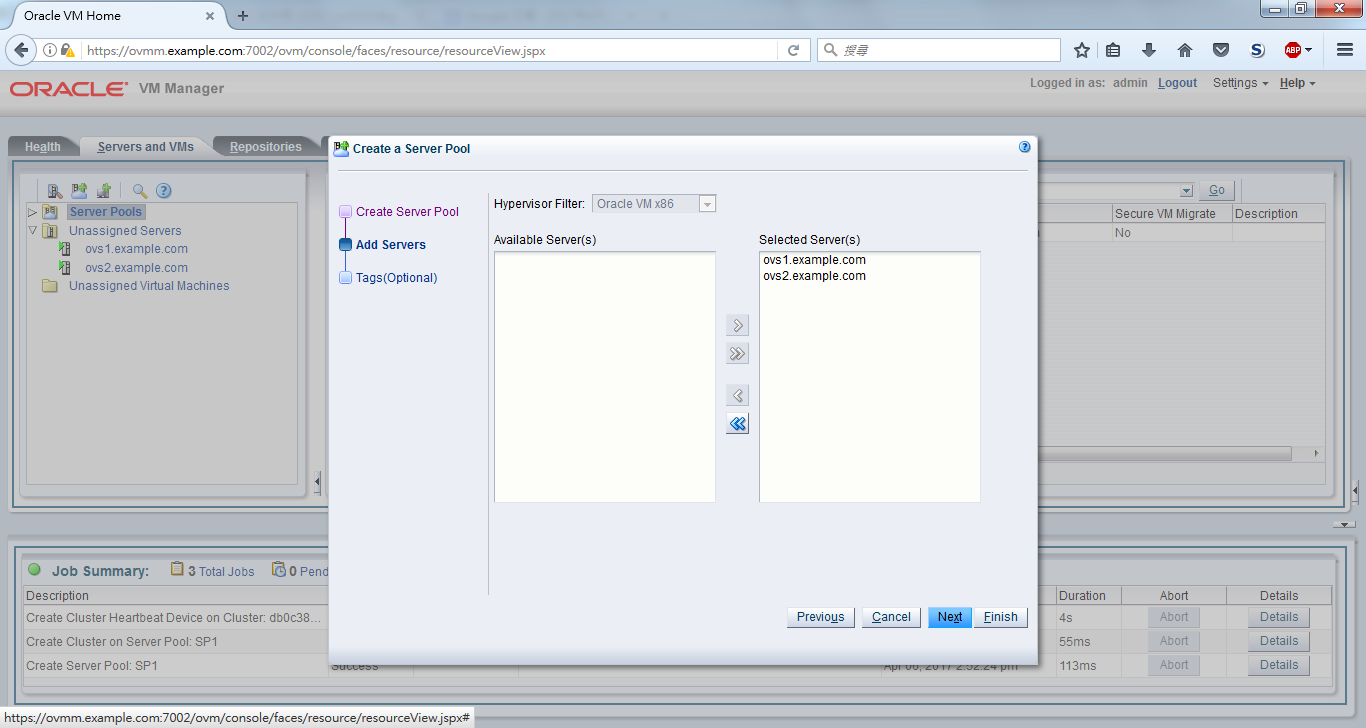
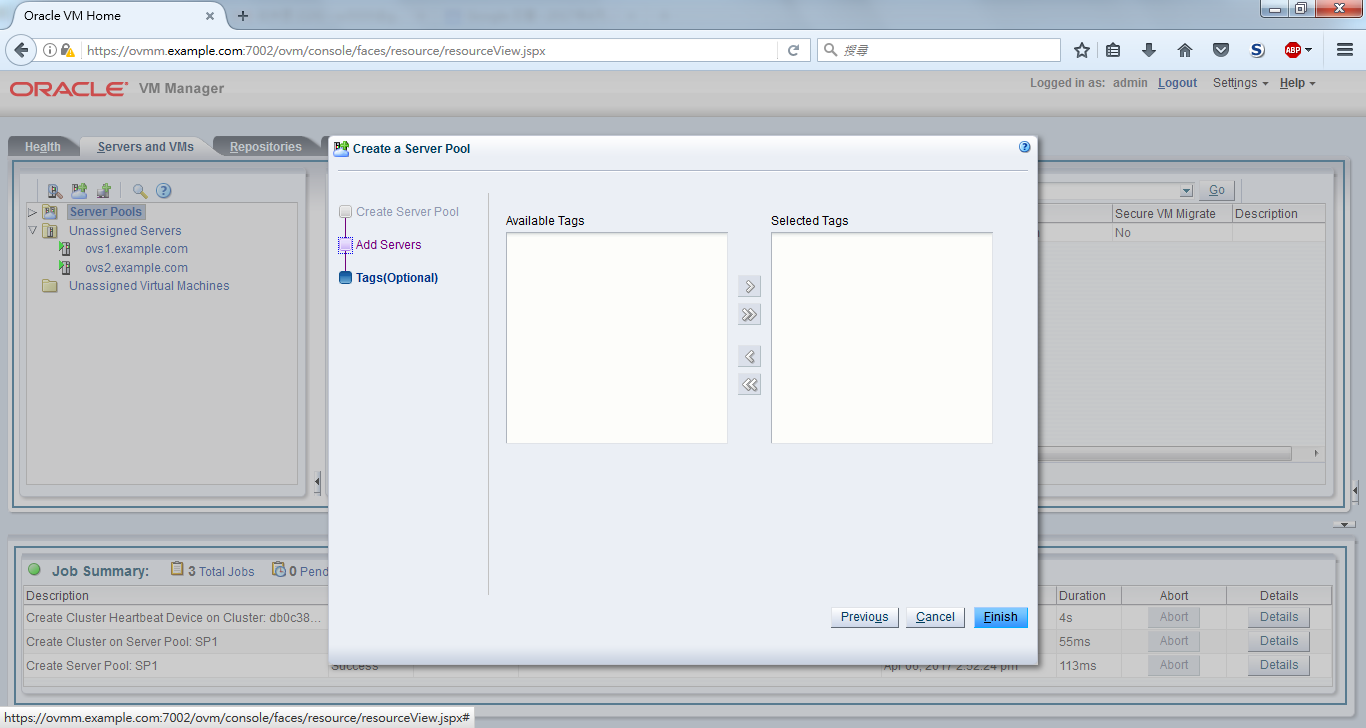
D. Create server pool

OVMM Configuration 26

Use a virtual IP for the server pool

OVMM Configuration 27

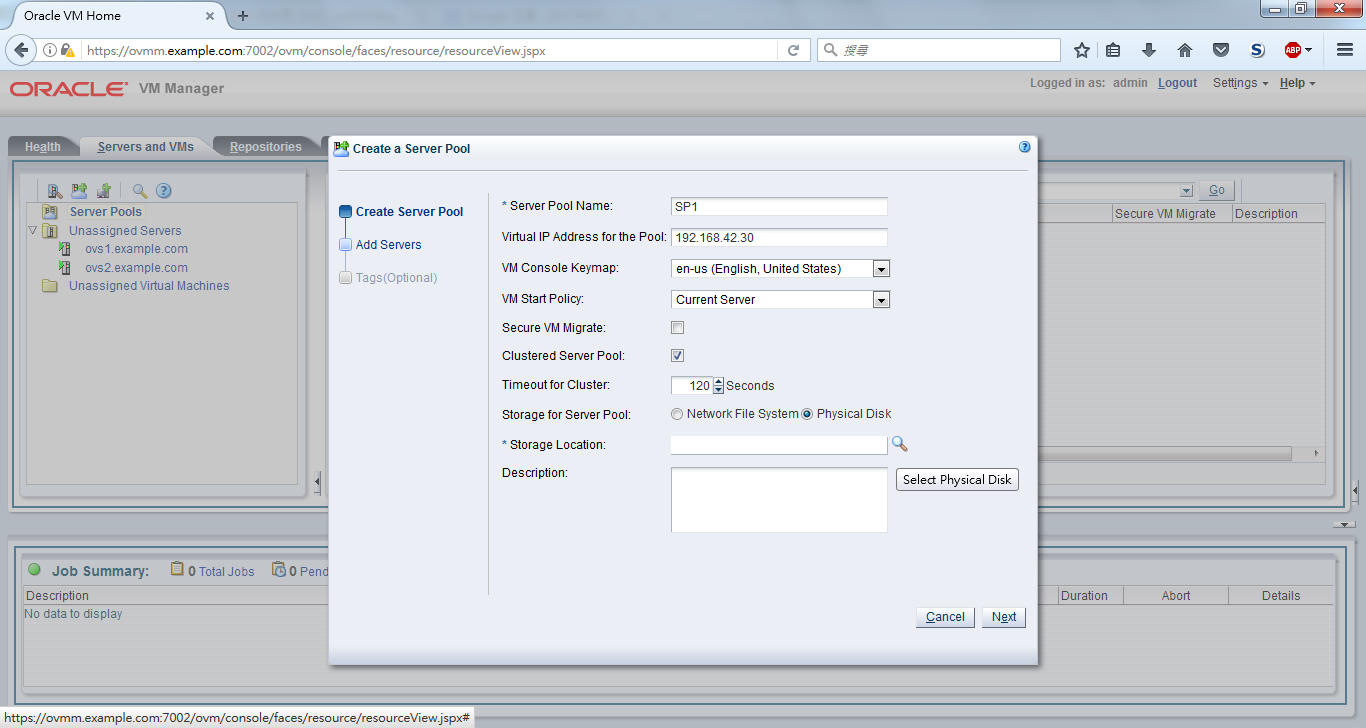
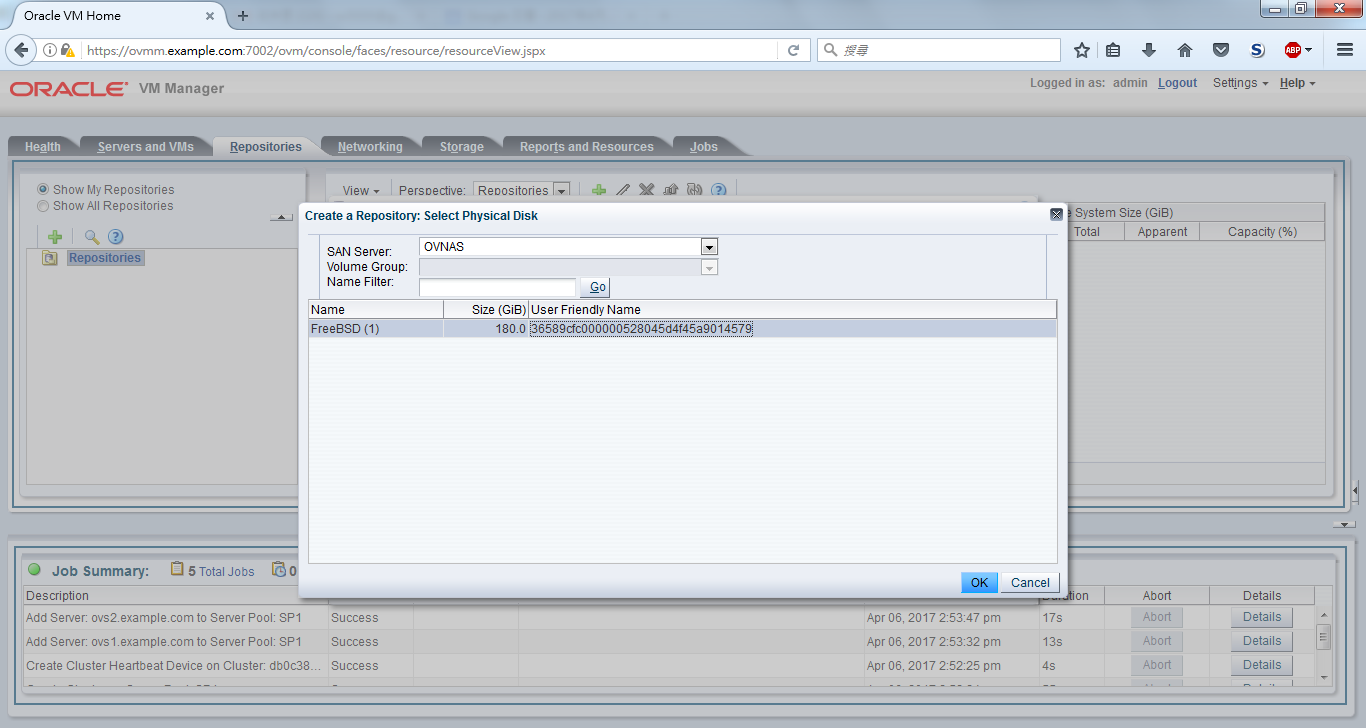
Select a LUN for storing server pool cluster, the small one.

OVMM Configuration 28
OVMM Configuration 29
OVMM Configuration 30
OVMM Configuration 31
OVMM Configuration 32

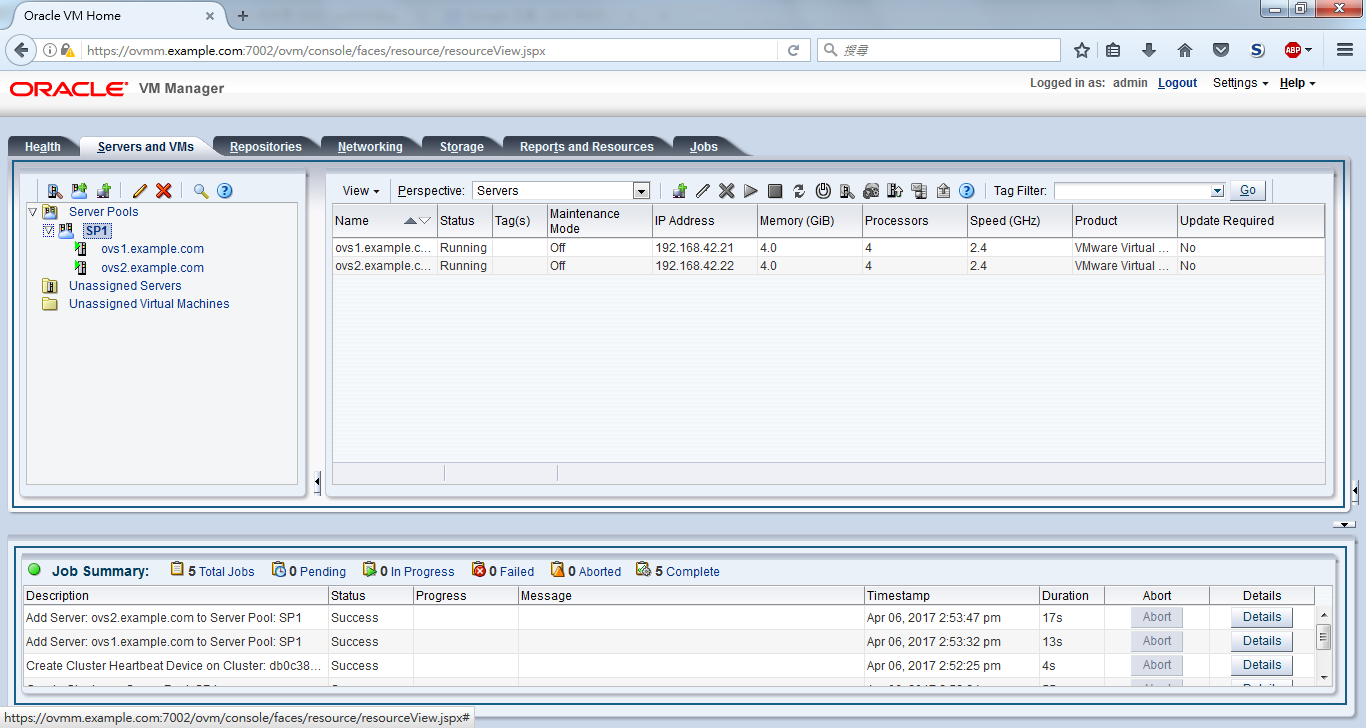
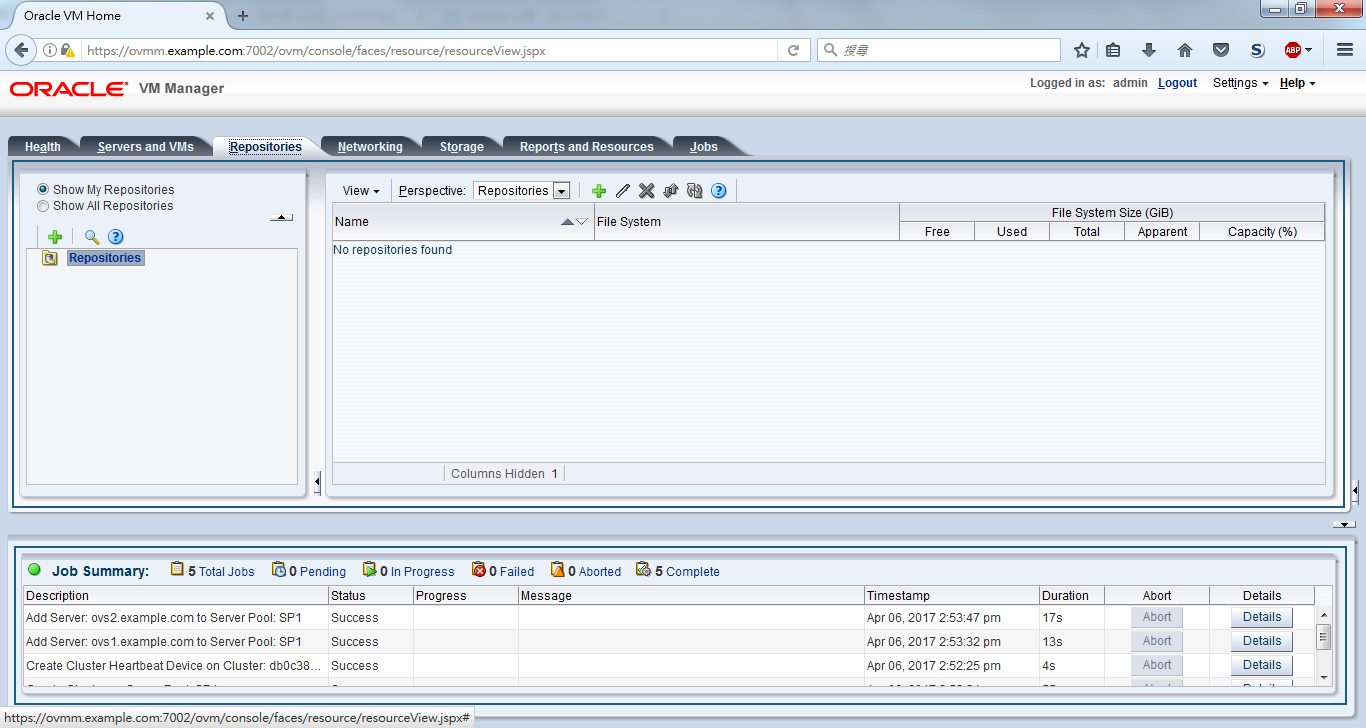
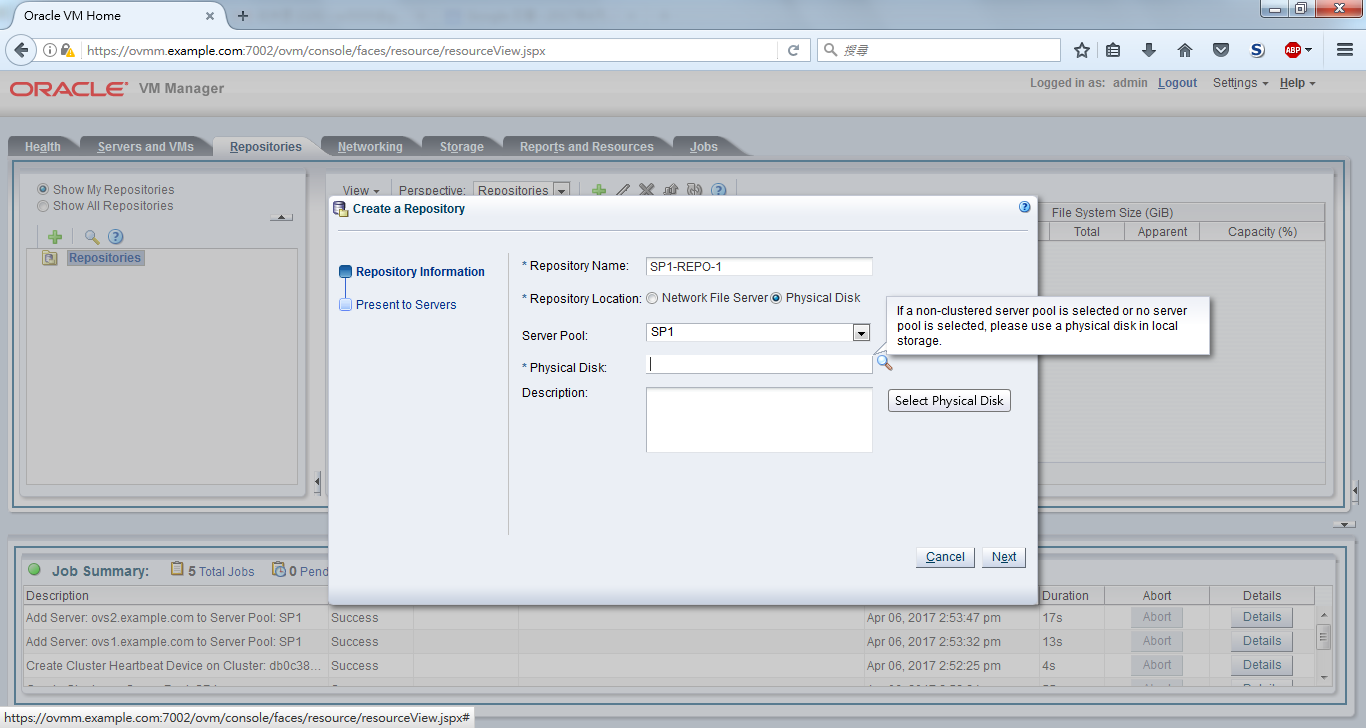
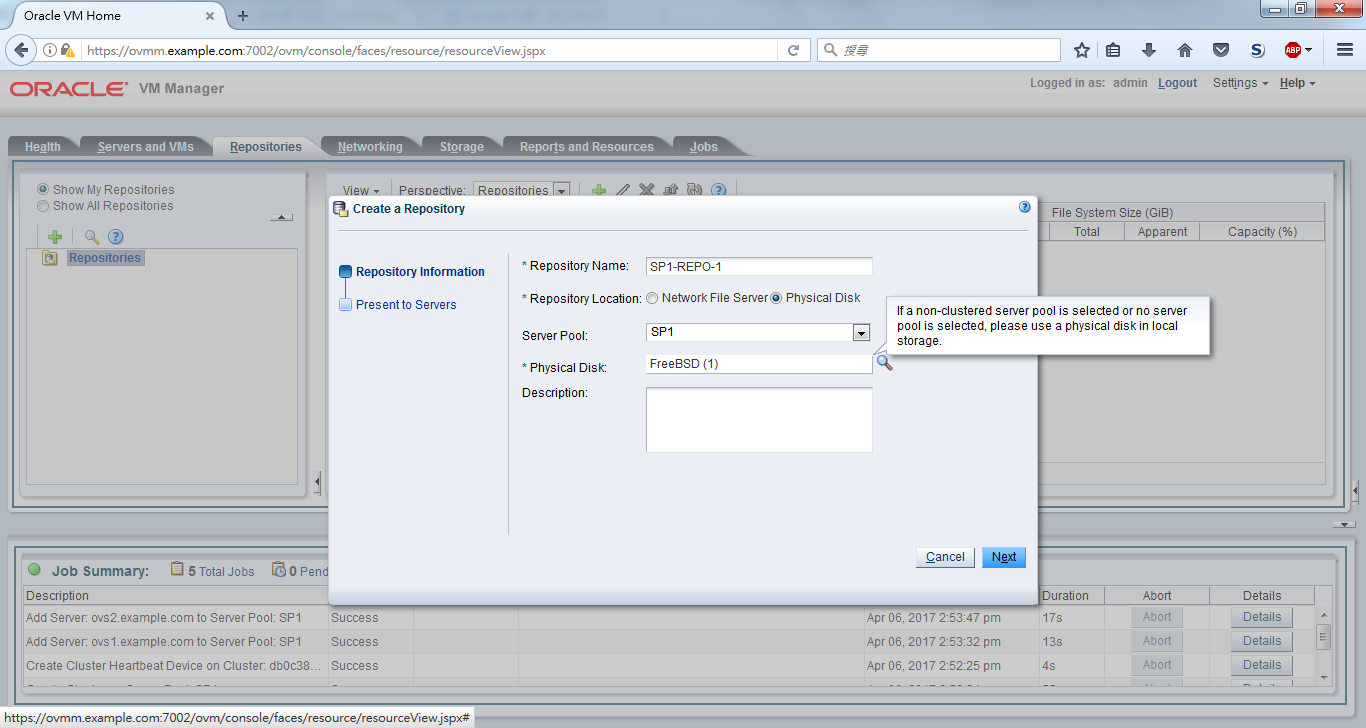
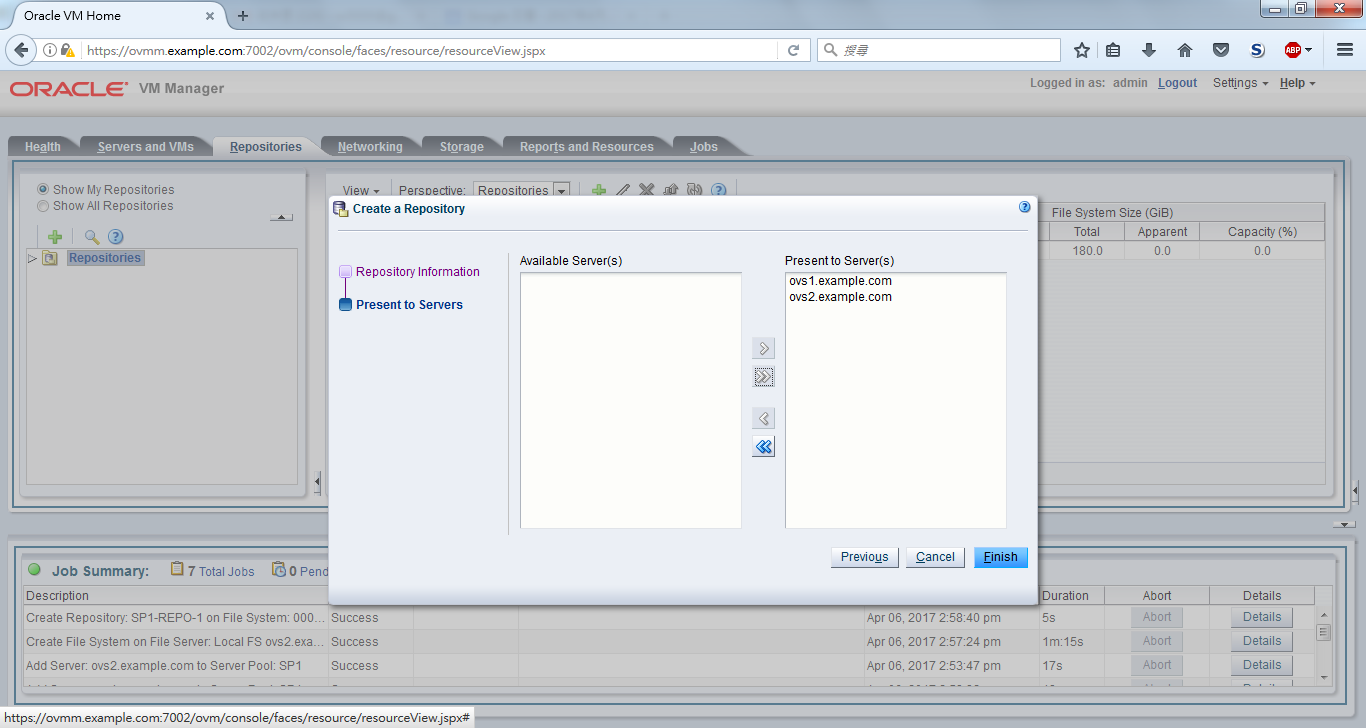
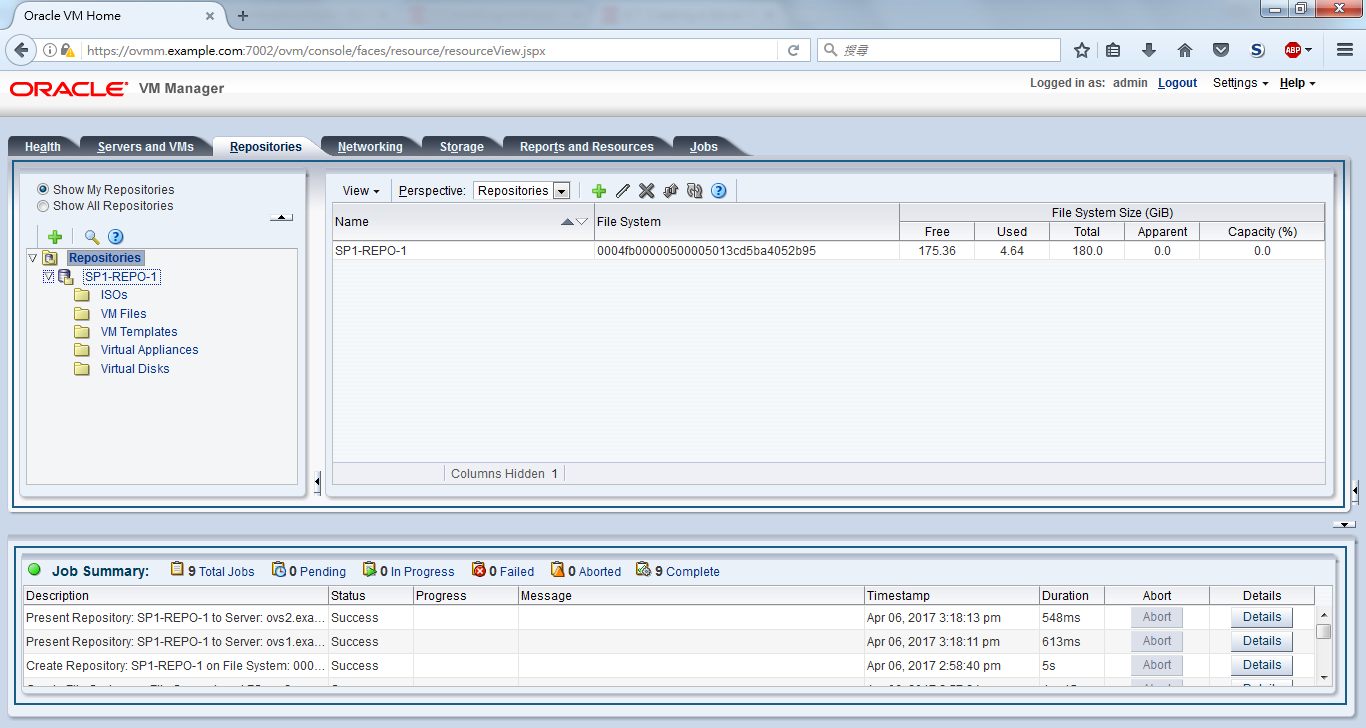
E. Create repository

OVMM Configuration 33
OVMM Configuration 34
OVMM Configuration 35
OVMM Configuration 36
OVMM Configuration 37
OVMM Configuration 38

Leave a Reply

Your email address will not be published. Required fields are marked *