Before adding a RAC database in CC, please make sure the following items are correct:
- The primary or standby hosts are added in CC.
- The primary or standby cluster is added in CC.
- The instances are started on all nodes.
- The listeners are started on all nodes.
- The agents are started on all nodes.
- Make sure dbsnmp and sysman are not locked or expired.
[oracle@primary01 ~]$ srvctl status database -d compdb

Instance primdb1 is running on node primary01

Instance primdb2 is running on node primary02
[oracle@primary01 ~]$ srvctl status listener

Listener LISTENER is enabled

Listener LISTENER is running on node(s): primary01,primary02

[oracle@primary01 ~]$ srvctl status scan

SCAN VIP scan1 is enabled

SCAN VIP scan1 is running on node primary02

SCAN VIP scan2 is enabled

SCAN VIP scan2 is running on node primary01

SCAN VIP scan3 is enabled

SCAN VIP scan3 is running on node primary01
[oracle@primary01 ~]$ /u01/app/oracle/product/agent/agent_inst/bin/emctl start agent

Oracle Enterprise Manager Cloud Control 12c Release 2

Copyright (c) 1996, 2012 Oracle Corporation.  All rights reserved.

Starting agent ............................................................ started.

[oracle@primary01 ~]$ /u01/app/oracle/product/agent/agent_inst/bin/emctl status agent

 Oracle Enterprise Manager Cloud Control 12c Release 2

Copyright (c) 1996, 2012 Oracle Corporation.  All rights reserved.

---------------------------------------------------------------

Agent Version     : 12.1.0.2.0

OMS Version       : (unknown)

Protocol Version  : 12.1.0.1.0

Agent Home        : /u01/app/oracle/product/agent/agent_inst

Agent Binaries    : /u01/app/oracle/product/agent/core/12.1.0.2.0

Agent Process ID  : 8683

Parent Process ID : 8615

Agent URL         : https://primary01:3872/emd/main/

Repository URL    : https://cloudcontrol.example.com:4899/empbs/upload

Started at        : 2013-02-27 21:02:16

Started by user   : oracle

Last Reload       : (none)

Last successful upload                       : (none)

Last attempted upload                        : (none)

Total Megabytes of XML files uploaded so far : 0

Number of XML files pending upload           : 12

Size of XML files pending upload(MB)         : 0.02

Available disk space on upload filesystem    : 59.60%

Collection Status                            : Collections enabled

Heartbeat Status                             : OMS is unreachable

Last attempted heartbeat to OMS              : 2013-02-27 21:05:29

Last successful heartbeat to OMS             : (none)

Next scheduled heartbeat to OMS              : 2013-02-27 21:06:02


---------------------------------------------------------------

Agent is Running and Ready
...

SQL> alter user dbsnmp account unlock;


User altered.


SQL> alter user sysman account unlock;


User altered.


SQL> alter user dbsnmp identified by password;


User altered.


SQL> alter user sysman identified by password;


User altered.

...
Here are the steps to add databases including a primary RAC database and a standalone database.
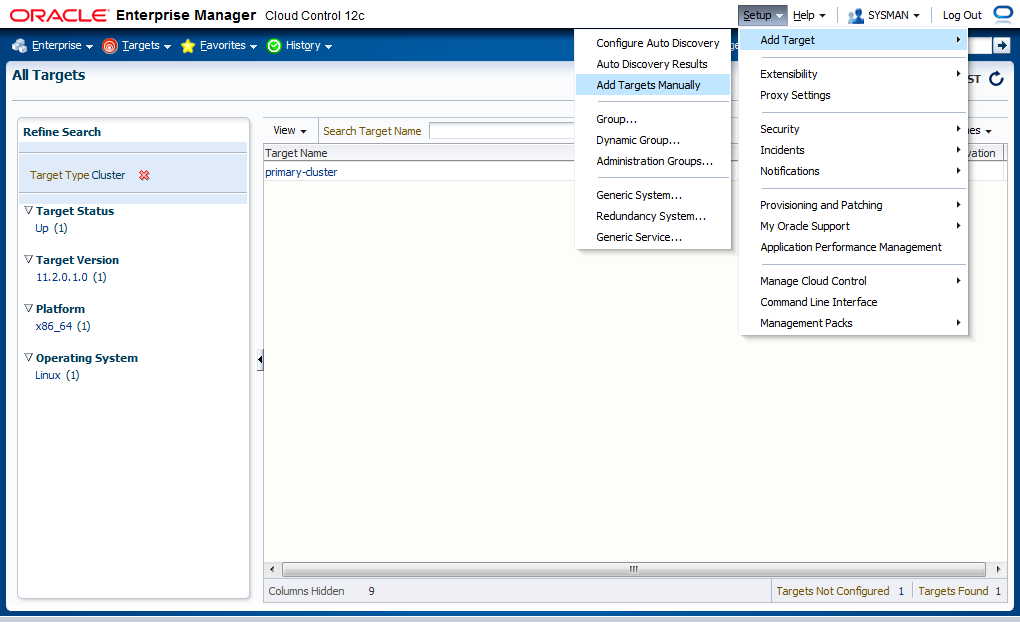
- Find Setup > Add Target > Add Targets Manually, then click.
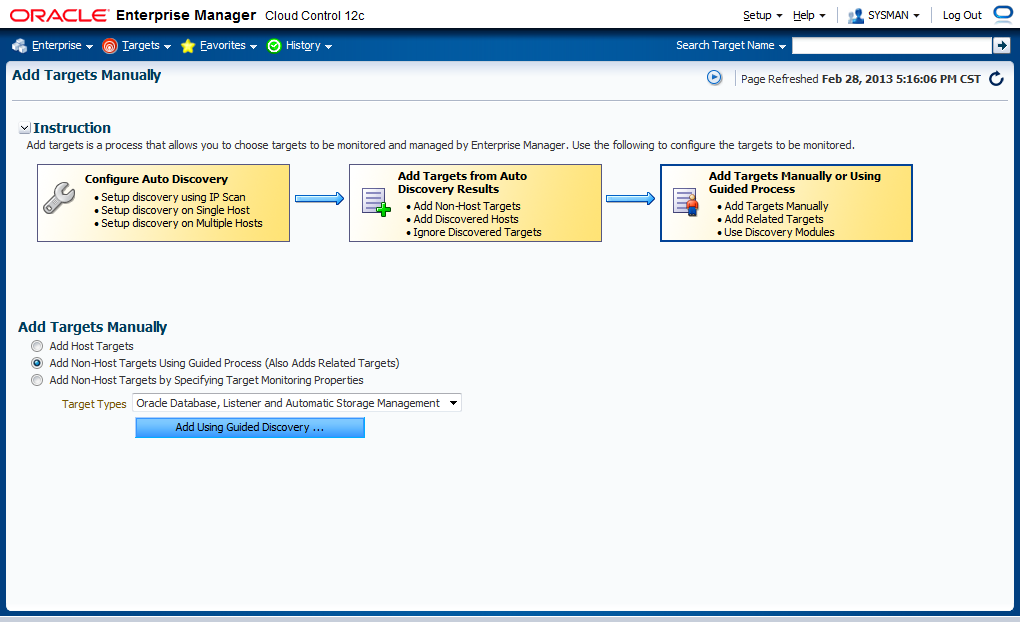
- Select "Add Database, Listener and Automatic Storage Management", then click [Add...].
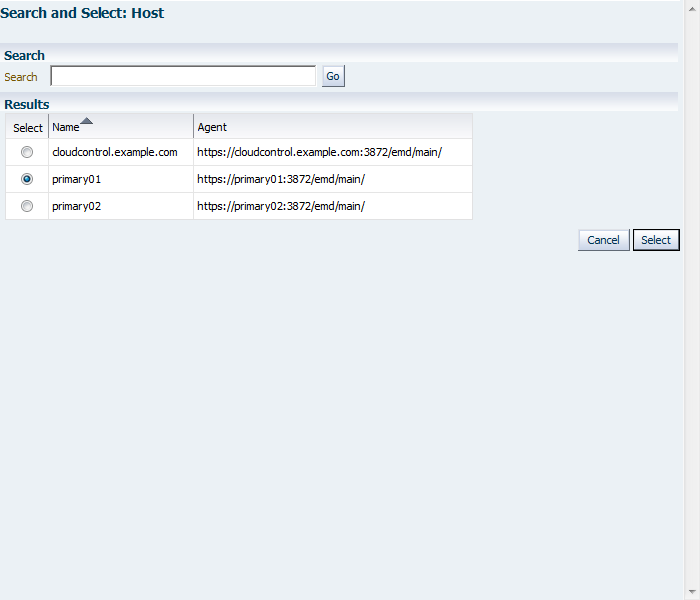
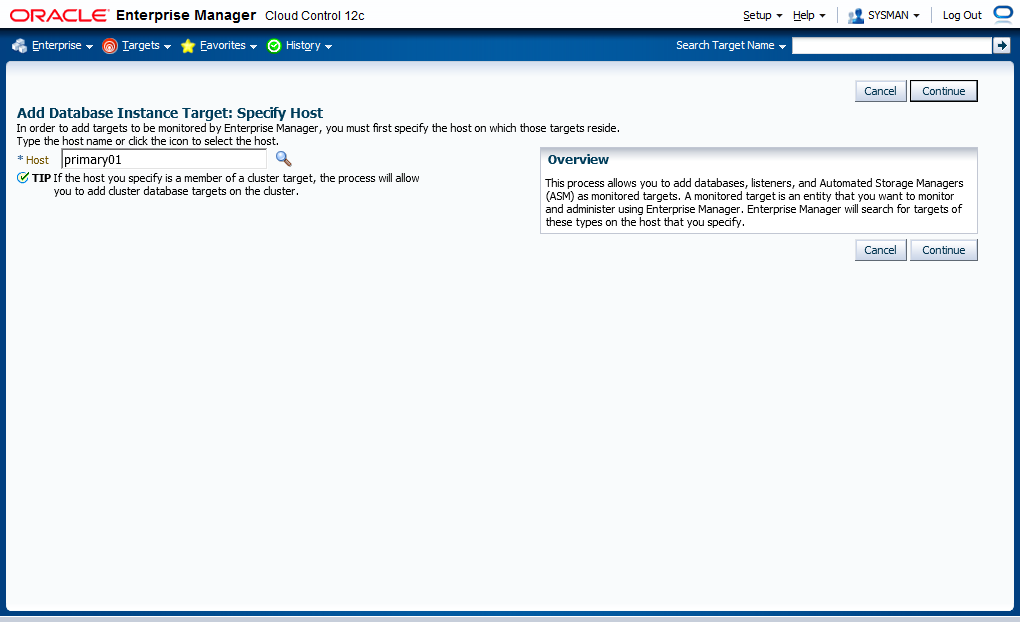
- For specifying a host, please click the "search" icon.
- Choose primary01, click [Select].
- After specifying a host, click [Continue].
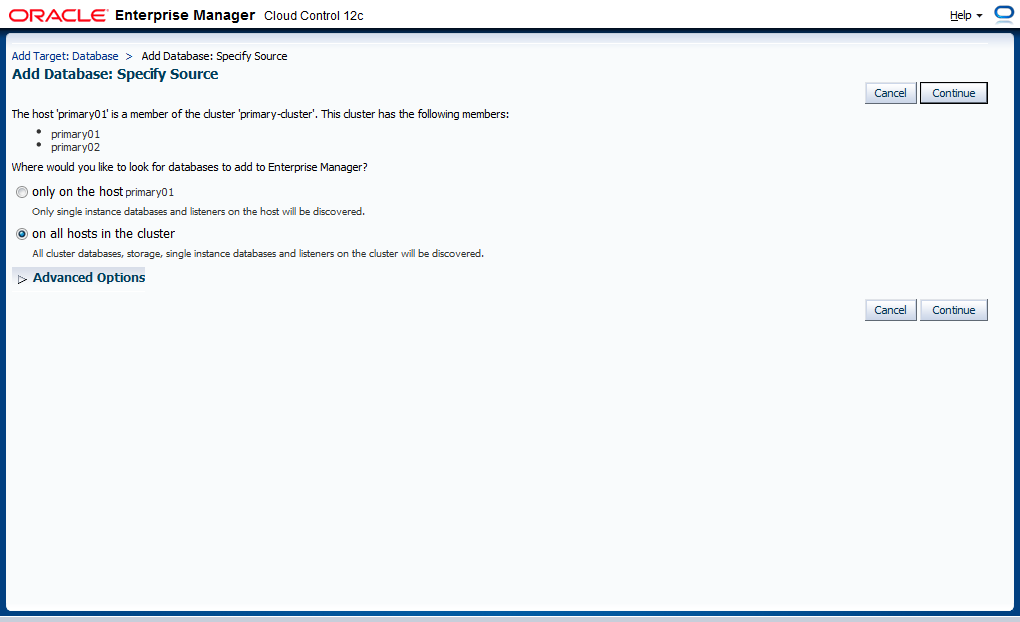
- We choose "on all hosts in the cluster", then click [Continue].
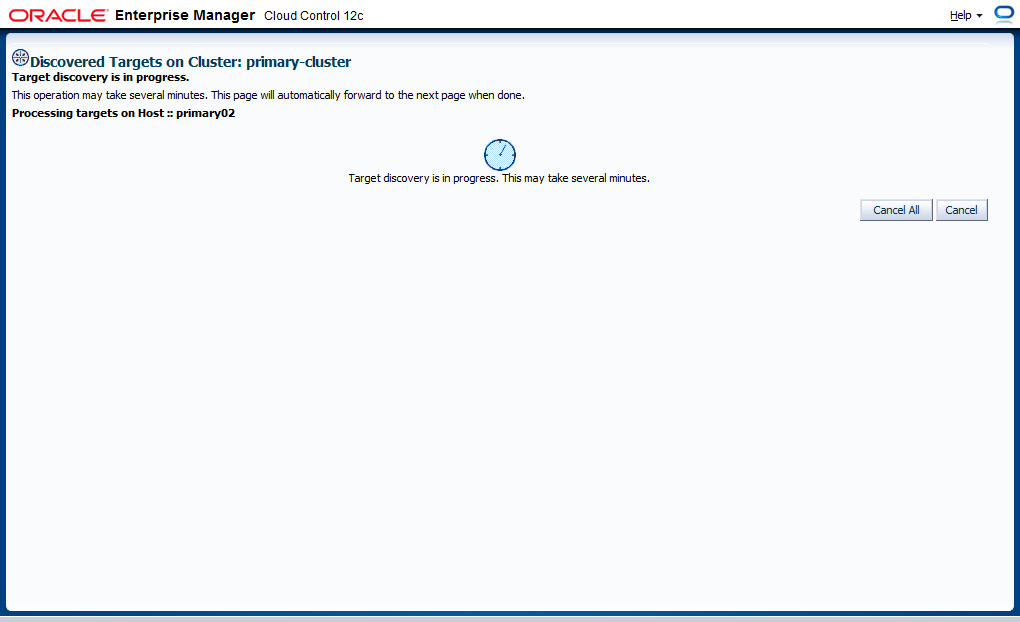
- Target discovery is in progress.
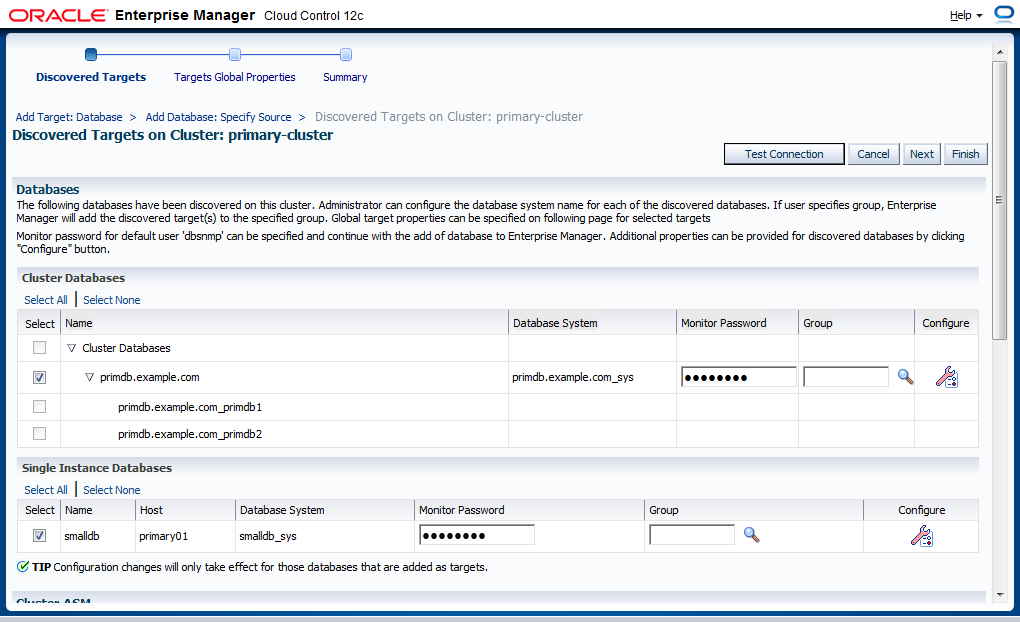
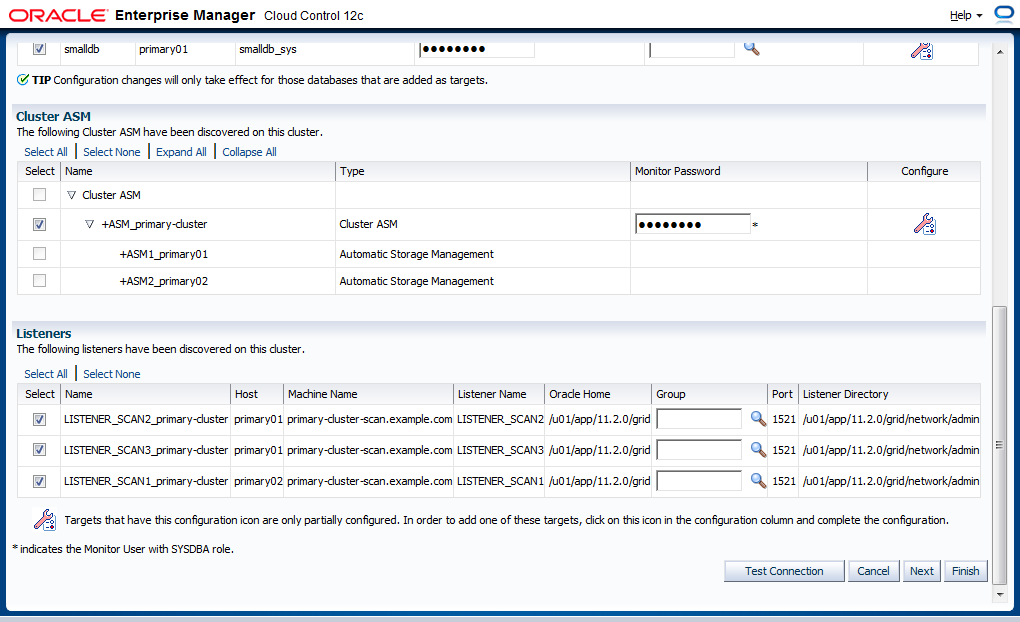
- Fill all required information of discovered databases part 1.
- Fill all required information of discovered databases part 2, then click [Next].
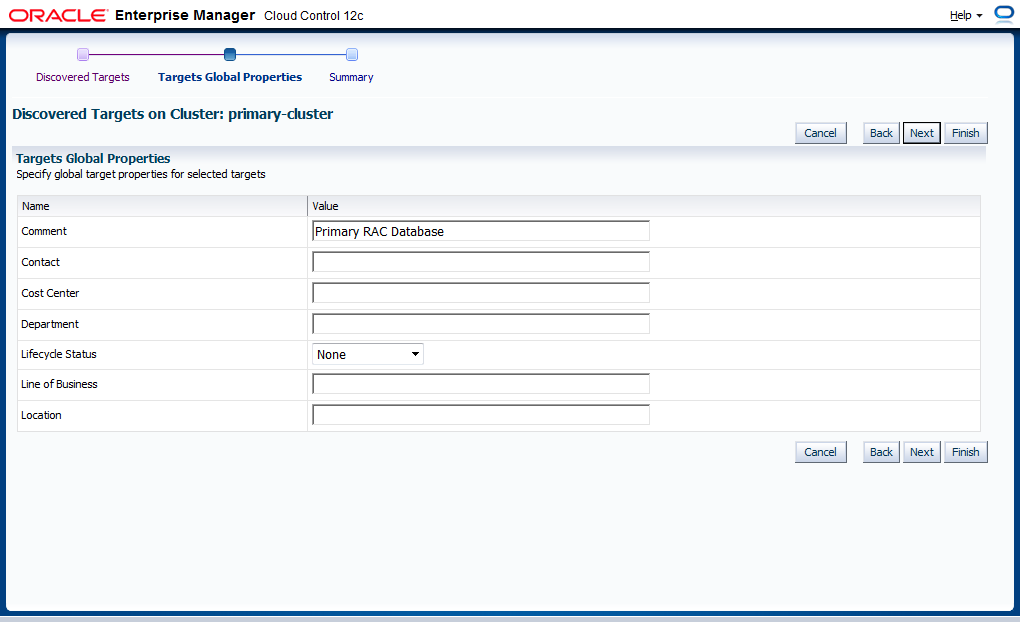
- The fields in this page are not required, click [Next].
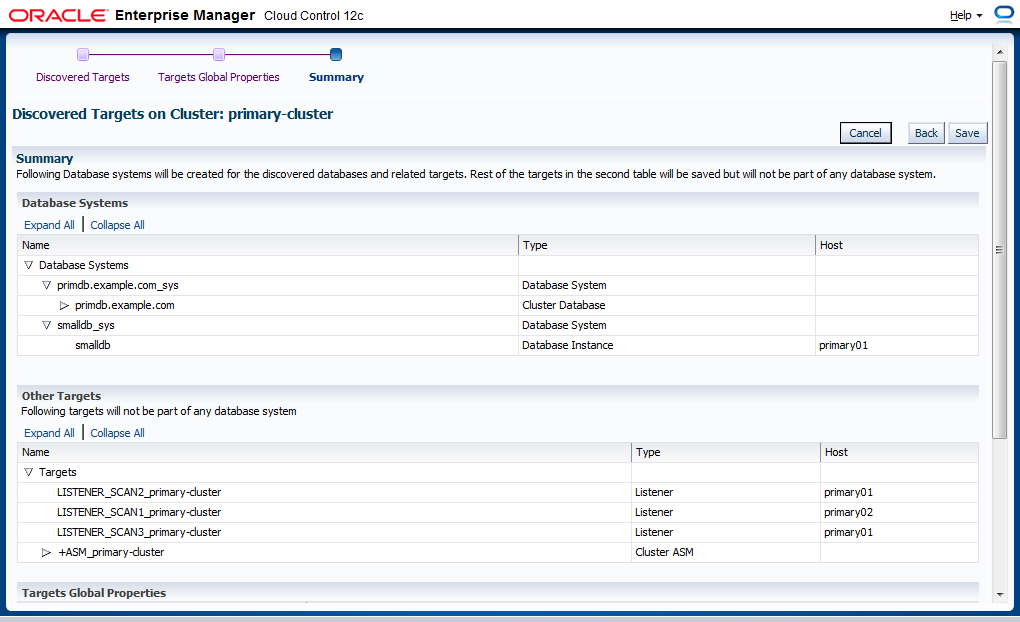
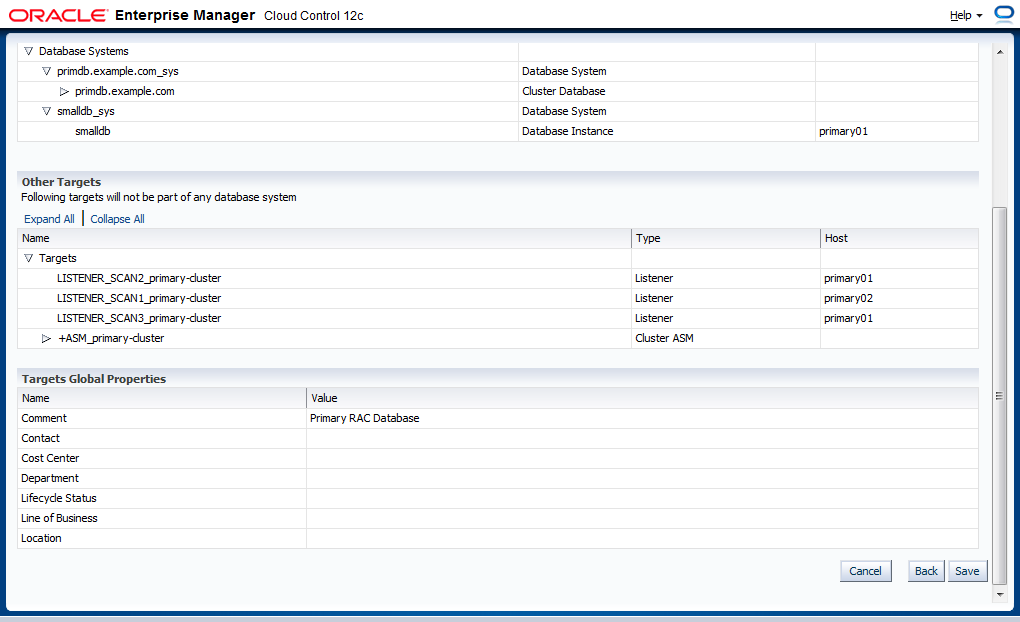
- Review the information before adding databases part 1.
- Review the information before adding databases part 2, then click [Save].
- Targets saving is in progress.
- Target saving results. Click [OK].
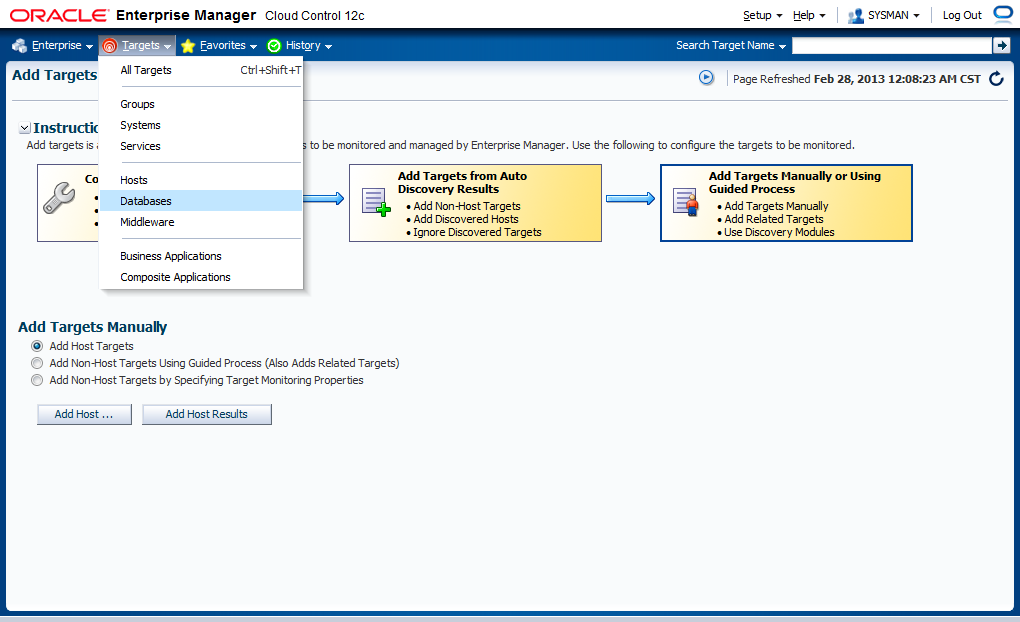
- Find Targets > Databases.
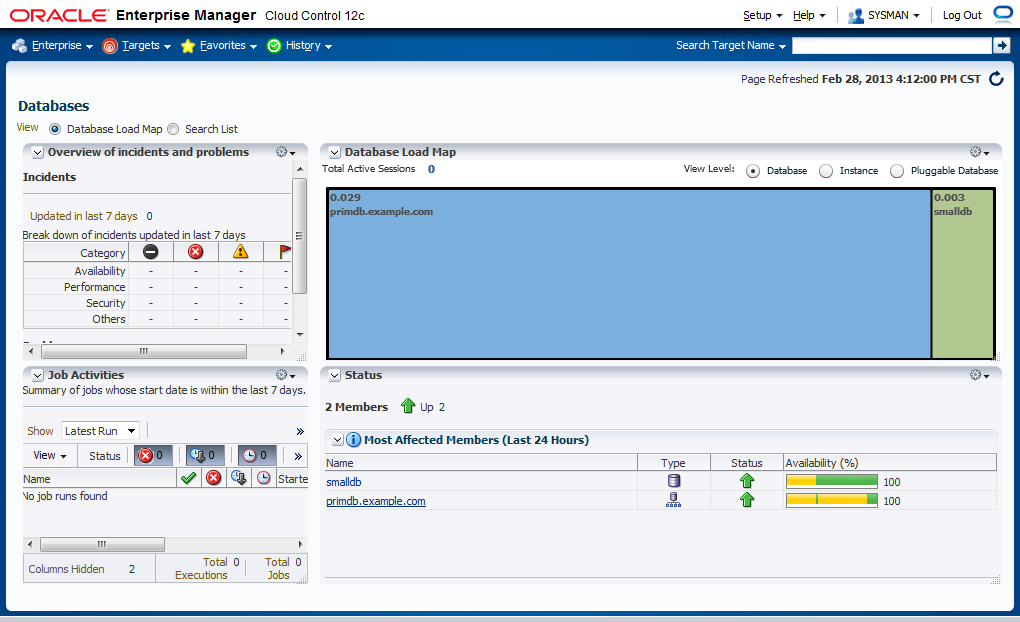
- All databases are listed, here we click primdb.example.com.
- See primdb summarized information.
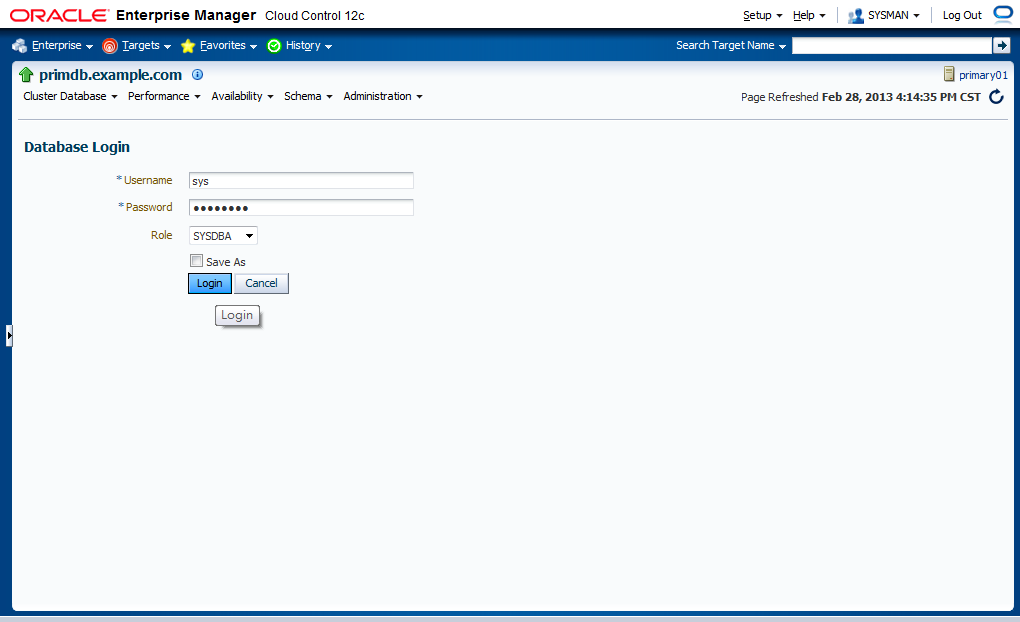
- If you want to check the database, you must provide a credential of the database and click [Login] to proceed.
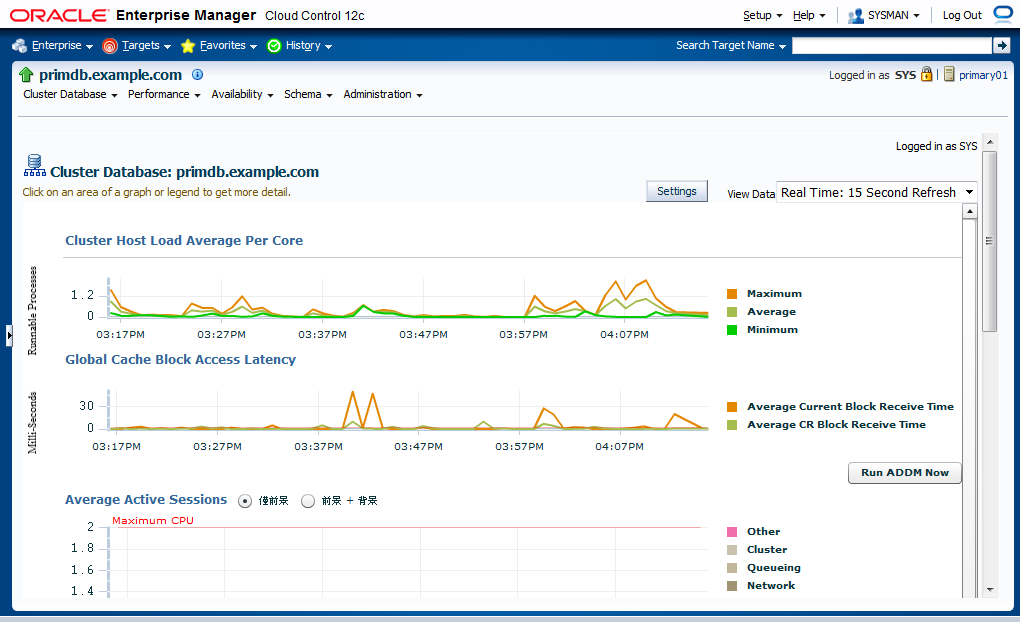
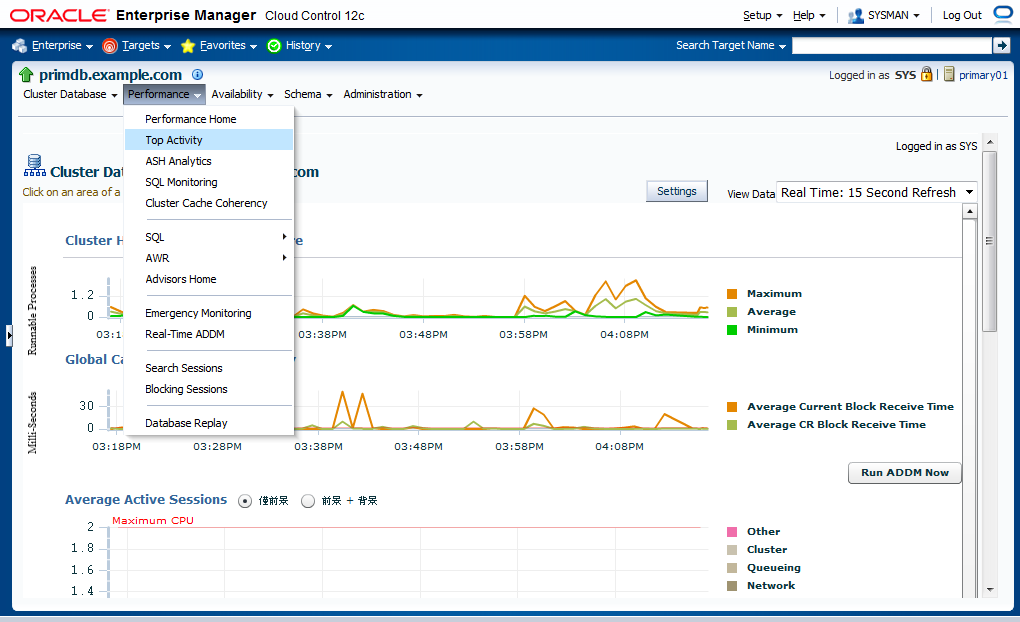
- You can see an overall performance in the cluster.
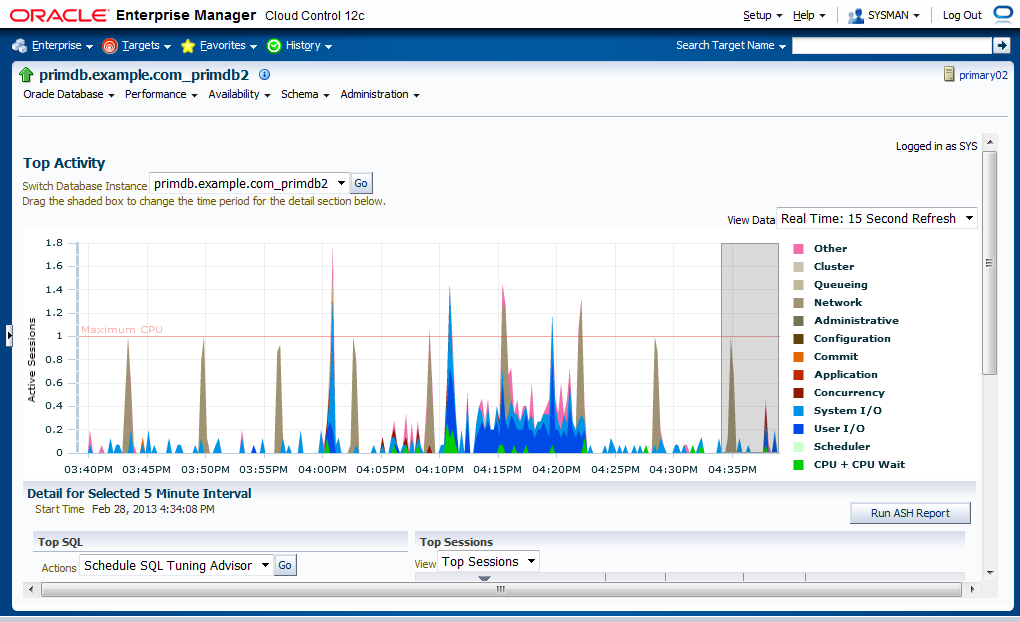
- Find Performance > Top Activity in this page, then click.
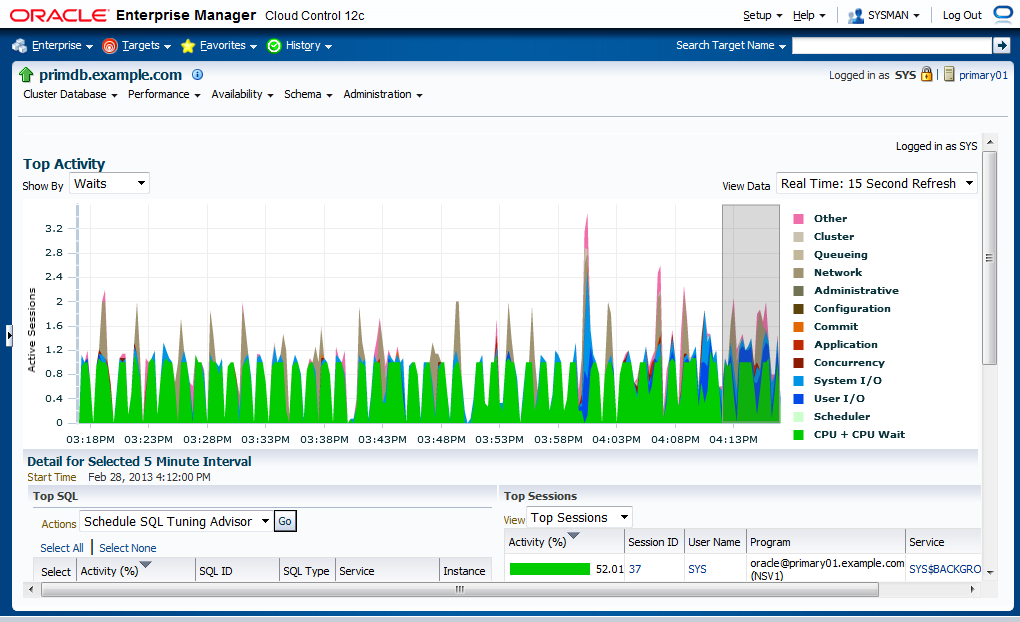
- You can watch the Top Activity in the cluster.
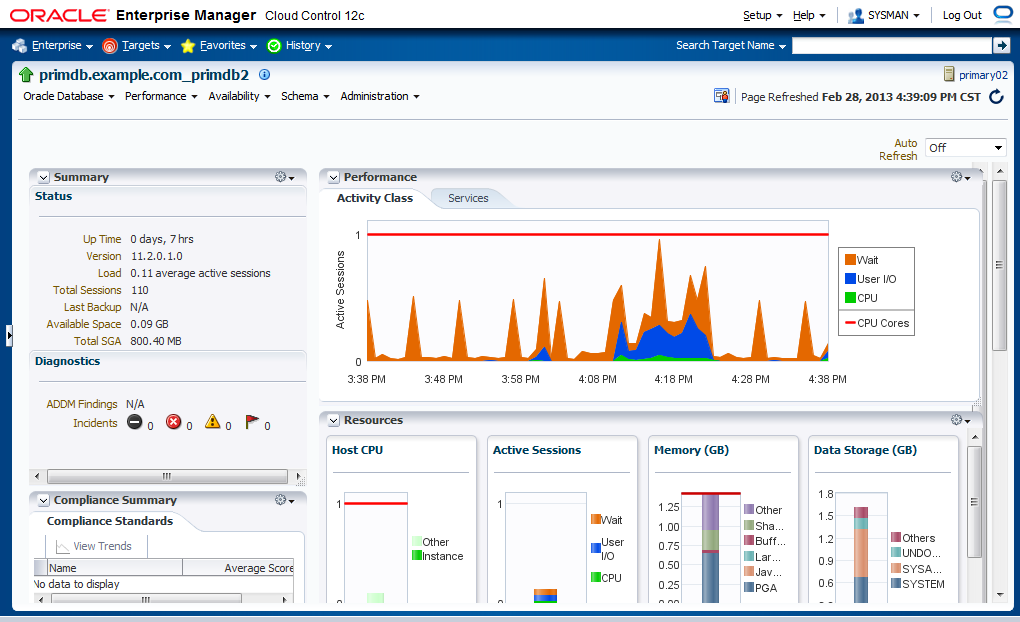
- If you specify one instance to click, you can see the overall performance of the instance.
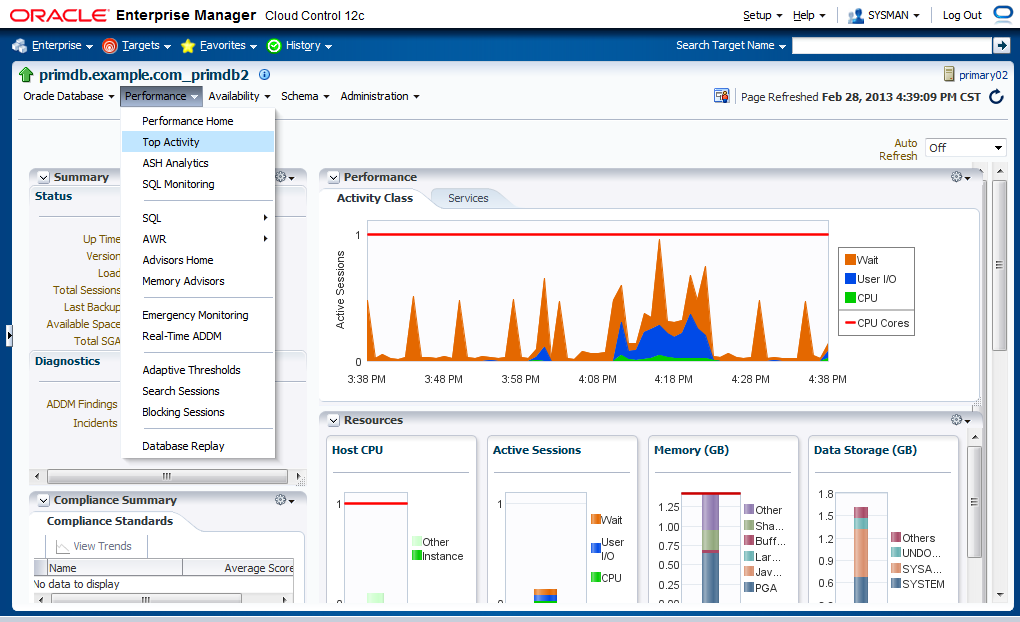
- Find Performance > Top Activity in this page, then click.
- You can watch the Top Activity in the instance.


After adding databases, let's check the results in CC.