We supposed that you already have installed Oracle Linux 8, Red Hat Enterprise Linux 8 or its derivatives like AlmaLinux for your database server.
There're 5 major sections of installing an Oracle database 19c on Linux.
- Prepare Database Server
- Install Oracle Software 19c
- Configure Listener
- Create Database 19c
- Post Installation
Please note that, if you want your database server to have a higher state of 19c directly, say 19.18, you may also consider to patch oracle home before creating the database, it's faster and less risky.
There's a tutorial that directly install Oracle database 19.18 on a new Linux server, you may have a look.
Prepare Database Server
To prepare a database server, we take the following steps.
- Required Packages
- Network & Security
- Kernel Parameters
- Group, User and Directories
- User Profile
- Unzip Sources
- Distribution ID
Required Packages
A newly created Linux server might not have sufficient packages to run Oracle products, especially you chose the minimal install for it. Therefore, we have to install required packages for Oracle database 19c.
Network & Security
Check Hostname Resolution
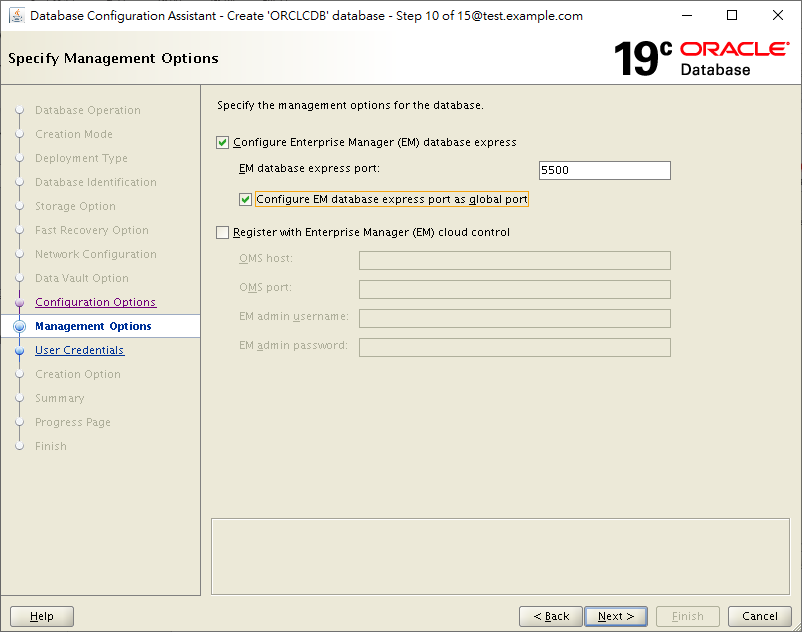
To prevent DBT-06103 The Port 5500 is Already in Use, we should make sure that the hostname resolution is working on this server.
[root@test ~]# vi /etc/hosts

...

192.168.1.11    test test.example.com
Disable Firewall
[root@test ~]# systemctl stop firewalld

[root@test ~]# systemctl disable firewalld

Removed /etc/systemd/system/multi-user.target.wants/firewalld.service.

Removed /etc/systemd/system/dbus-org.fedoraproject.FirewallD1.service.
If you couldn't or wouldn't disable firewall, then you may also open port 1521 on Linux for your listener.
Disable SELinux
[root@test ~]# vi /etc/selinux/config

...

SELINUX=disabled
Kernel Parameters
If required packages were installed through Oracle Database 19c Pre-installation RPM, you may skip this step. Otherwise, you have to change kernel parameters by yourself.
Persist Kernel Parameter
We put new kernel values in a sysctl configuration file.
[root@test ~]# vi /etc/sysctl.d/97-oracle-database-sysctl.conf

fs.aio-max-nr = 1048576

fs.file-max = 6815744

kernel.shmall = 2097152

kernel.shmmax = 4294967295

kernel.shmmni = 4096

kernel.sem = 250 32000 100 128

net.ipv4.ip_local_port_range = 9000 65500

net.core.rmem_default = 262144

net.core.rmem_max = 4194304

net.core.wmem_default = 262144

net.core.wmem_max = 1048576
Reload Kernel Parameter
We should make it read values from all system directories.
[root@test ~]# sysctl --system

* Applying /usr/lib/sysctl.d/10-default-yama-scope.conf ...

kernel.yama.ptrace_scope = 0

* Applying /usr/lib/sysctl.d/50-coredump.conf ...

kernel.core_pattern = |/usr/lib/systemd/systemd-coredump %P %u %g %s %t %c %h %e

kernel.core_pipe_limit = 16

* Applying /usr/lib/sysctl.d/50-default.conf ...

kernel.sysrq = 16

kernel.core_uses_pid = 1

kernel.kptr_restrict = 1

net.ipv4.conf.all.rp_filter = 1

net.ipv4.conf.all.accept_source_route = 0

net.ipv4.conf.all.promote_secondaries = 1

net.core.default_qdisc = fq_codel

fs.protected_hardlinks = 1

fs.protected_symlinks = 1

* Applying /usr/lib/sysctl.d/50-libkcapi-optmem_max.conf ...

net.core.optmem_max = 81920

* Applying /usr/lib/sysctl.d/50-pid-max.conf ...

kernel.pid_max = 4194304

* Applying /etc/sysctl.d/97-oracle-database-sysctl.conf ...

fs.aio-max-nr = 1048576

fs.file-max = 6815744

kernel.shmall = 2097152

kernel.shmmax = 4294967295

kernel.shmmni = 4096

kernel.sem = 250 32000 100 128

net.ipv4.ip_local_port_range = 9000 65500

net.core.rmem_default = 262144

net.core.rmem_max = 4194304

net.core.wmem_default = 262144

net.core.wmem_max = 1048576

* Applying /etc/sysctl.d/99-sysctl.conf ...

* Applying /etc/sysctl.conf ...
Group, User and Directories
At least, we should create 2 groups and 1 user for installing a single-instance database.
[root@test ~]# groupadd -g 54321 oinstall

[root@test ~]# groupadd -g 54322 dba

[root@test ~]# groupadd -g 54323 oper

[root@test ~]# useradd -u 54321 -g oinstall -G dba,oper oracle

[root@test ~]# id oracle

uid=54321(oracle) gid=54321(oinstall) groups=54321(oinstall),54322(dba),54323(oper)

[root@test ~]# passwd oracle

Changing password for user oracle.

New password:

Retype new password:

passwd: all authentication tokens updated successfully.
Then we create necessary directories for user oracle.
[root@test ~]# mkdir -p /u01/app/oracle/product/19.0.0/dbhome_1

[root@test ~]# chown -R oracle:oinstall /u01

[root@test ~]# chmod -R 775 /u01
Resource management should also be configured for the user.
[root@test ~]# vi /etc/security/limits.conf

...

oracle soft nofile 1024

oracle hard nofile 65536

oracle soft nproc 2047

oracle hard nproc 16384

oracle soft stack 10240

oracle hard stack 32768

oracle soft memlock unlimited

oracle hard memlock unlimited

[root@test ~]# sysctl -p
User Profile
To prepare the environment of the software owner, we modify its profile (~/.bash_profile).
[root@test ~]# su - oracle
[oracle@test ~]$ vi ~/.bash_profile
...
# User specific environment and startup programs
umask 022
ORACLE_SID=ORCLCDB
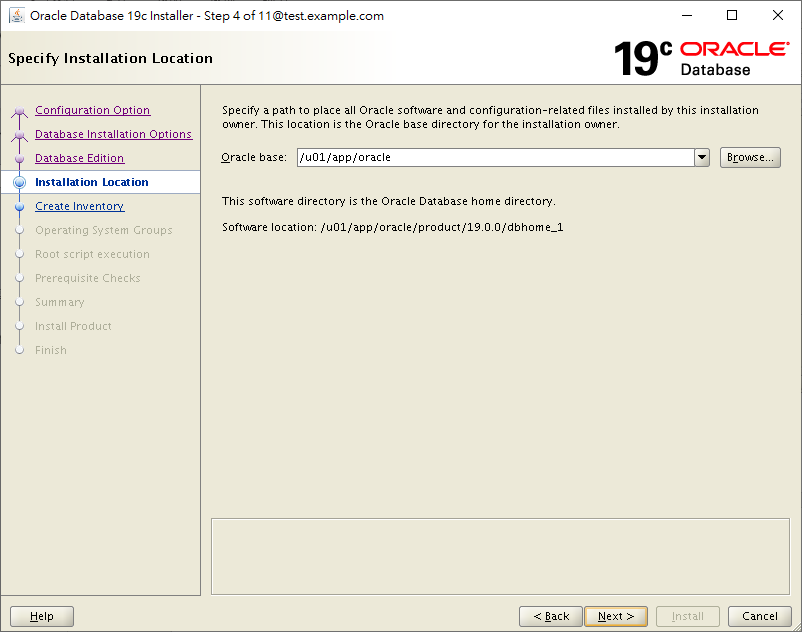
ORACLE_BASE=/u01/app/oracle
ORACLE_HOME=$ORACLE_BASE/product/19.0.0/dbhome_1
LD_LIBRARY_PATH=$ORACLE_HOME/lib
TMP=/tmp
TMPDIR=/tmp
PATH=$PATH:$ORACLE_HOME/bin:$ORACLE_HOME/OPatch
export ORACLE_SID ORACLE_BASE ORACLE_HOME LD_LIBRARY_PATH TMP TMPDIR PATH
Unzip Sources
Supposed that you have uploaded the software to the database server, we may unzip the software to $ORACLE_HOME by the owner oracle.
Please login the database server as oracle directly through ssh -X or any other tools with X window enabled by default.
[oracle@test ~]$ ll /sources/

total 2987996

-rwxr-xr-x. 1 oracle oinstall 3059705302 Feb  9 18:48 LINUX.X64_193000_db_home.zip

drwxr-xr-x. 2 oracle oinstall        105 Feb  9 18:52 patches

[oracle@test ~]$ unzip -q /sources/LINUX.X64_193000_db_home.zip -d $ORACLE_HOME
Distribution ID
In order to prevent INS-08101 Unexpected Error, we should modify the following environment variable CV_ASSUME_DISTID.
[oracle@test ~]$ vi $ORACLE_HOME/cv/admin/cvu_config

...

CV_ASSUME_DISTID=OEL8
To know if the server meets the requirements of Oracle product or not, we may perform a prerequisite check before installation.
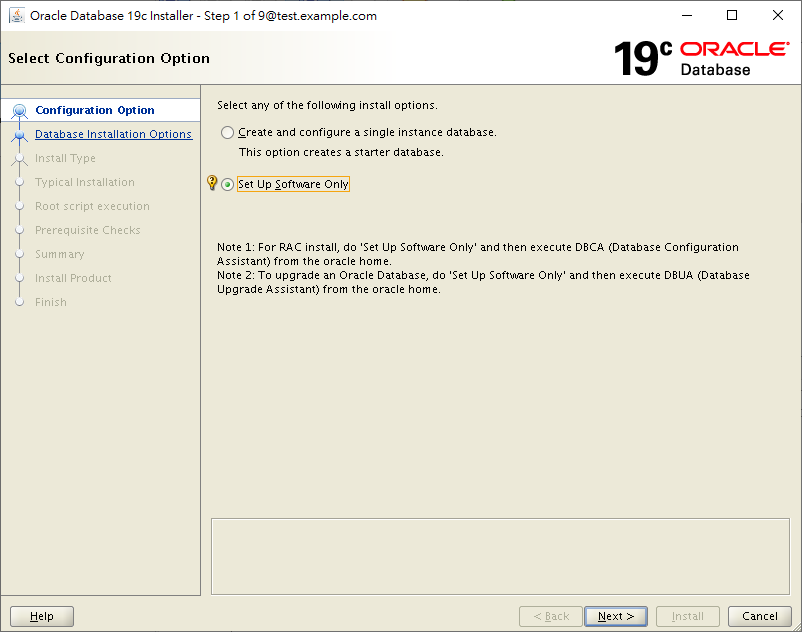
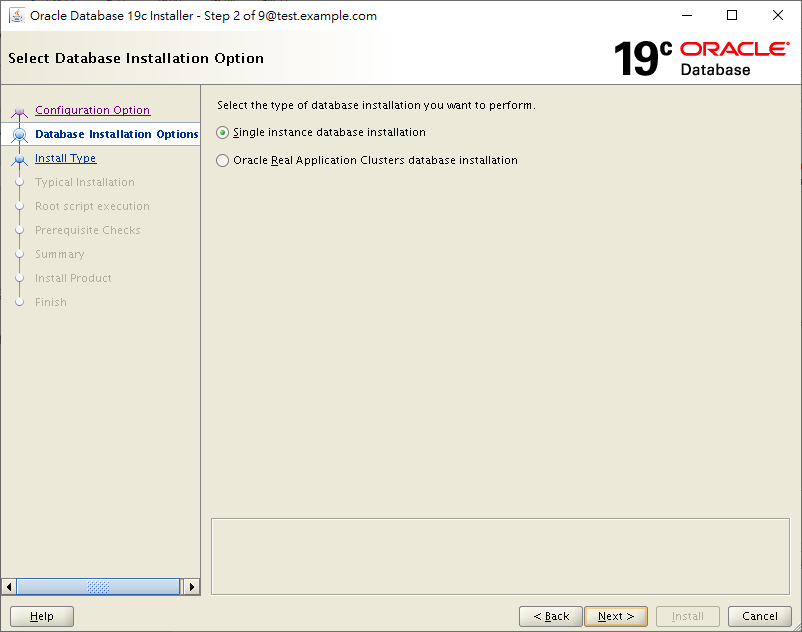
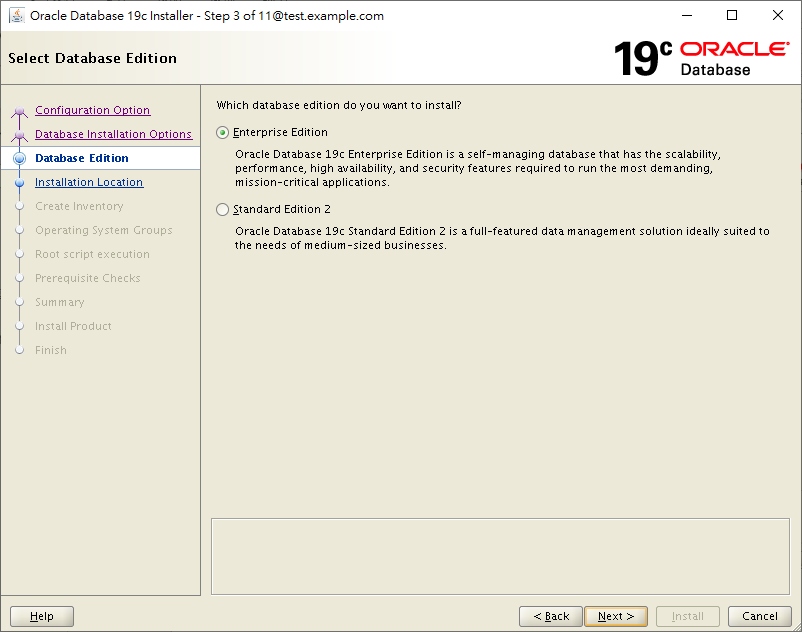
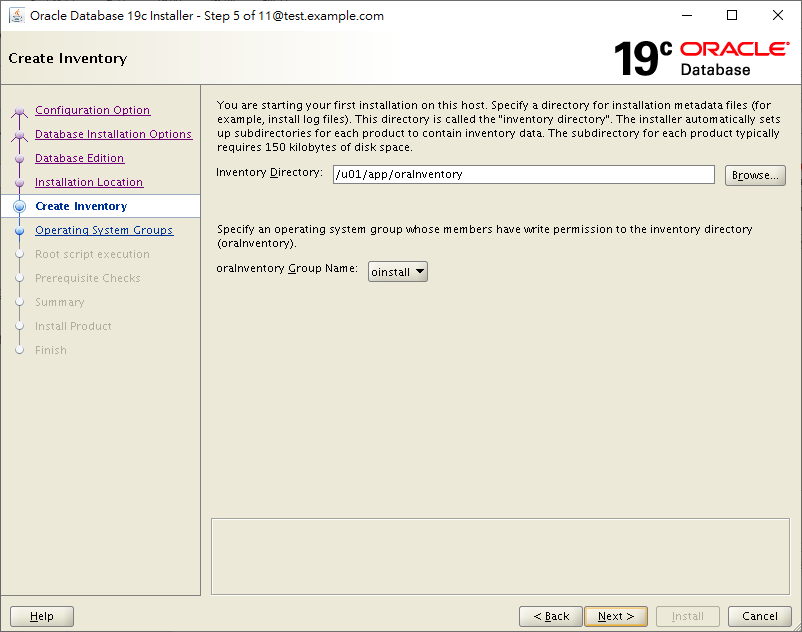
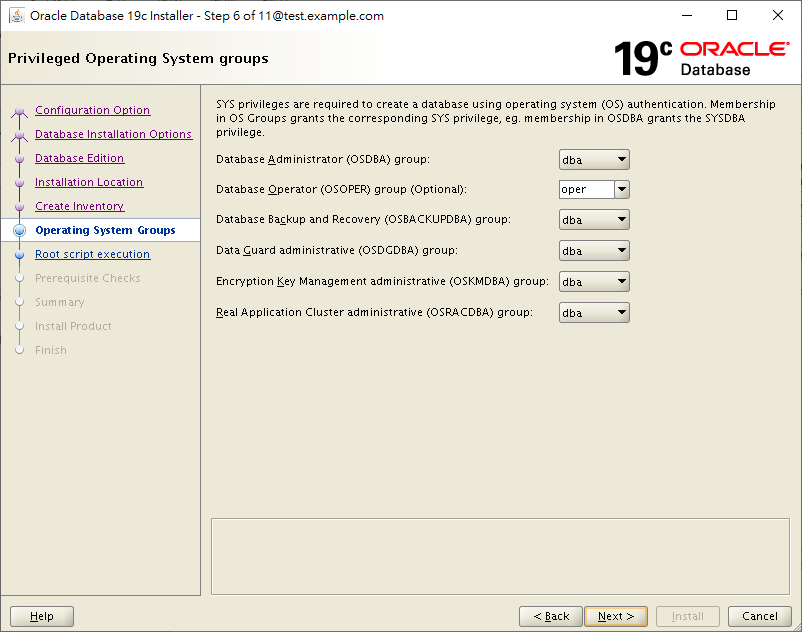
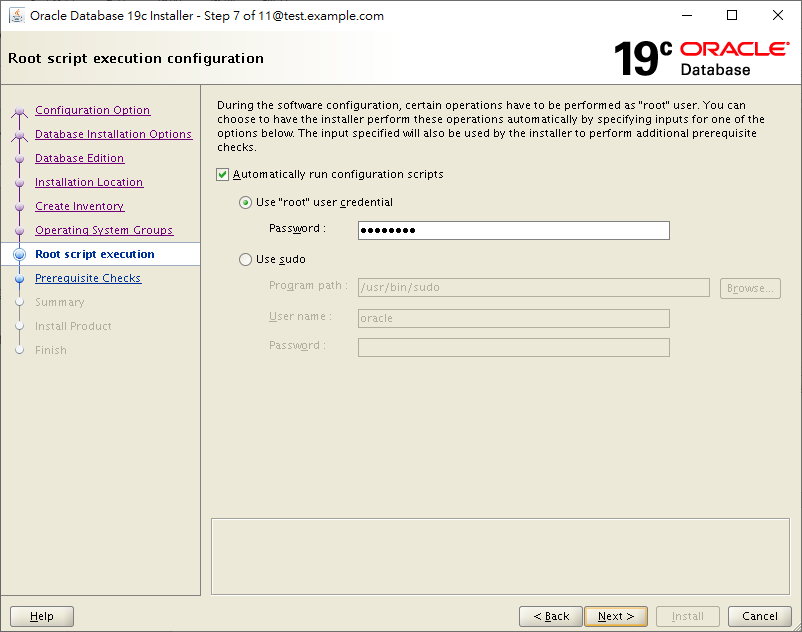
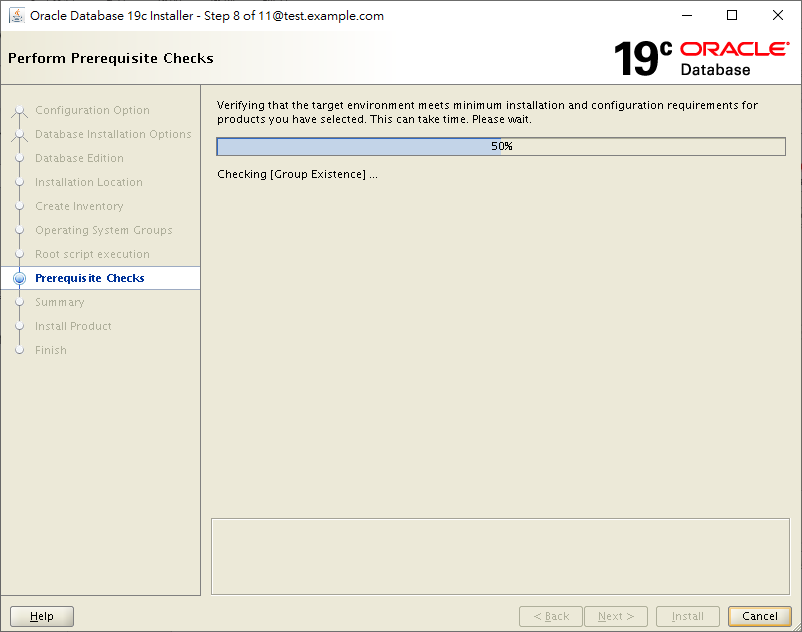
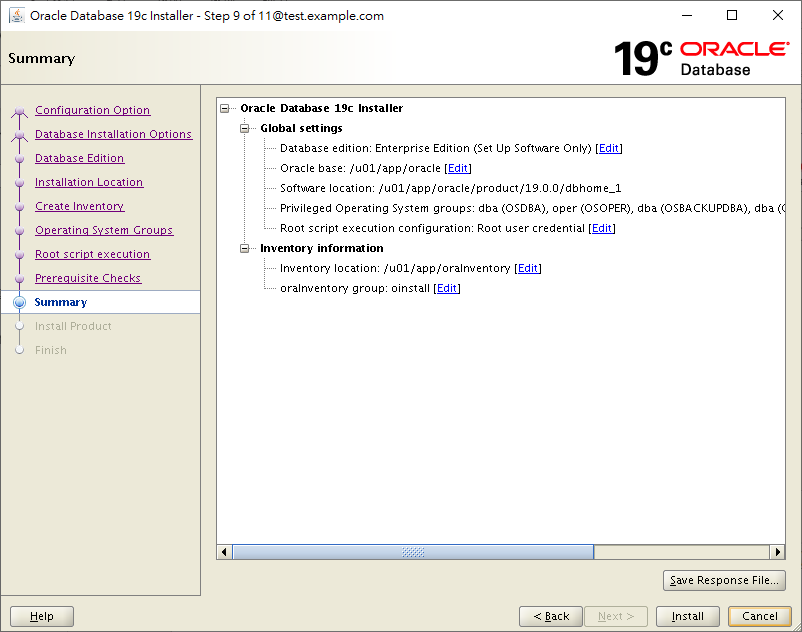
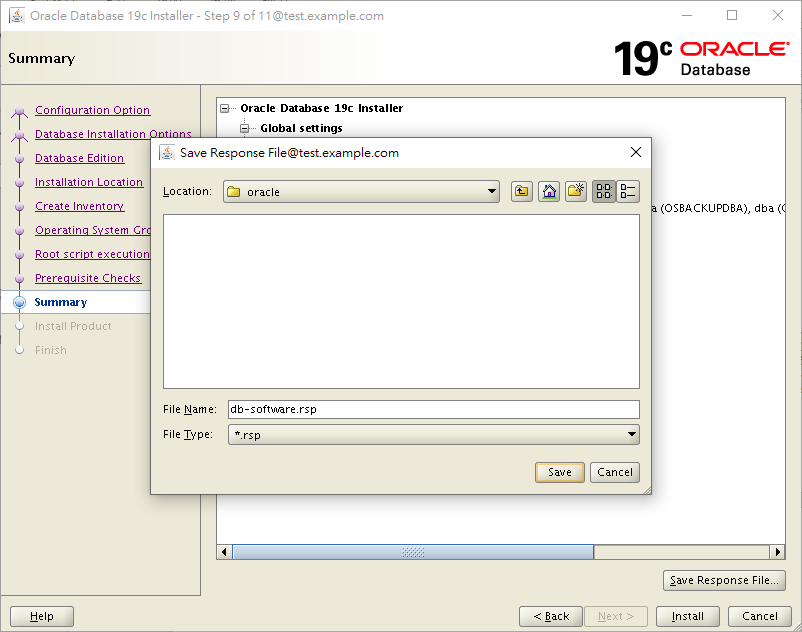
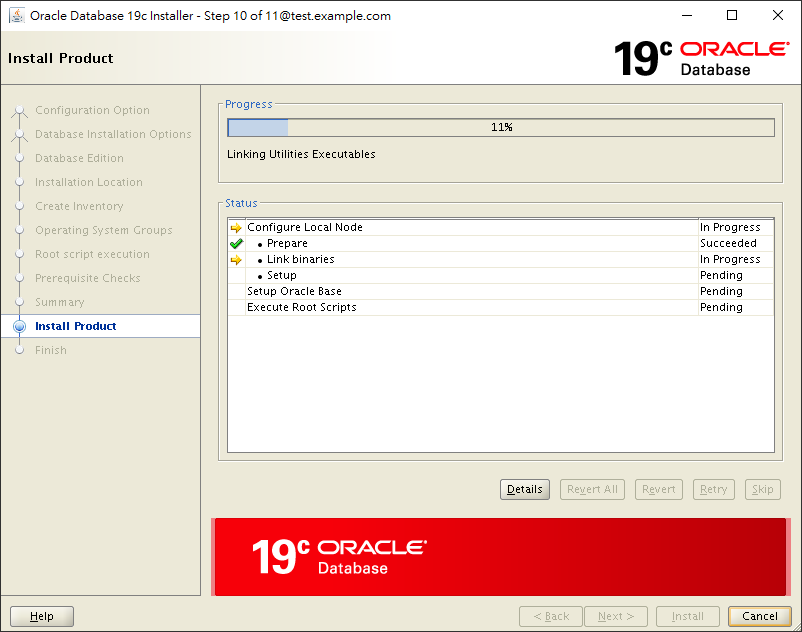
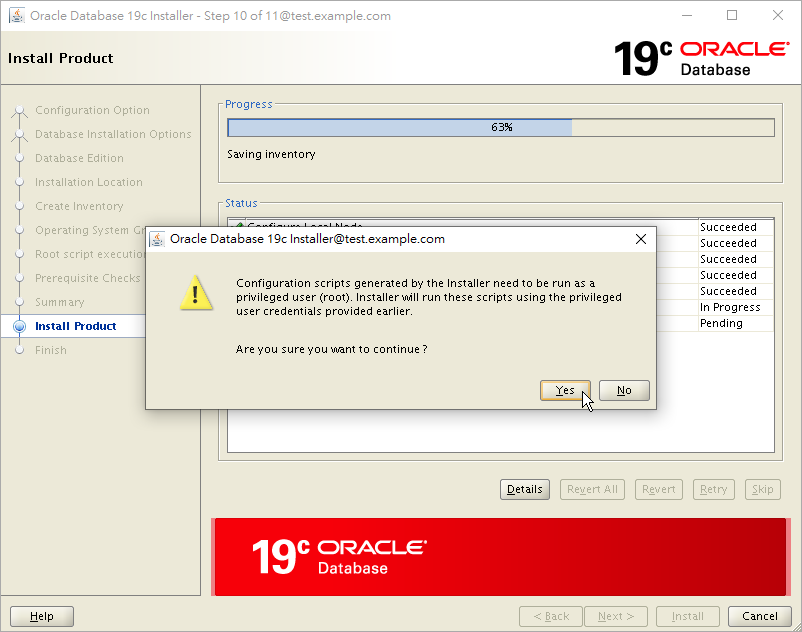
Install Oracle Software 19c
Here we initiate runInstaller GUI to install it. Alternatively, you may install Oracle software 19c in silent mode.
[oracle@test ~]$ cd $ORACLE_HOME

[oracle@test dbhome_1]$ ./runInstaller

Launching Oracle Database Setup Wizard...
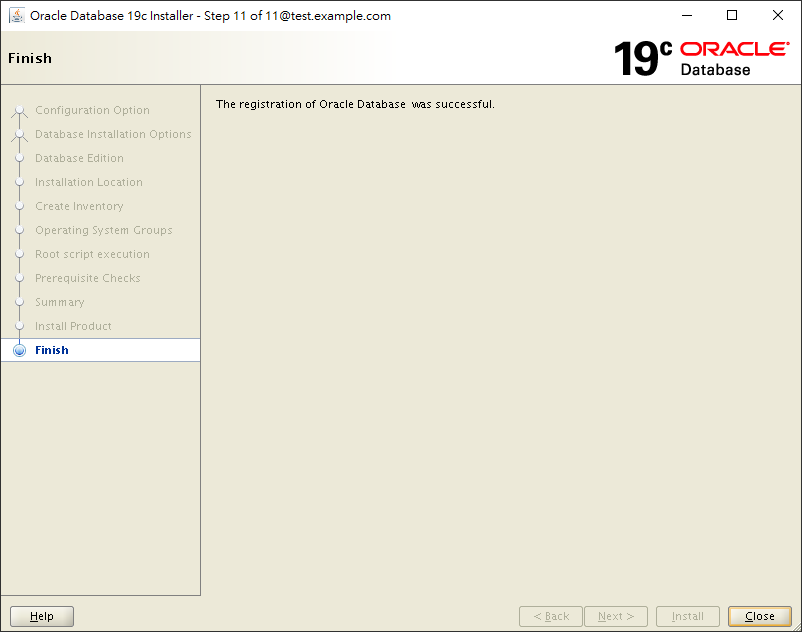
The response file for this session can be found at:

 /u01/app/oracle/product/19.0.0/dbhome_1/install/response/db_2023-02-13_12-06-51PM.rsp


You can find the log of this install session at:

 /tmp/InstallActions2023-02-13_12-06-51PM/installActions2023-02-13_12-06-51PM.log

Moved the install session logs to:

 /u01/app/oraInventory/logs/InstallActions2023-02-13_12-06-51PM
Configure Listener
The step is optional, because you can create a new listener in Database Configuration Assistant (DBCA).
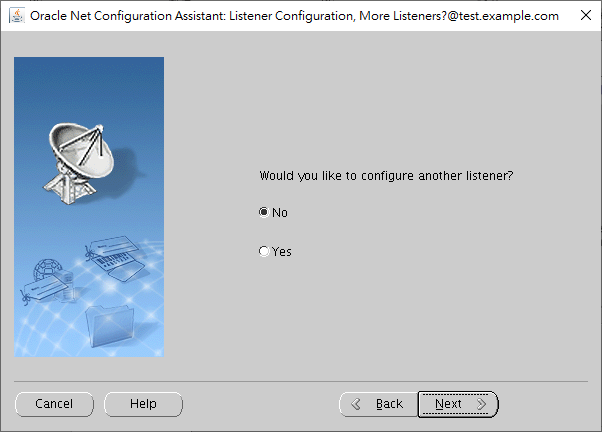
To configure a new listener, we issue netca command (Net Configuration Assistant).
[oracle@test dbhome_1]$ netca
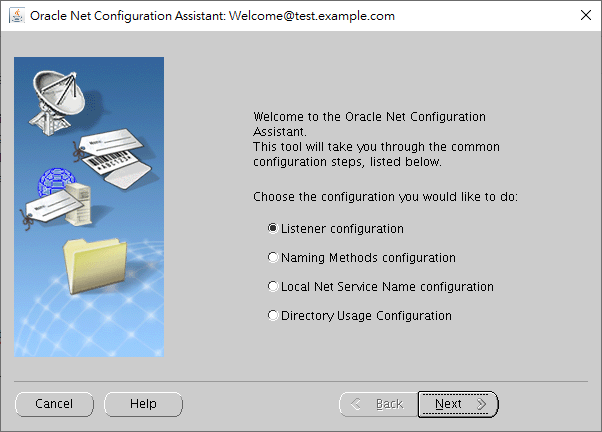
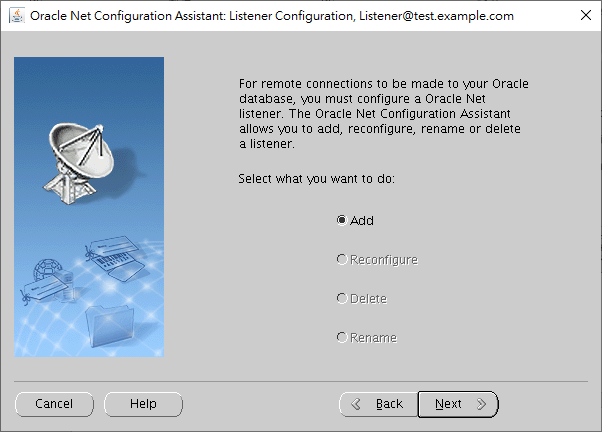
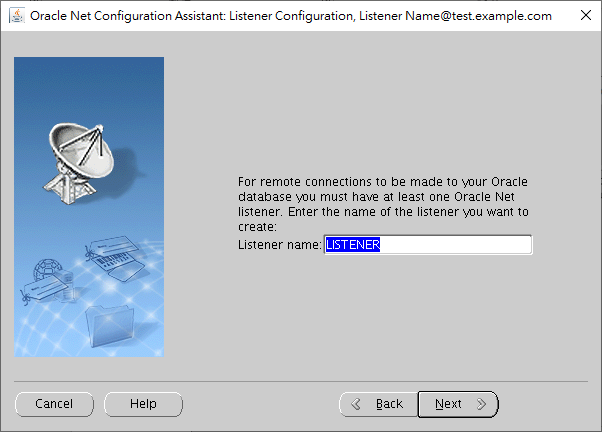
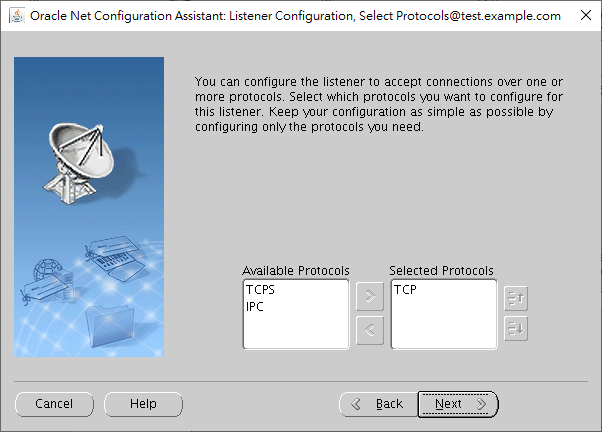
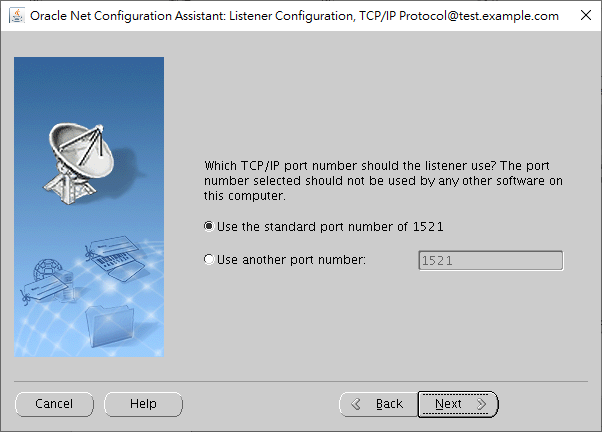

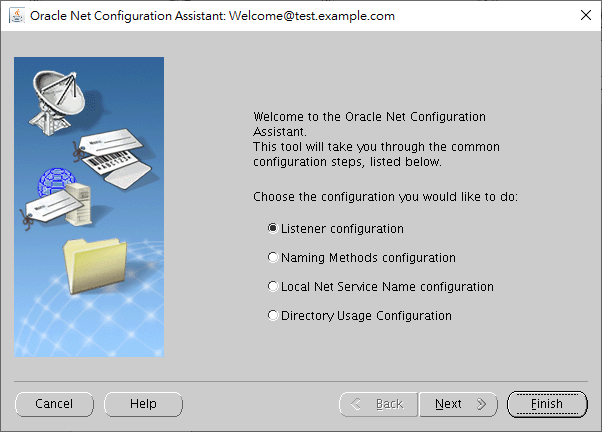
Oracle Net Services Configuration:

Configuring Listener:LISTENER

Listener configuration complete.

Oracle Net Listener Startup:

    Running Listener Control:

      /u01/app/oracle/product/19.0.0/dbhome_1/bin/lsnrctl start LISTENER

    Listener Control complete.

    Listener started successfully.

Oracle Net Services configuration successful. The exit code is 0
To trace back the creation process, you may check the log of NETCA.
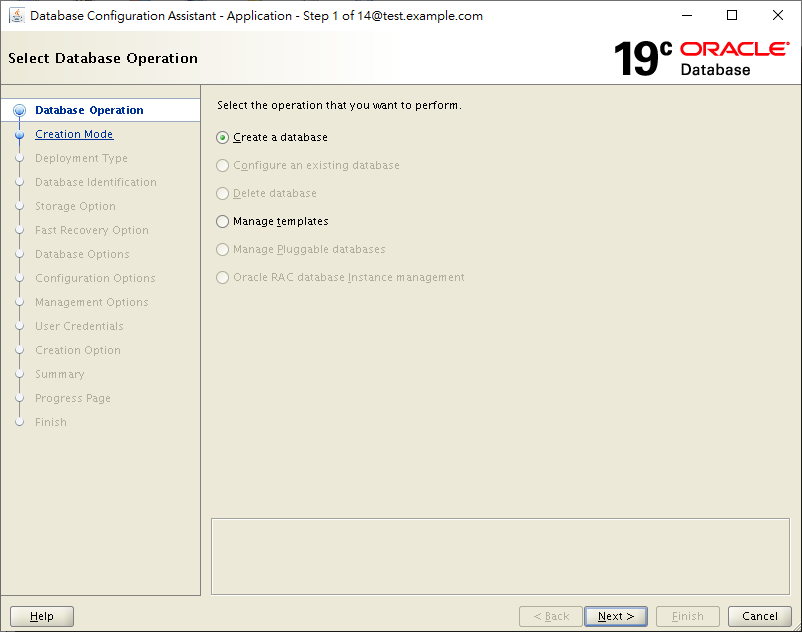
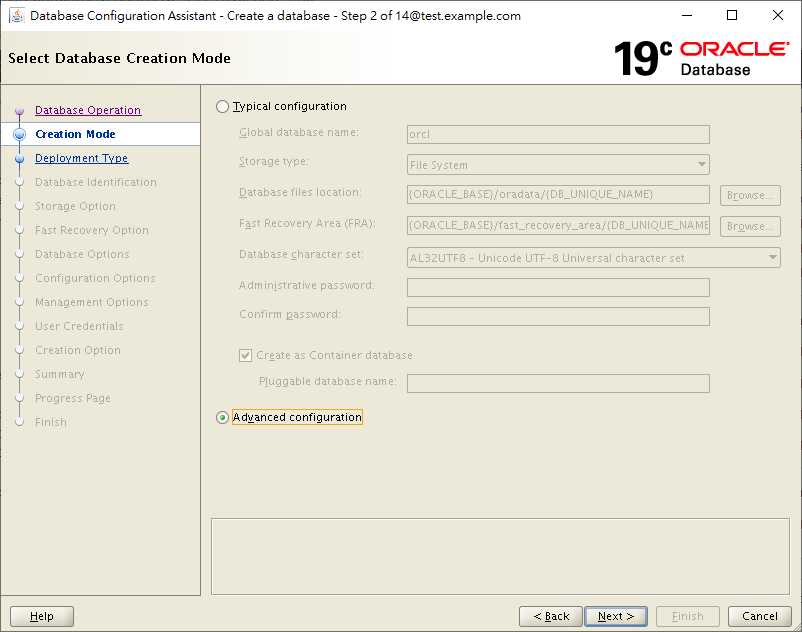
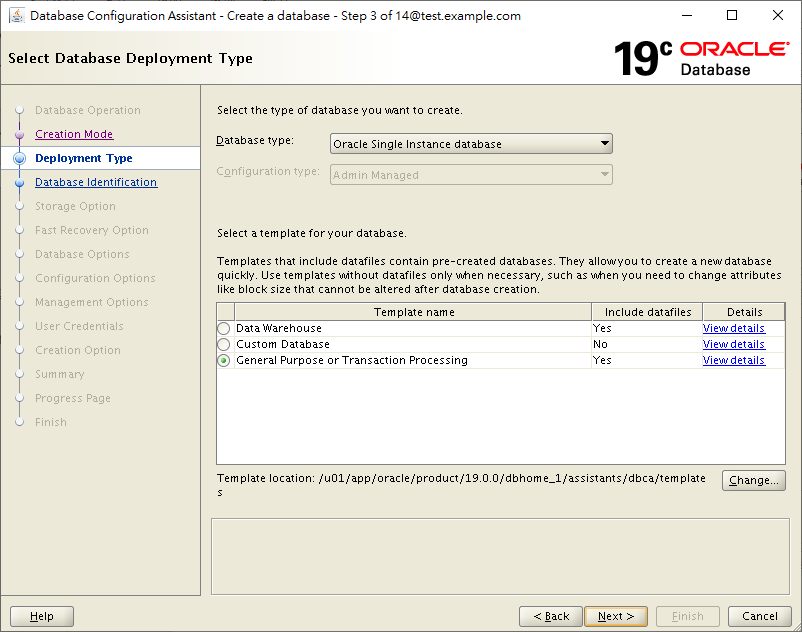
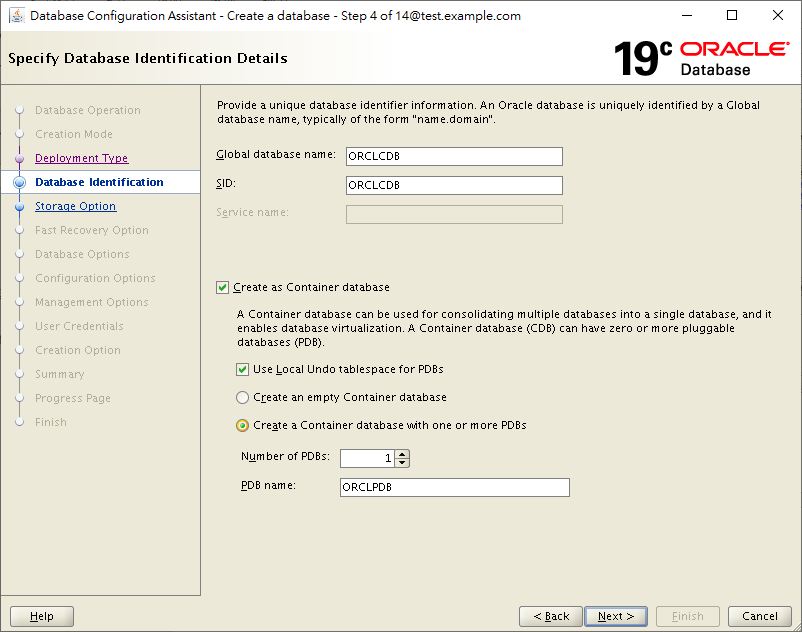
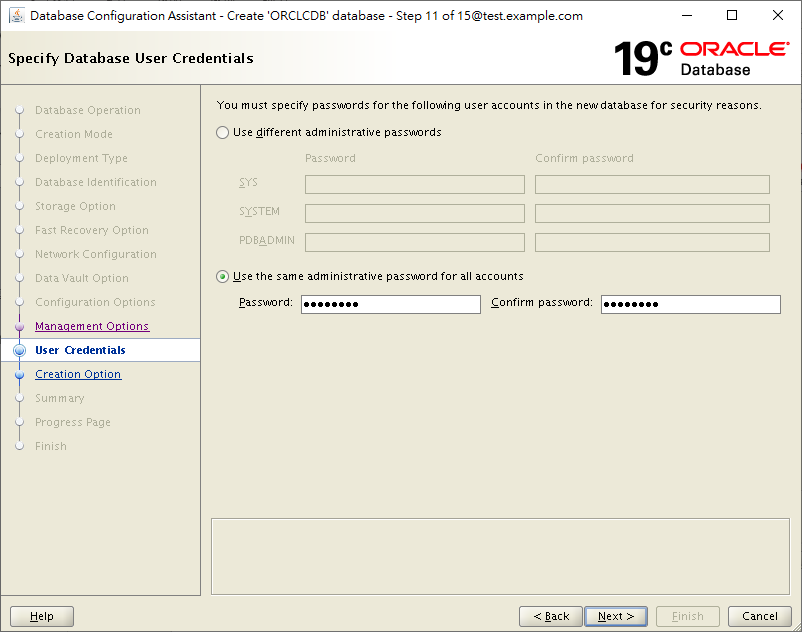
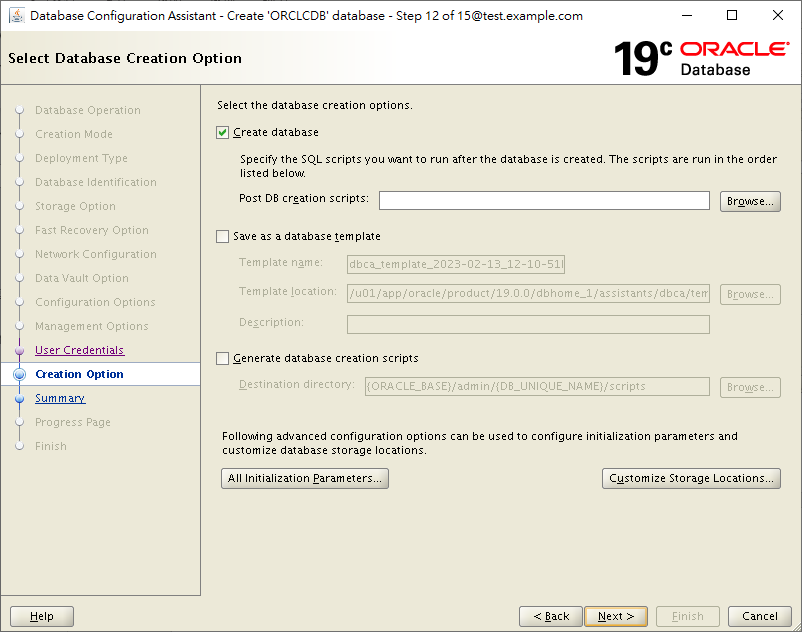
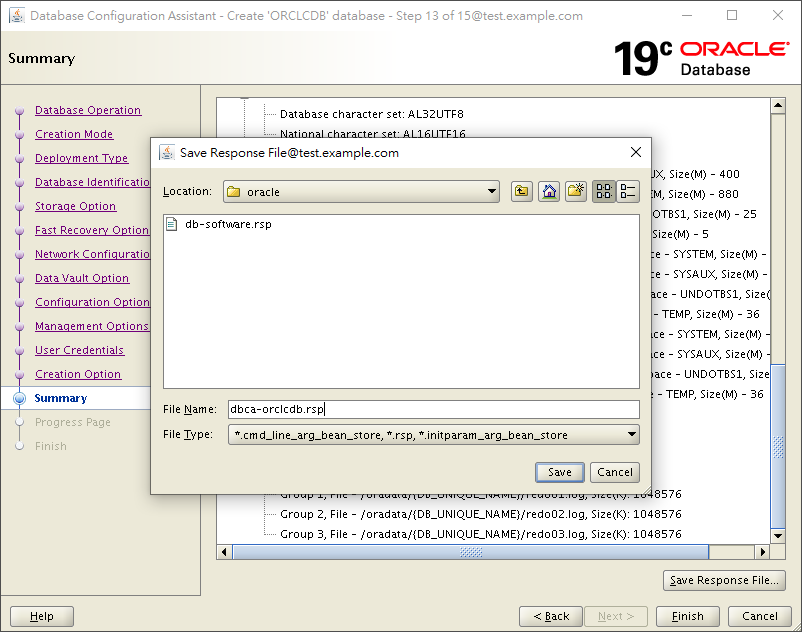
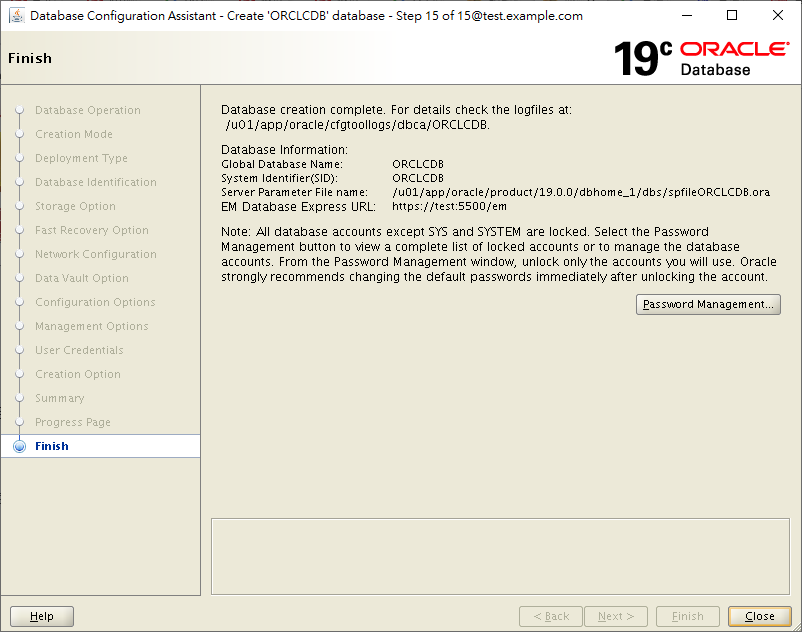
Create Database 19c
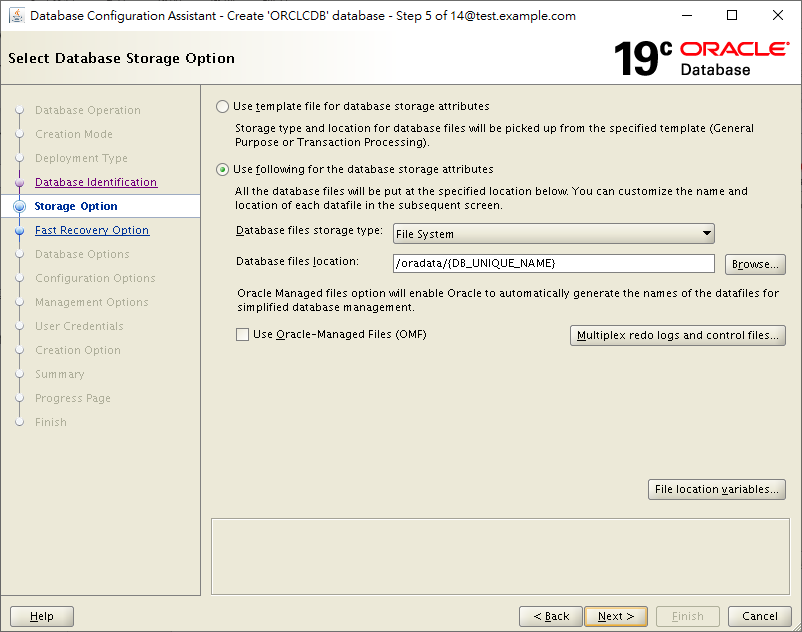
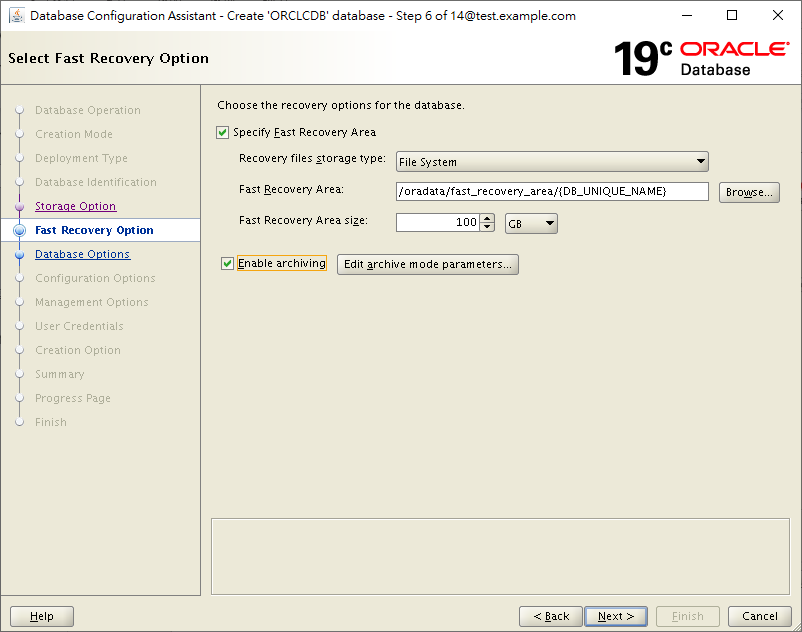
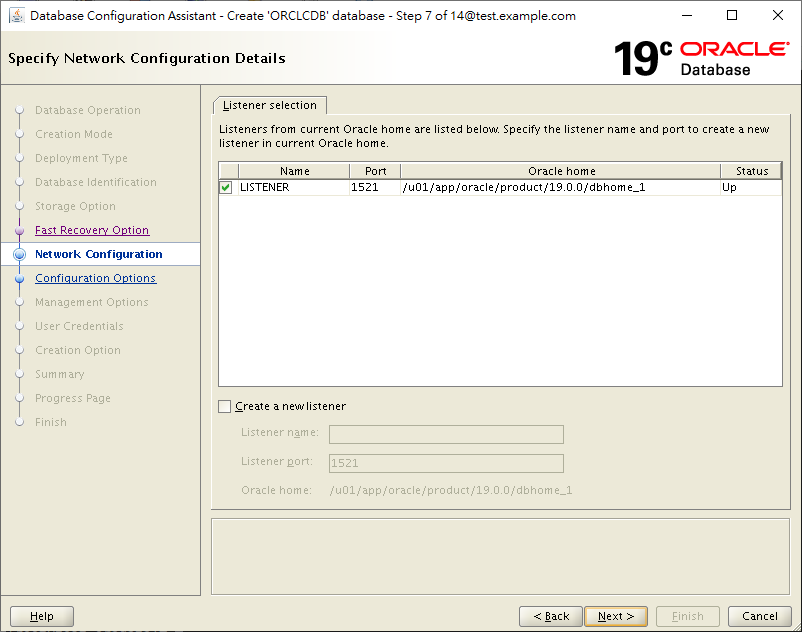
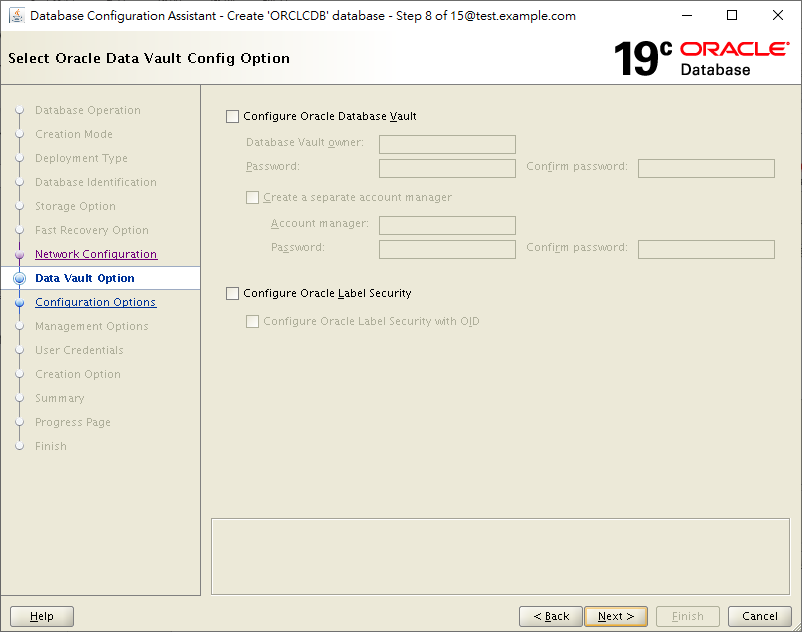
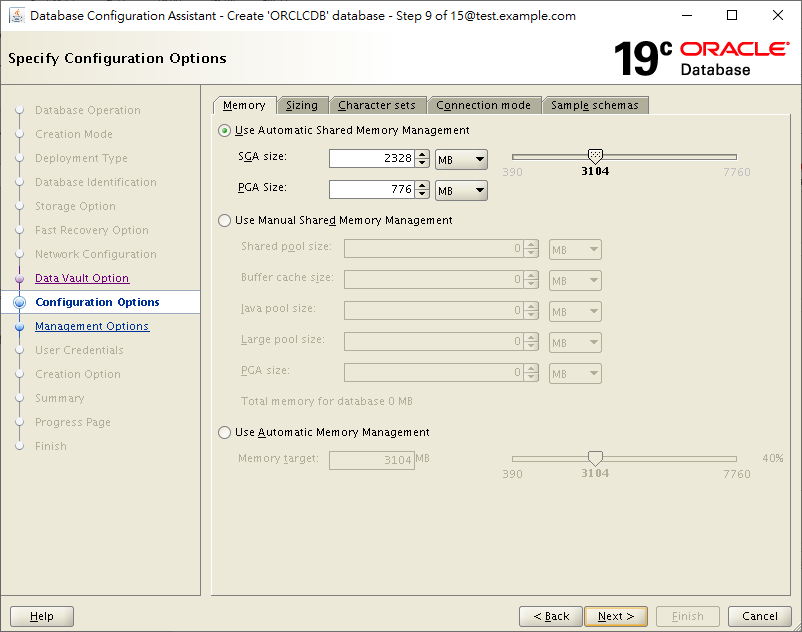
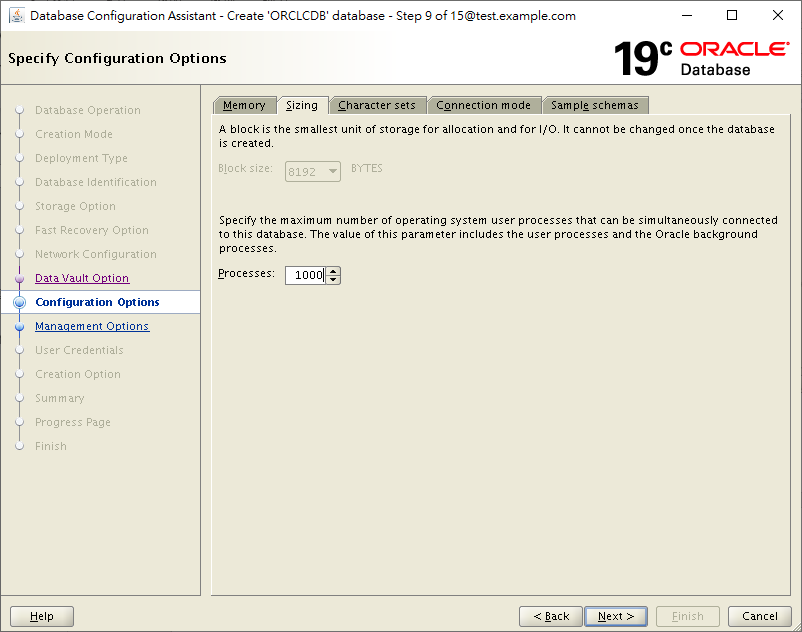
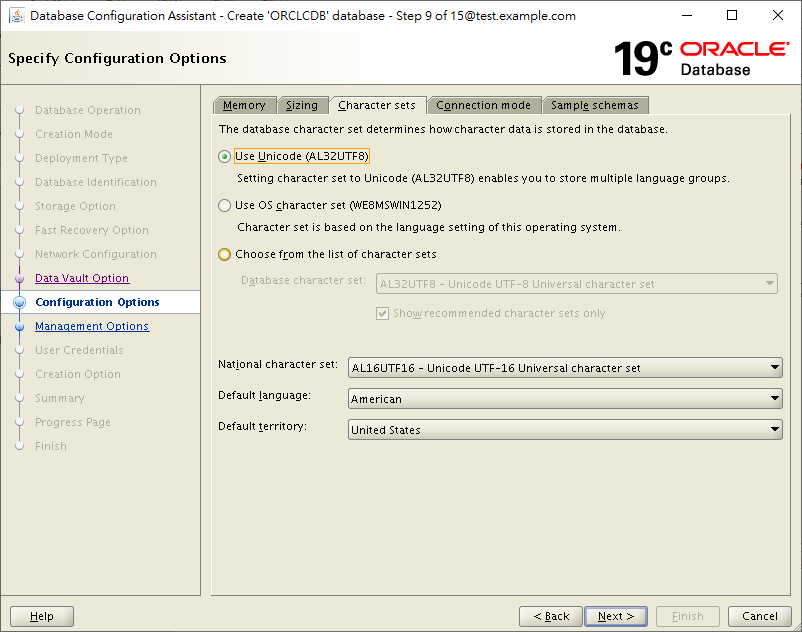
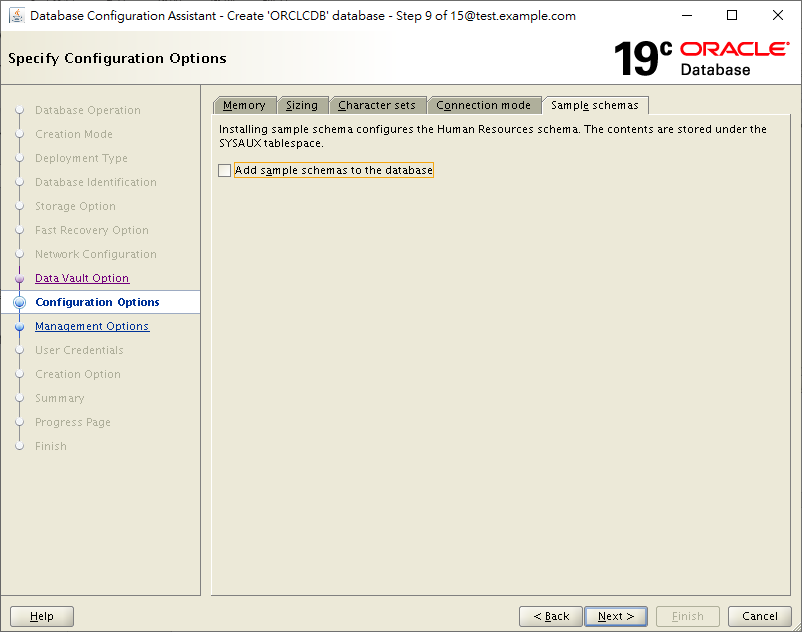
To create a new database, we issue dbca command (Database Configuration Assistant).
[oracle@test dbhome_1]$ dbca

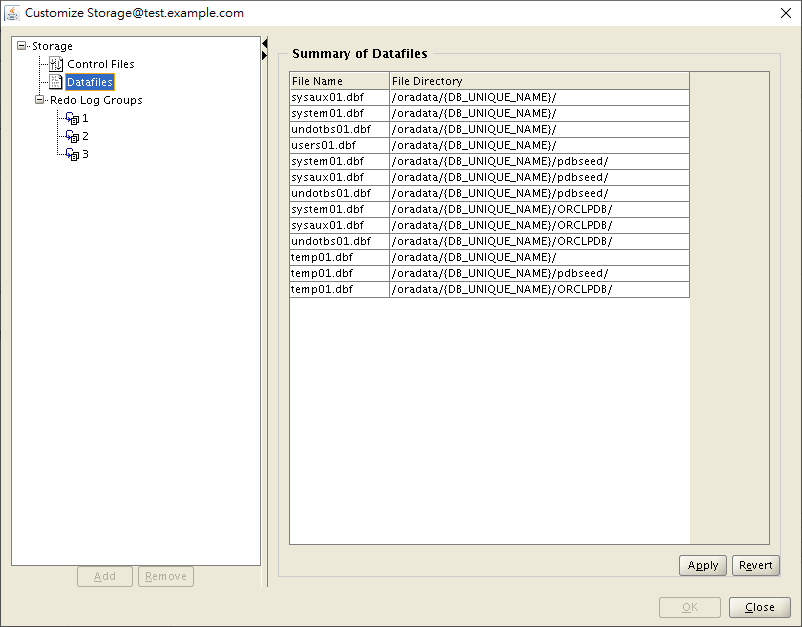
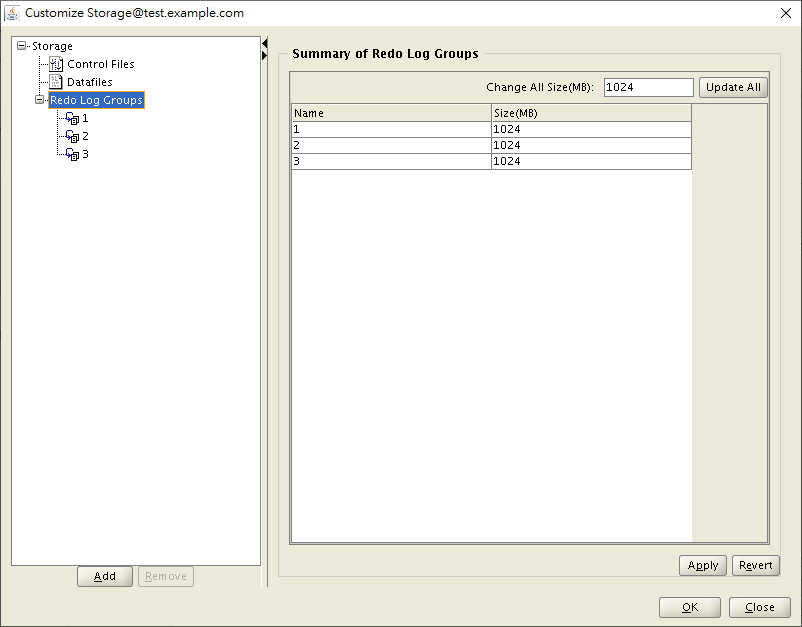
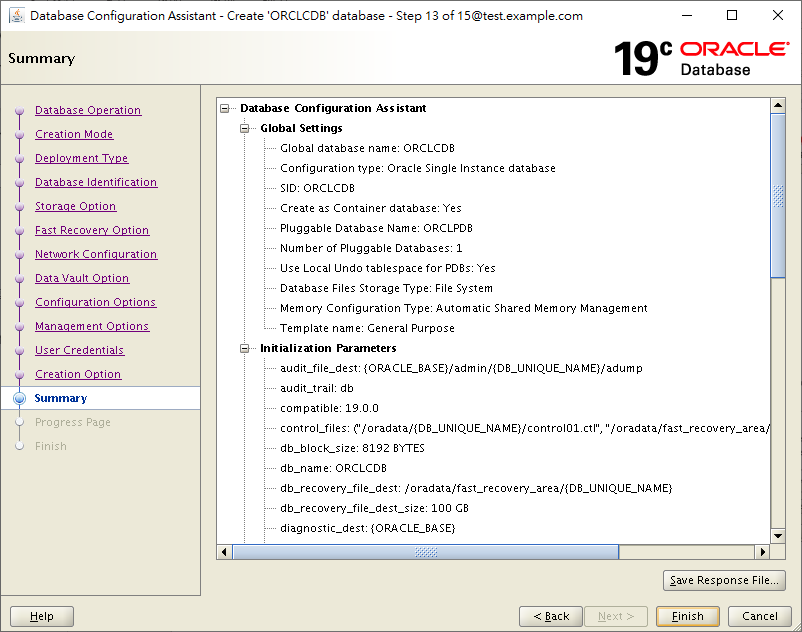
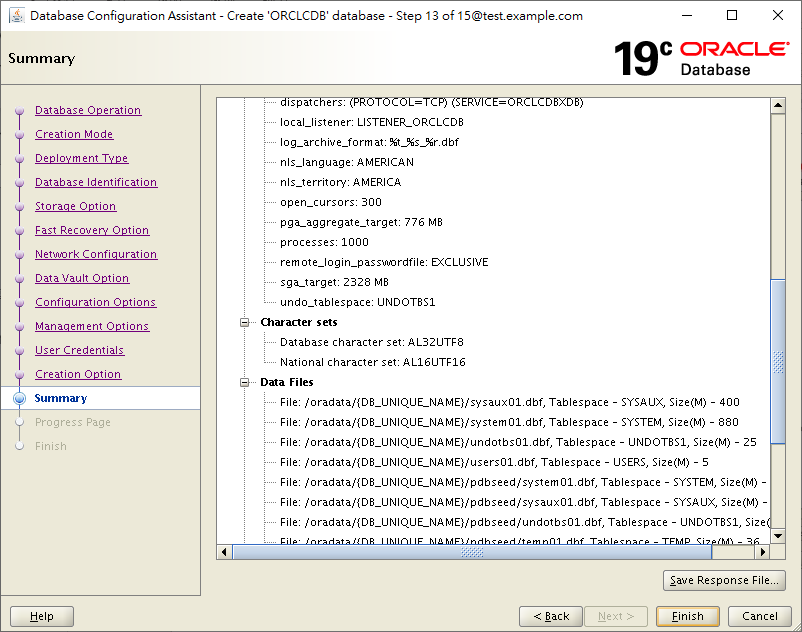
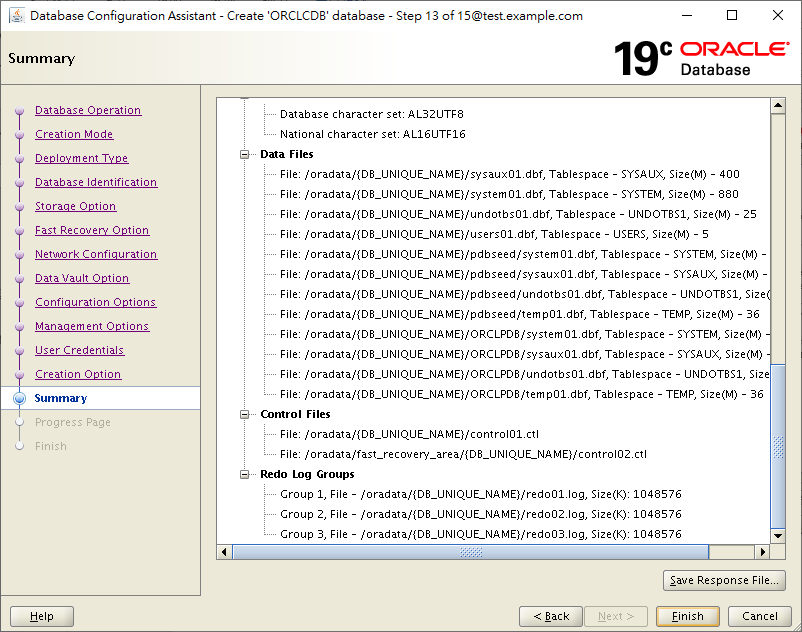
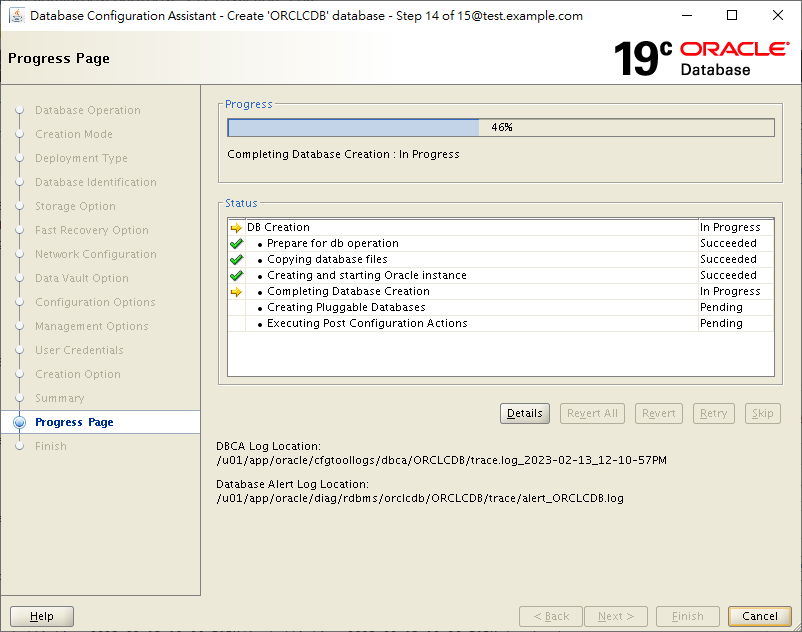
To trace back the process, you may check the log of DBCA.
The TNSNAME of CDB will be automatically added to tnsnames.ora file after DBCA, but not for PDB. For adding more TNSNAME, you may edit the file or add net service names through NETCA, if you like GUI style.
Post Installation
We have to make sure that everything is running well.
Check Listener
[oracle@test dbhome_1]$ lsnrctl status


LSNRCTL for Linux: Version 19.0.0.0.0 - Production on 13-FEB-2023 12:59:24


Copyright (c) 1991, 2019, Oracle.  All rights reserved.


Connecting to (DESCRIPTION=(ADDRESS=(PROTOCOL=TCP)(HOST=test)(PORT=1521)))

STATUS of the LISTENER

------------------------

Alias                     LISTENER

Version                   TNSLSNR for Linux: Version 19.0.0.0.0 - Production

Start Date                13-FEB-2023 12:10:05

Uptime                    0 days 0 hr. 49 min. 19 sec

Trace Level               off

Security                  ON: Local OS Authentication

SNMP                      OFF

Listener Parameter File   /u01/app/oracle/product/19.0.0/dbhome_1/network/admin/listener.ora

Listener Log File         /u01/app/oracle/diag/tnslsnr/test/listener/alert/log.xml

Listening Endpoints Summary...

  (DESCRIPTION=(ADDRESS=(PROTOCOL=tcp)(HOST=test)(PORT=1521)))

  (DESCRIPTION=(ADDRESS=(PROTOCOL=ipc)(KEY=EXTPROC1521)))

  (DESCRIPTION=(ADDRESS=(PROTOCOL=tcps)(HOST=test)(PORT=5500))(Security=(my_wallet_directory=/u01/app/oracle/admin/ORCLCDB/xdb_wallet))(Presentation=HTTP)(Session=RAW))

Services Summary...

Service "ORCLCDB" has 1 instance(s).

  Instance "ORCLCDB", status READY, has 1 handler(s) for this service...

Service "ORCLCDBXDB" has 1 instance(s).

  Instance "ORCLCDB", status READY, has 1 handler(s) for this service...

Service "f48d9e4661f828aae0530b01a8c0c612" has 1 instance(s).

  Instance "ORCLCDB", status READY, has 1 handler(s) for this service...

Service "orclpdb" has 1 instance(s).

  Instance "ORCLCDB", status READY, has 1 handler(s) for this service...

The command completed successfully
Modify oratab
To startup the database by script, we need to turn N to Y in oratab file.
[oracle@test dbhome_1]$ vi /etc/oratab

...

ORCLCDB:/u01/app/oracle/product/19.0.0/dbhome_1:Y
We have installed a single-instance database 19c. To automatically start the database after system reboot, we have scripts to do it.
Nice one!
Very good piece and very helpful.
Thanks
My pleasure!