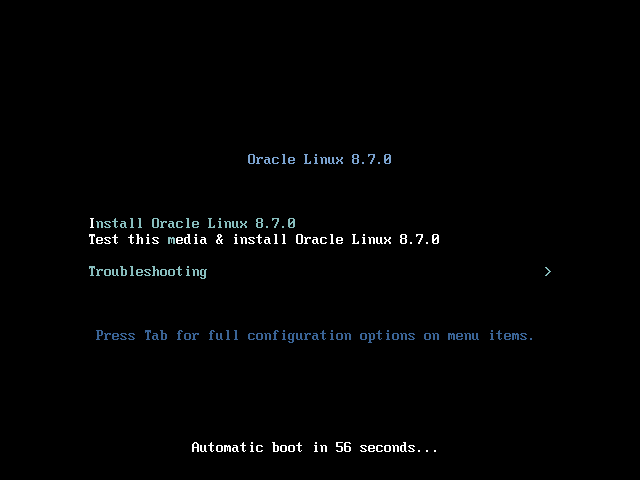
First of all, we download Boot ISO image from Oracle Linux repository. In this case, what we downloaded is OL8U7 x86_64-boot.iso.
Be noted, the Boot ISO image is the smallest size of downloads, which may reduce our disk space and download time.
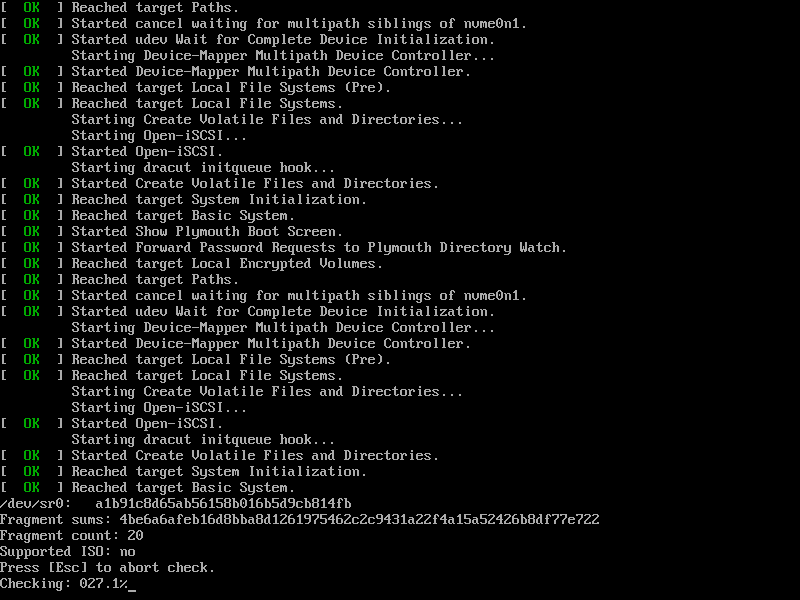
We may press Esc to skip the testing.
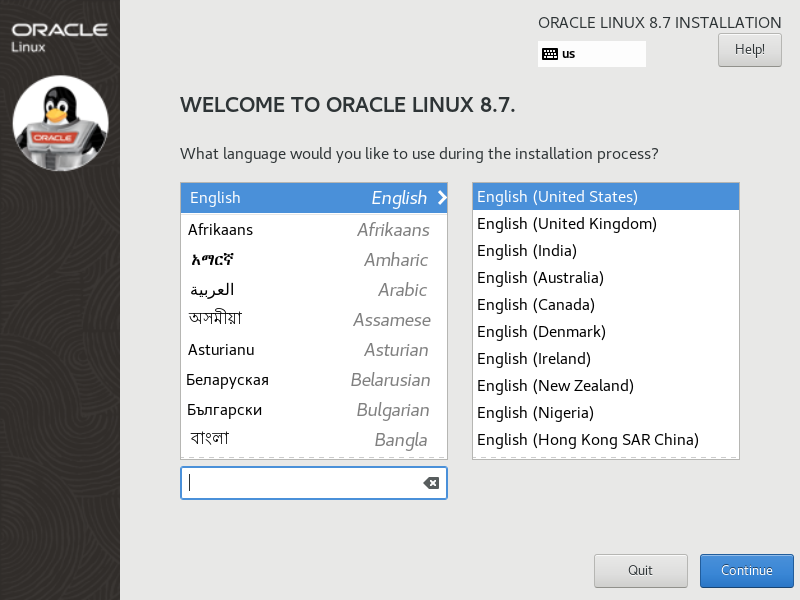
We choose English as our GUI language.
In the installation main page, there're several items need to be configured.

First thing first, we should configure and enable network. Here we apply the hostname for our server.
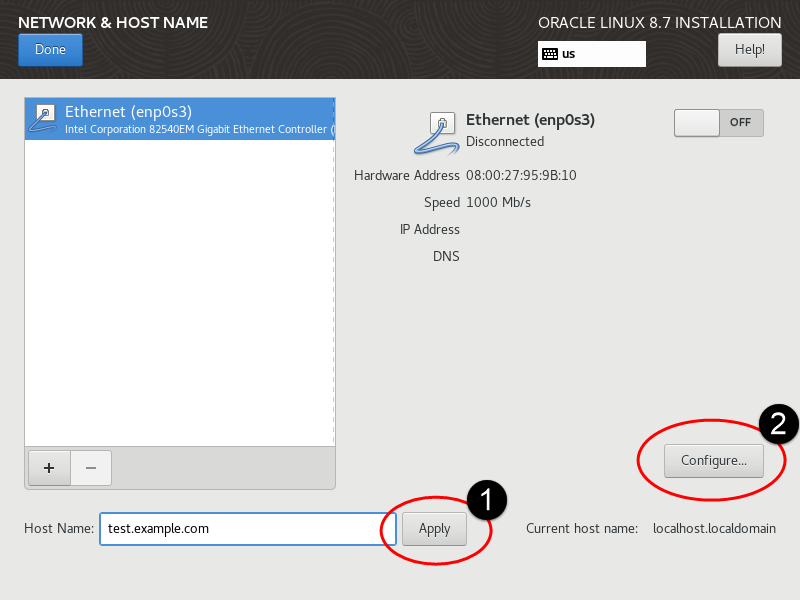
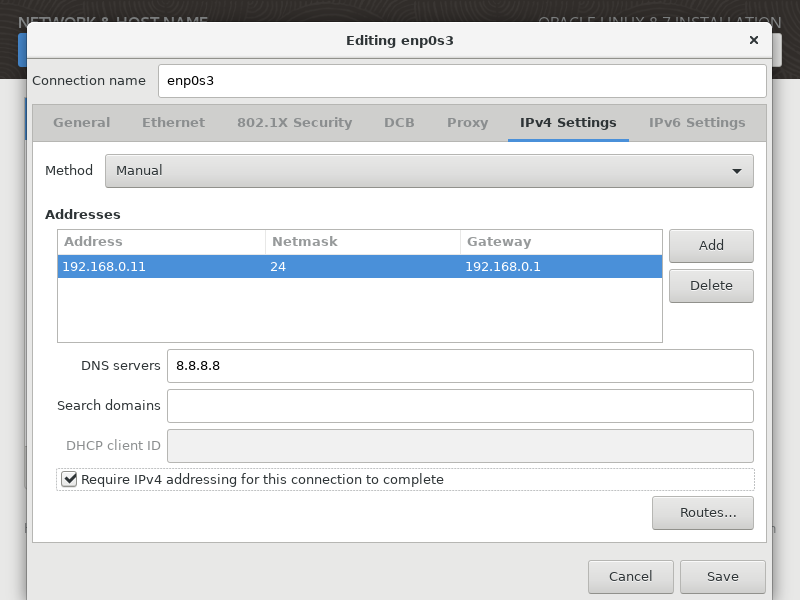
We set IP address and DNS in IPv4.
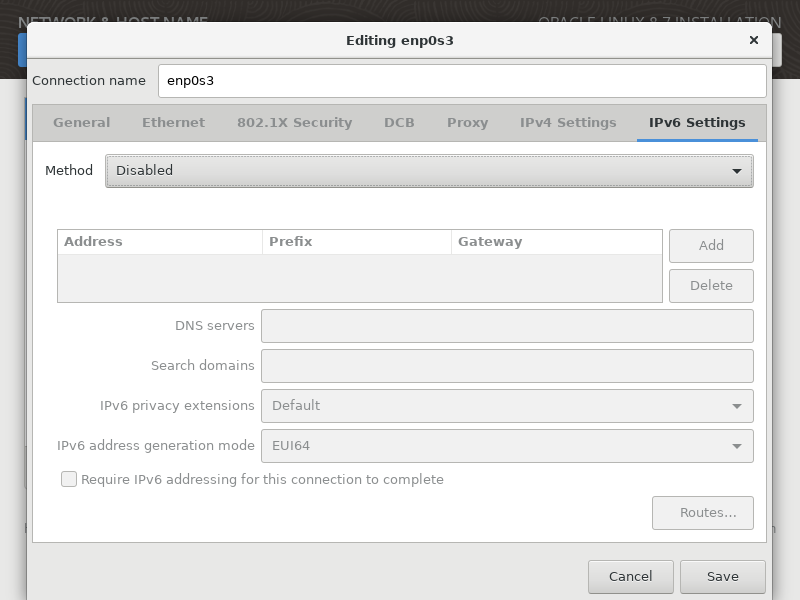
We disable IPv4 in this case.
Once the network has been configured, we can enable it and click "Done".
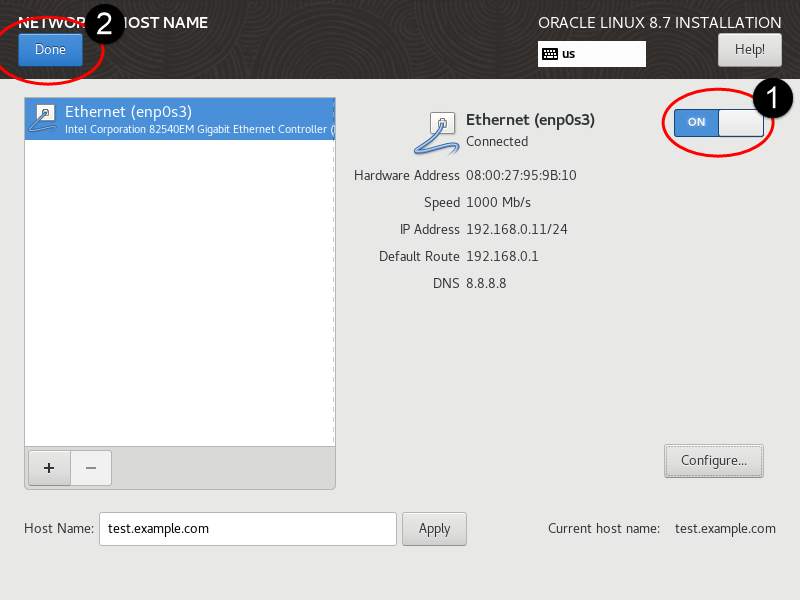
The network status looks like this:

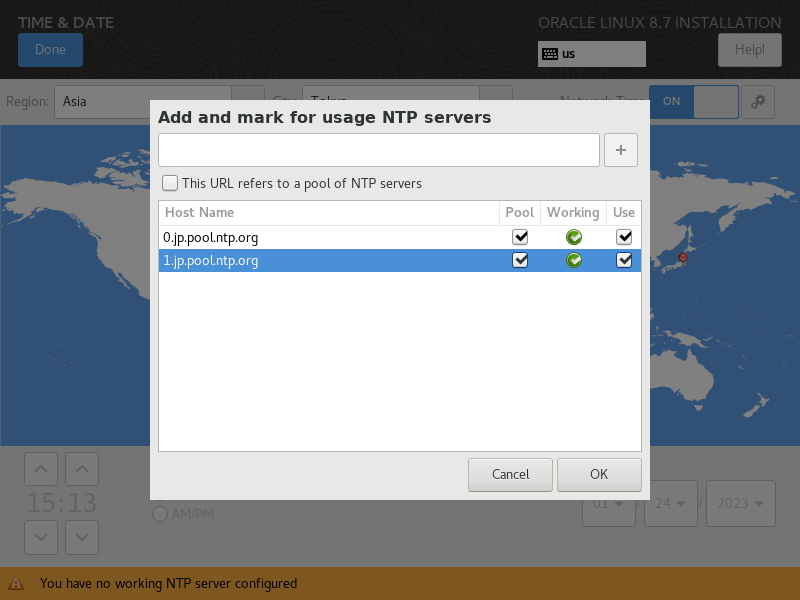
Next, we turn to time zone. You may click on the location you're at, then we're going to setup NTP server.
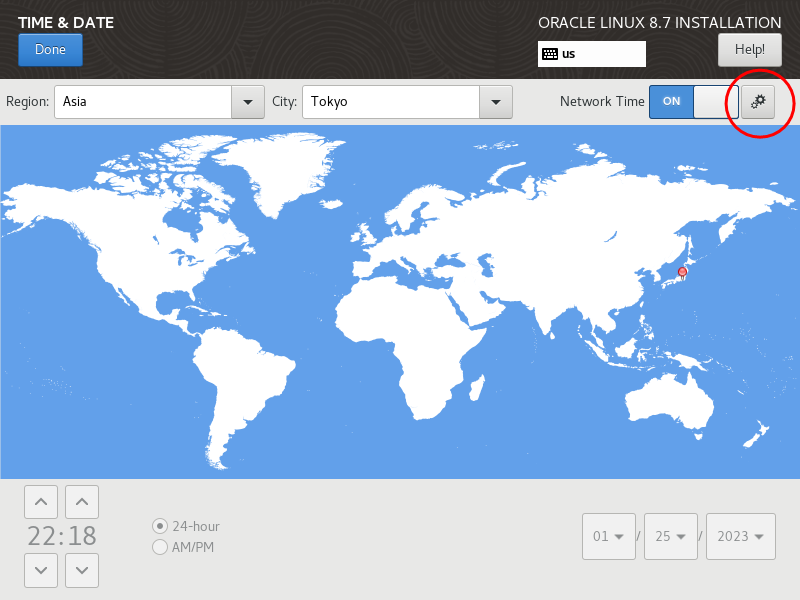
We setup 2 NTP server to synchronize network time.
Since this is a Boot ISO, we need another network source for installing packages.

We use the following URL to be our network source.
After several minutes, we can see the status of source is ready like the following.

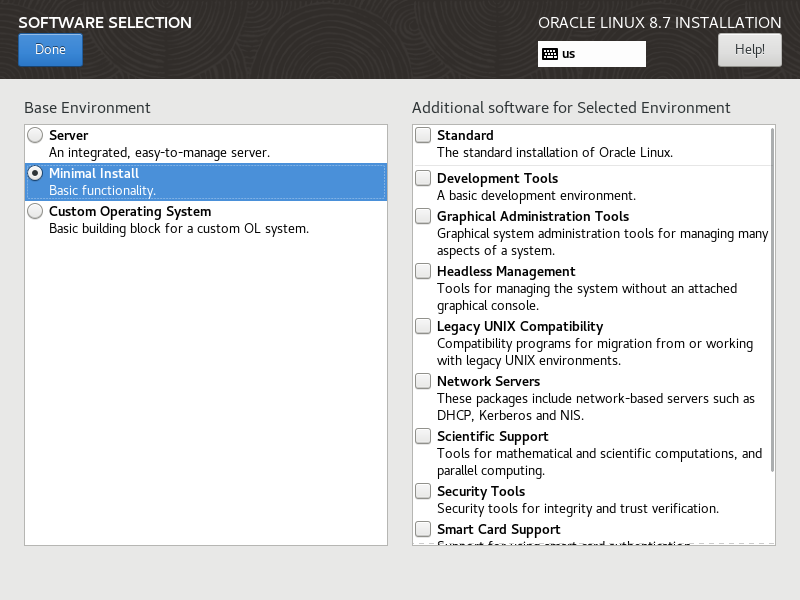
After the network source has been ready, we can select the type of server. In this case, we choose "Minimal install".
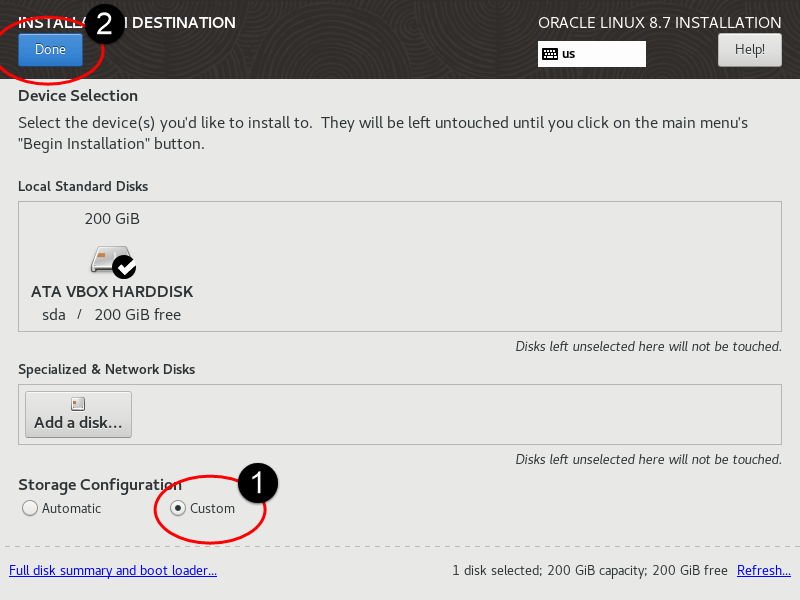
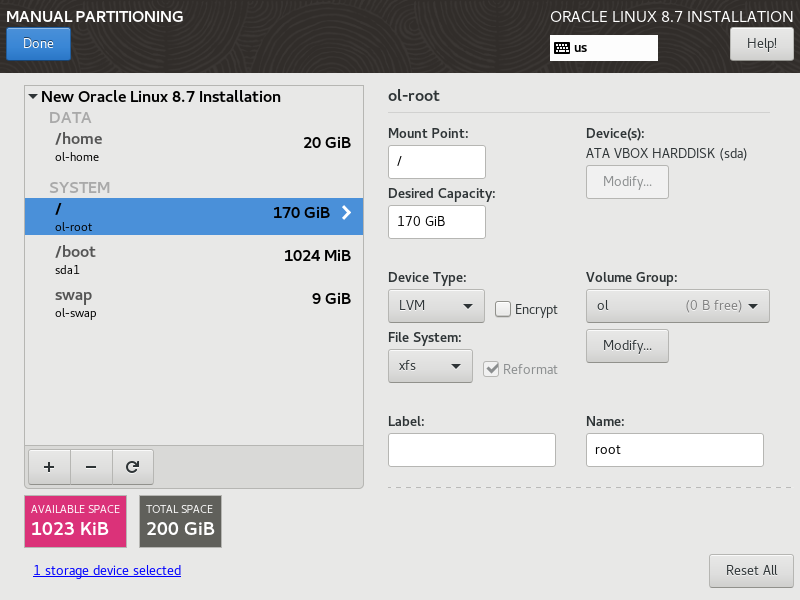
Now we start to configure disk partition. Here we choose "Custom", then click "Done".
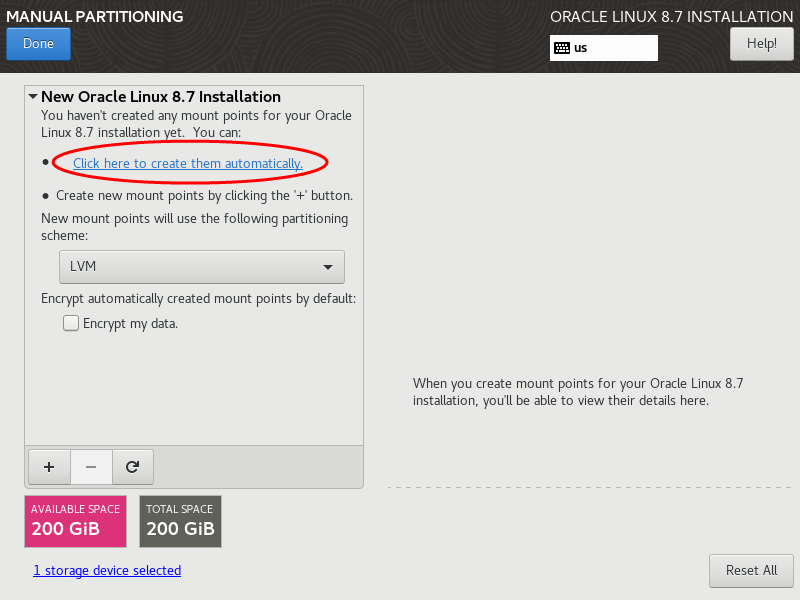
We can get the initial partition design by clicking on "Click here to create them automatically".
We lower the allocation size of /home and raise the size of root directory /, just like the following.
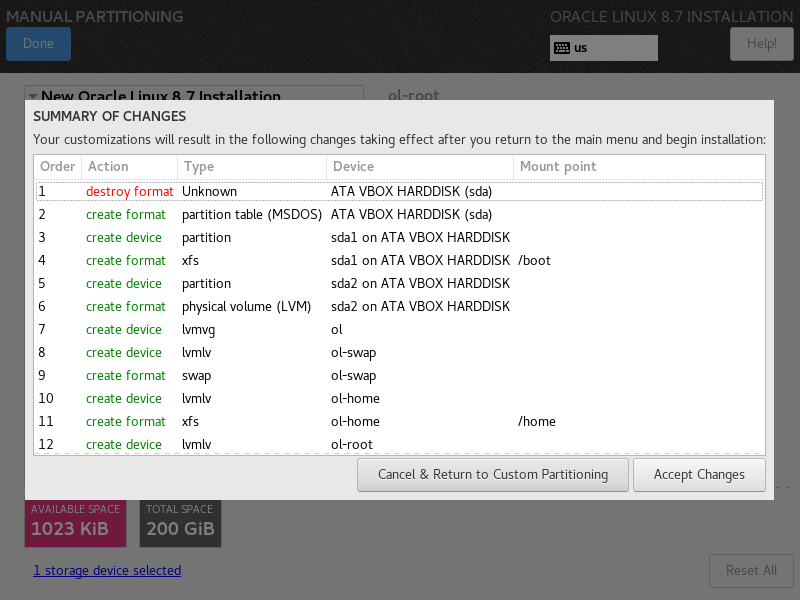
We click on "Accept" to confirm the disk layout.
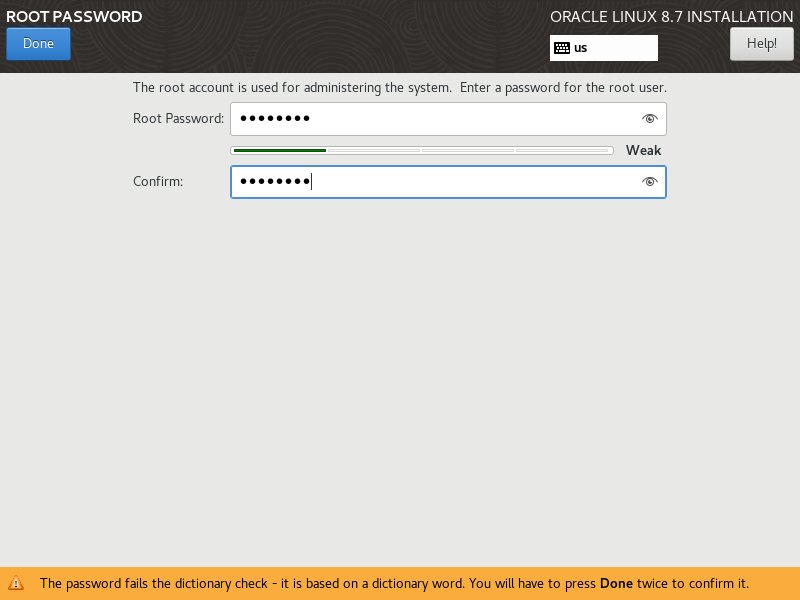
One last item, we set root password. If the password does not comply with the policy, we may click "Done" twice to confirm it.
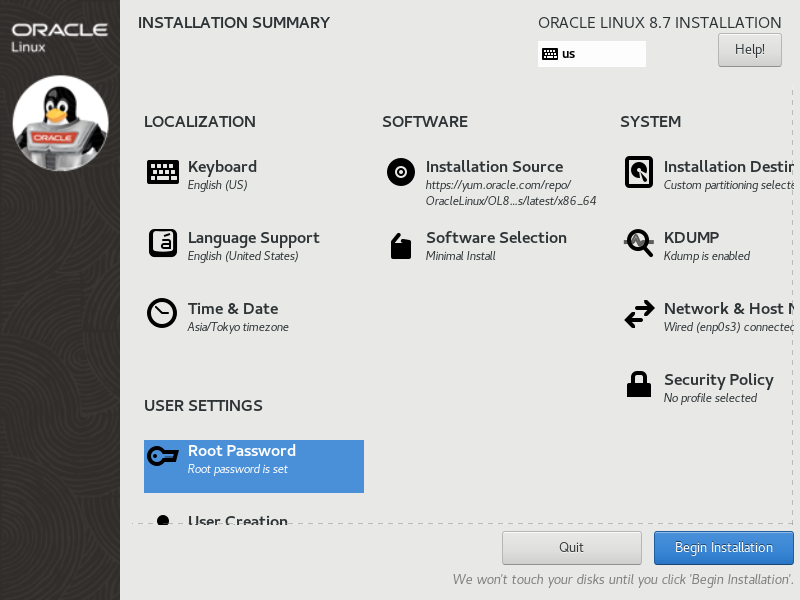
The configuration preview looks good to go. We may click "Begin Installation".
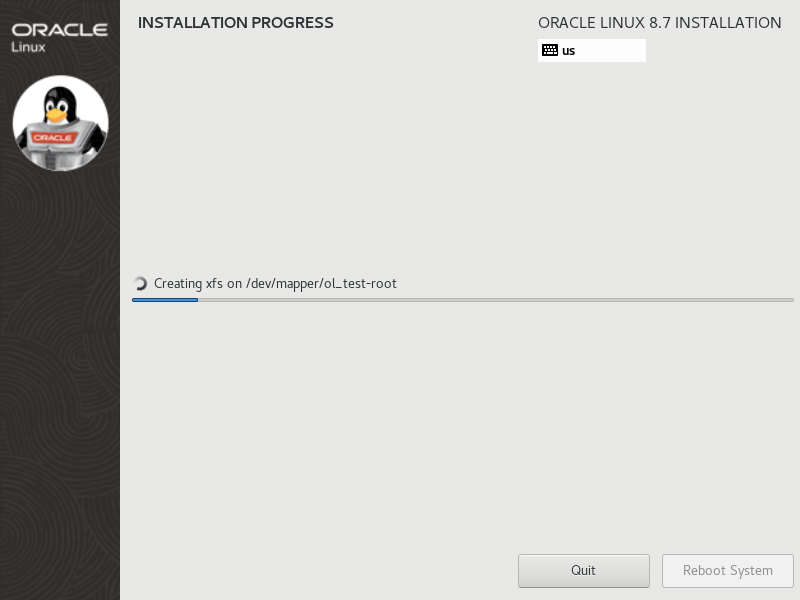
The installation begins with creating disk partitions and XFS file systems.
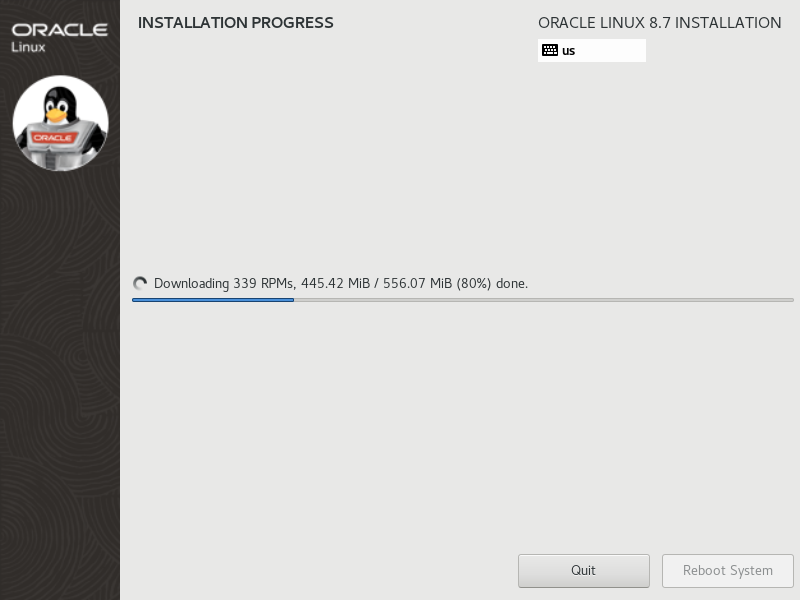
Then it downloads some required packages from the network source.
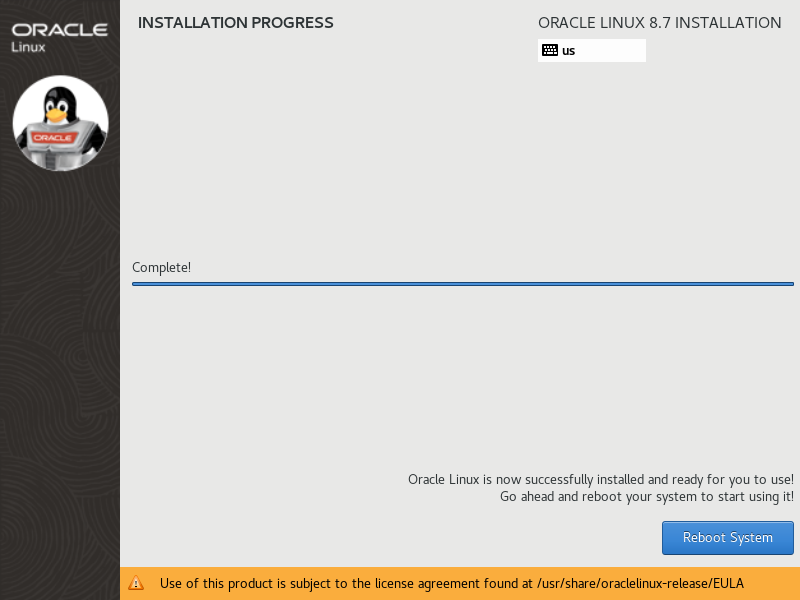
The installation has done, we may reboot the system.
Although Boot ISO has the smallest file size, we should take care its network setting, I would suggest that Oracle should wrap a minimal installer for every release for download, just like AlmaLinux does and CentOS did.
Further reading: Oracle Linux Boot ISO vs UEK boot ISO.