Oracle client home 21c is an image-based installer which is required to be directly uncompressed into Oracle Client Home, then setup itself and register with Windows platform. We have talked about differences between Oracle client and Oracle client home installation.
Here are steps to install Oracle client home.
1. Unzip Oracle Client Home 21c
Here we use WINDOWS.X64_213000_client_home.zip from Oracle Database 21c Download for Microsoft Windows x64 (64-bit).
Please note that, the web page contains not only client packages, but also a lot of database server ones. You need to find the right one by pressing Ctrl + f and searching "client" keyword on the page.
Once you have downloaded the right one, you should unzip the package like this:
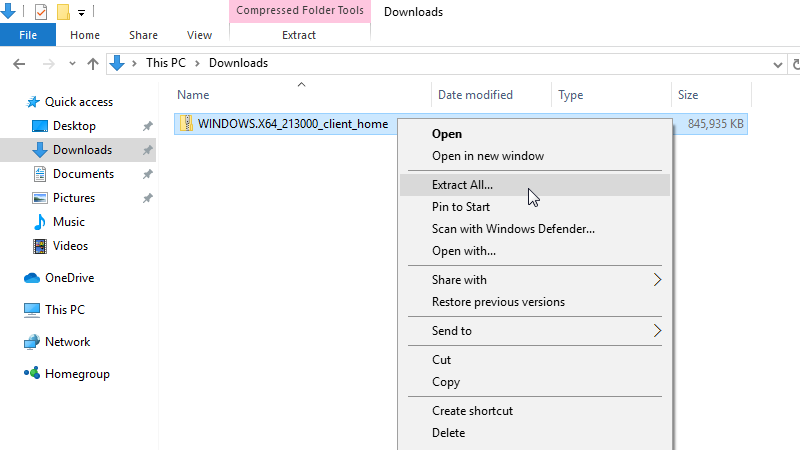
Right click on the compressed package of Oracle client home.
Enter Oracle client home path.
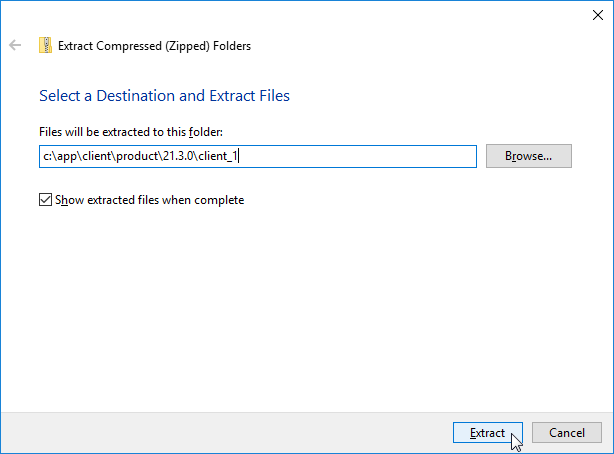
In this case, the client home is:
Please note that, you don't have to create the path in advance.
Wait for uncompressing to be complete.
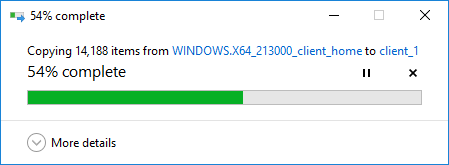
It takes some times to complete.
2. Initiate Installation
This time, we initiate the installation process in Command Prompt (CMD). We change directory to Oracle client home, then execute setup.
C:\Users\scott>cd C:\app\client\product\21.3.0\client_1
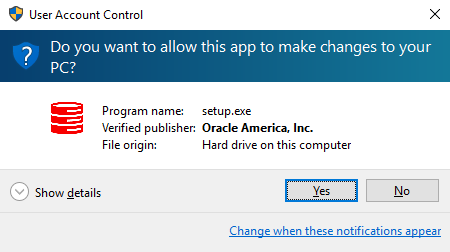
C:\app\client\product\21.3.0\client_1>setup
It initiates Oracle Universal Installer (OUI).
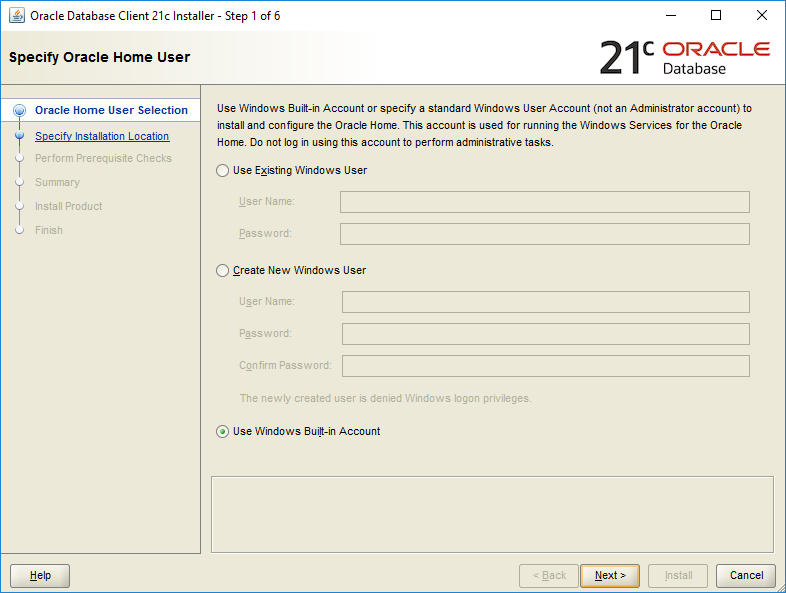
3. Specify Oracle Home User
In Oracle client home 19c installation on Windows, we choose to create a new Windows user for the owner of Oracle home. This time, we choose Windows built-in account.
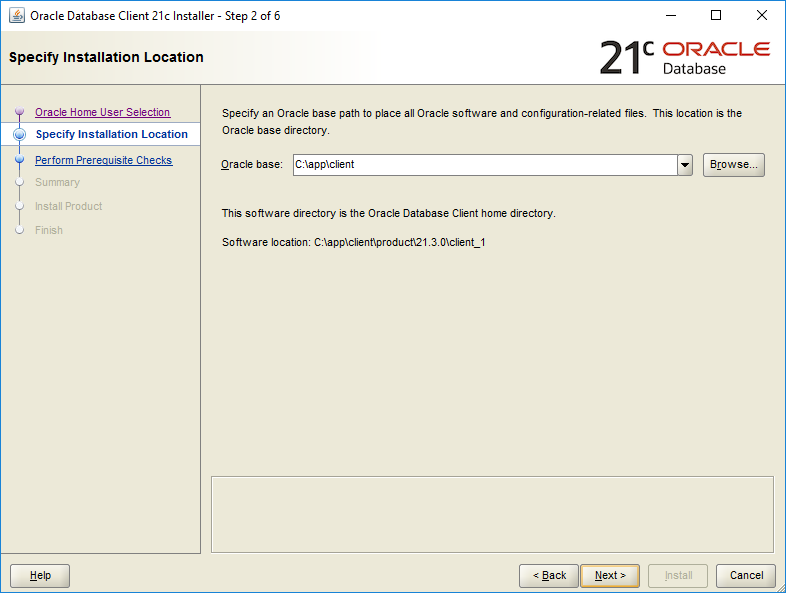
4. Specify Installation Location
We change the location of ORACLE_BASE into "c:\app\client".
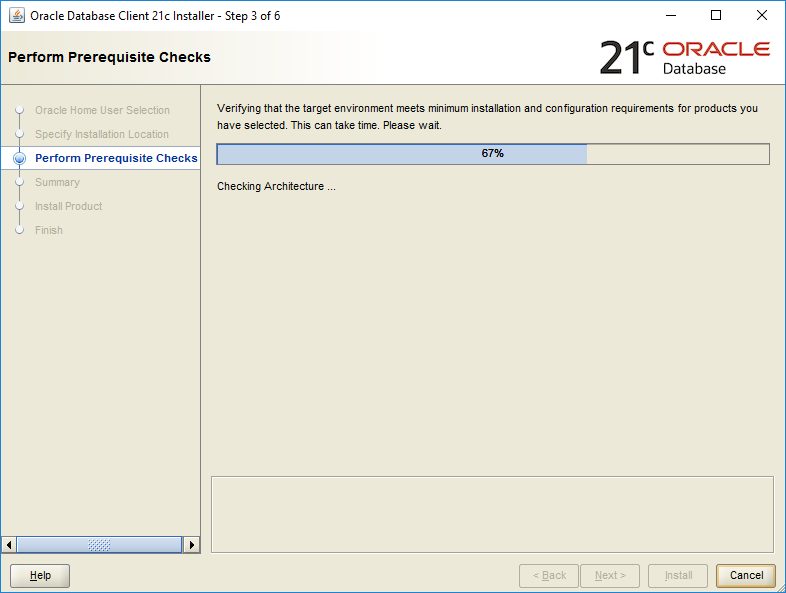
5. Perform Prerequisite Check
OUI starts to check the environment.
6. Summary before Installation
As you can see, we passed the prerequisite checks and it summarize some information for us.
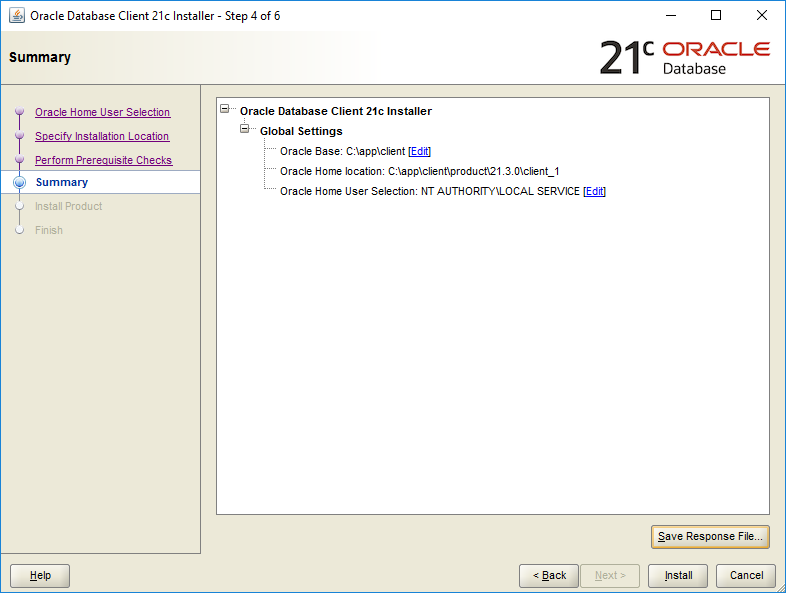
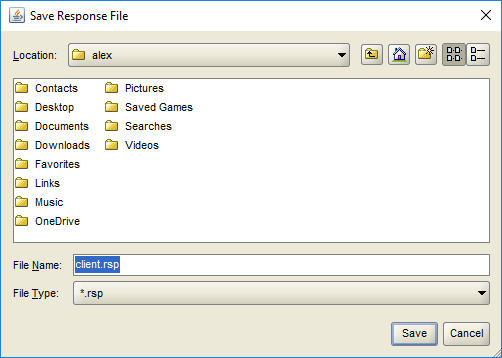
7. Save Response File
It's a good habit to save response file.
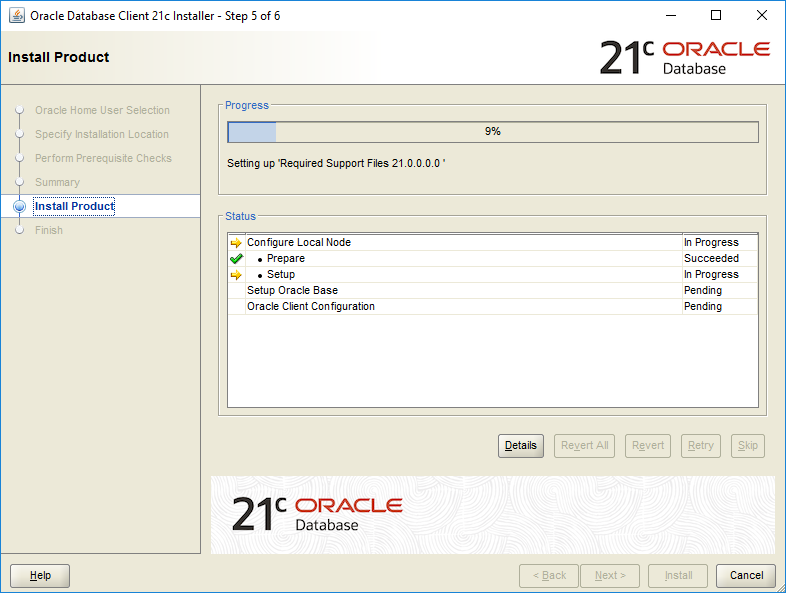
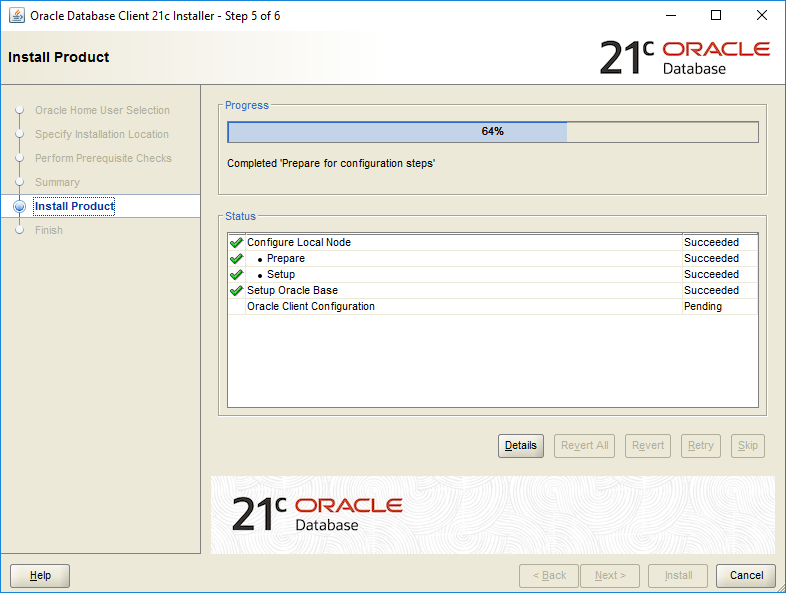
8. Install the Product
If there's nothing wrong, we can safely install the product.
9. Installation Finished
The installation is successful.

Later on, you may use NETCA to add a TNS entry graphically.
To see the traditional way to install Oracle client, please check: How to Install Oracle Client on Windows.